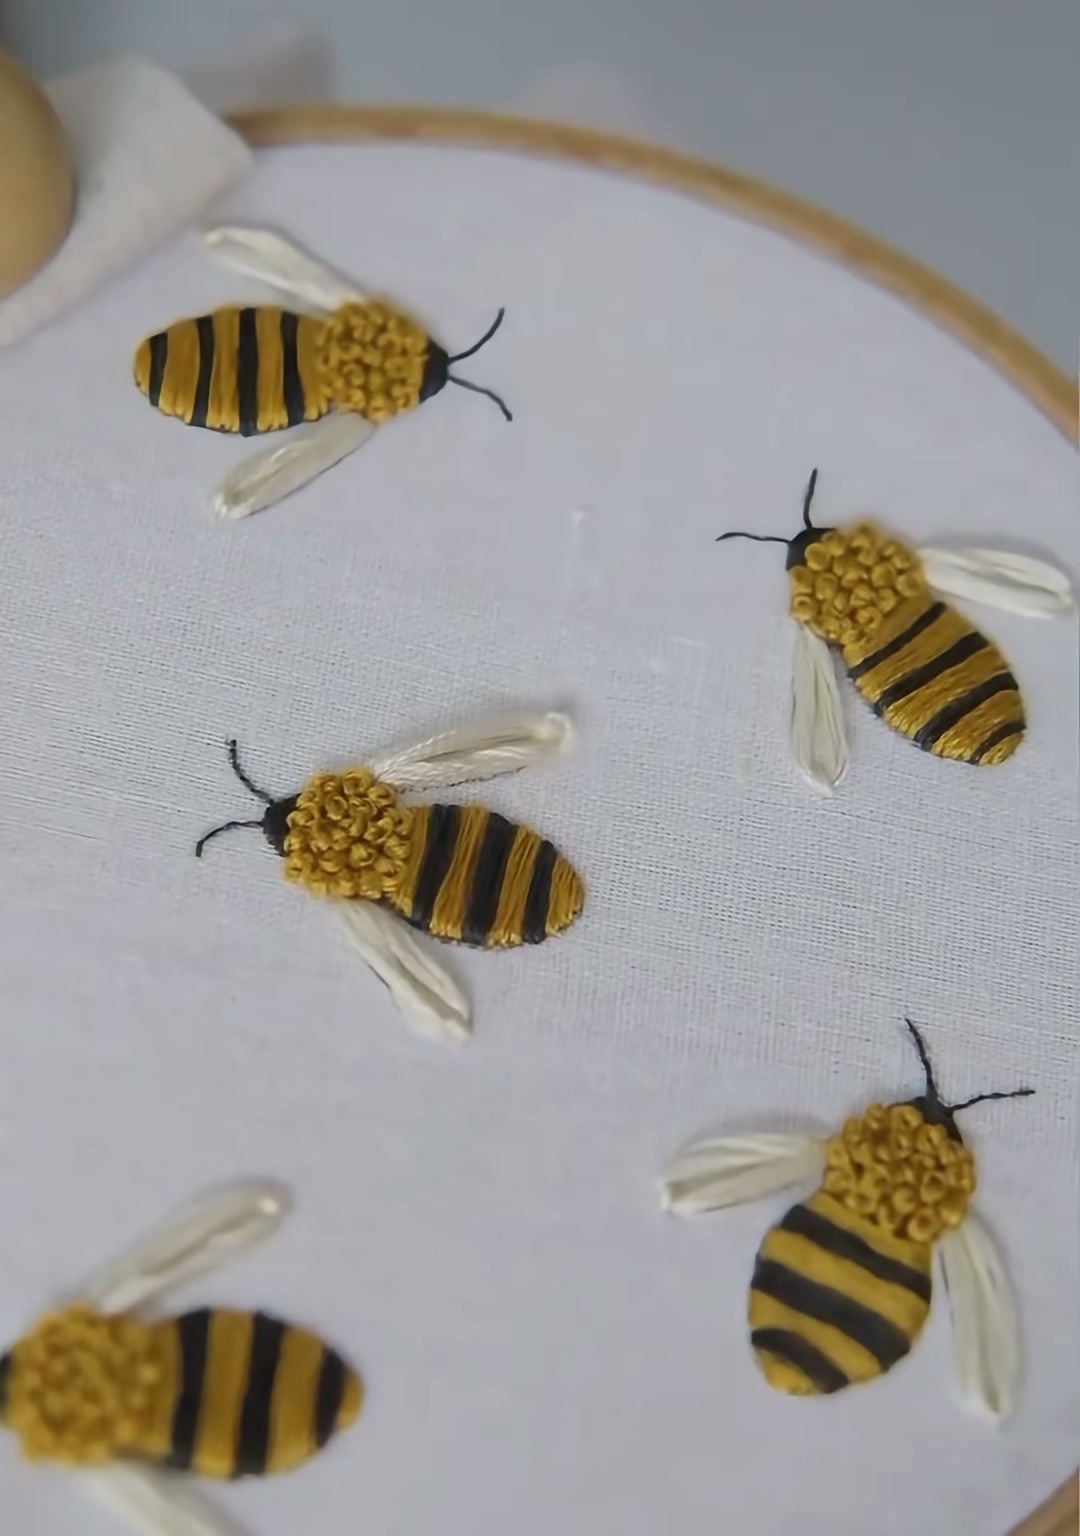
3D Embroidered Bees — A Little Buzz on Fabric
3D Embroidered Bees — A Little Buzz on Fabric
Some embroidery stays flat on the fabric. This little bee does not. With a striped body built from satin stitches, a head full of French knots, and wings that rise slightly above the surface, each bee feels ready to lift off the cloth. Stitch a few together and you have a whole hive on a hoop.
- White linen or cotton fabric
- Wooden embroidery hoop
- Water-soluble fabric marker
- Embroidery needle
- Embroidery floss — golden yellow
- Embroidery floss — black
- Embroidery floss — ivory / off-white
- Small scissors
01 — Sketch the Bees and Begin the Body
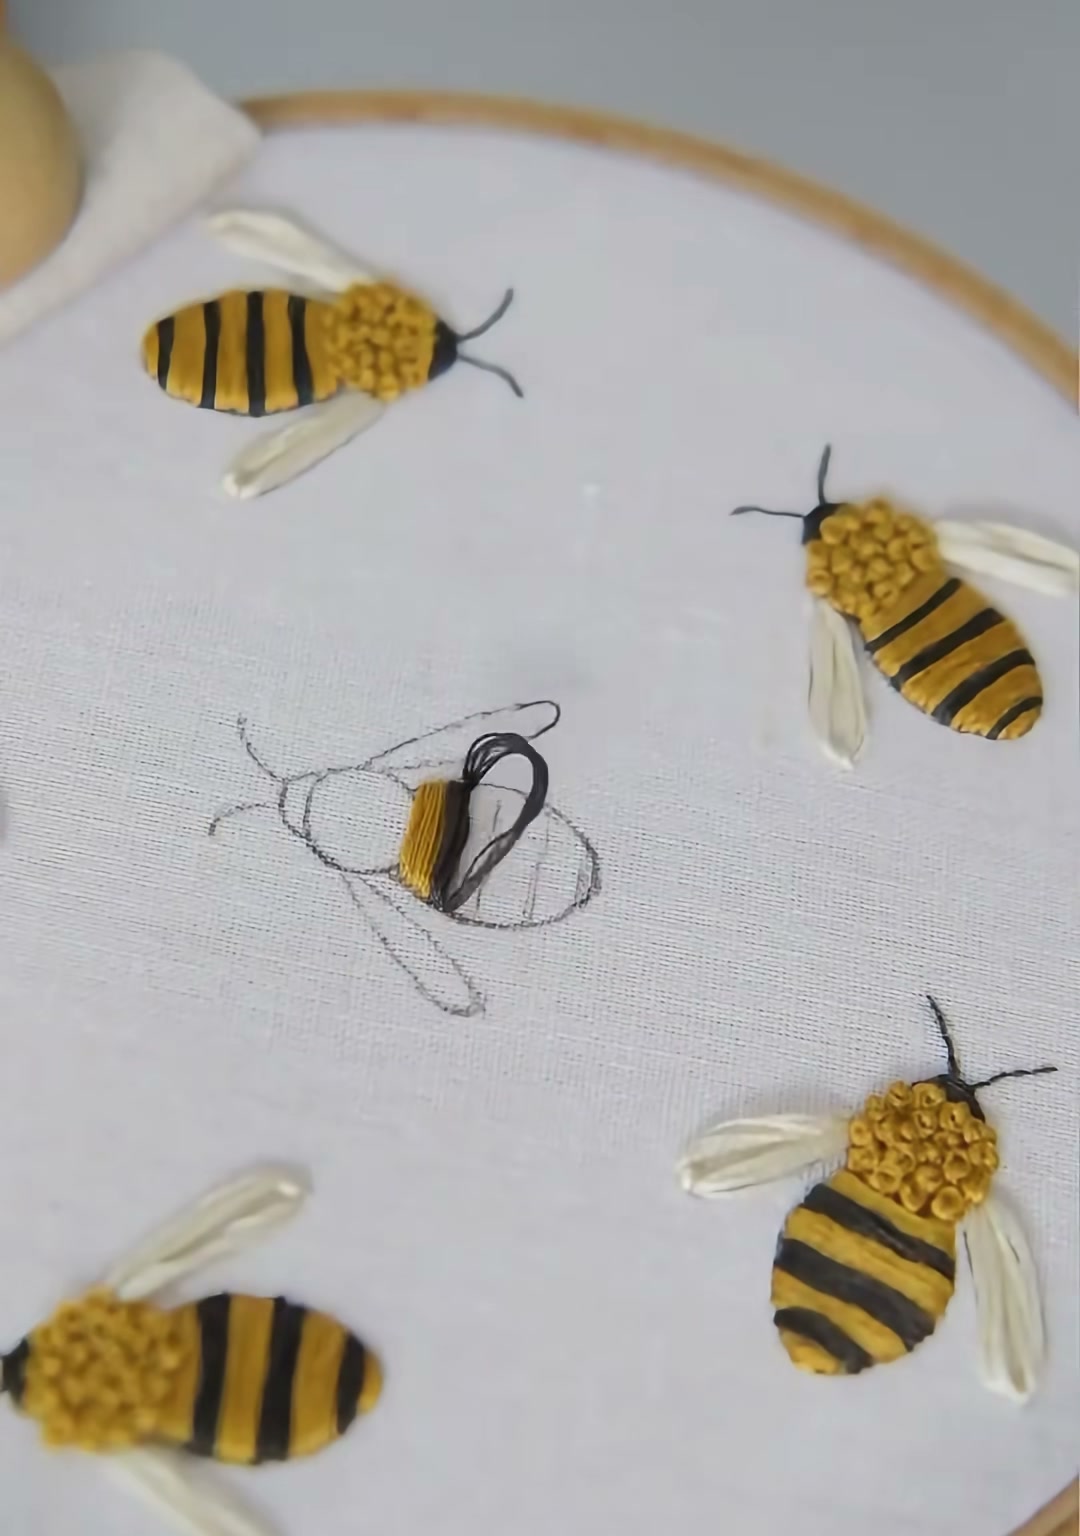
Stretch your fabric in the hoop and use a water-soluble marker to draw several bee shapes in different positions. Each bee has an oval body, a small round head, two antennae, and two pointed wings. Start the first bee's body with golden yellow satin stitches, working along the length of the oval.
02 — Add the Yellow Stripes
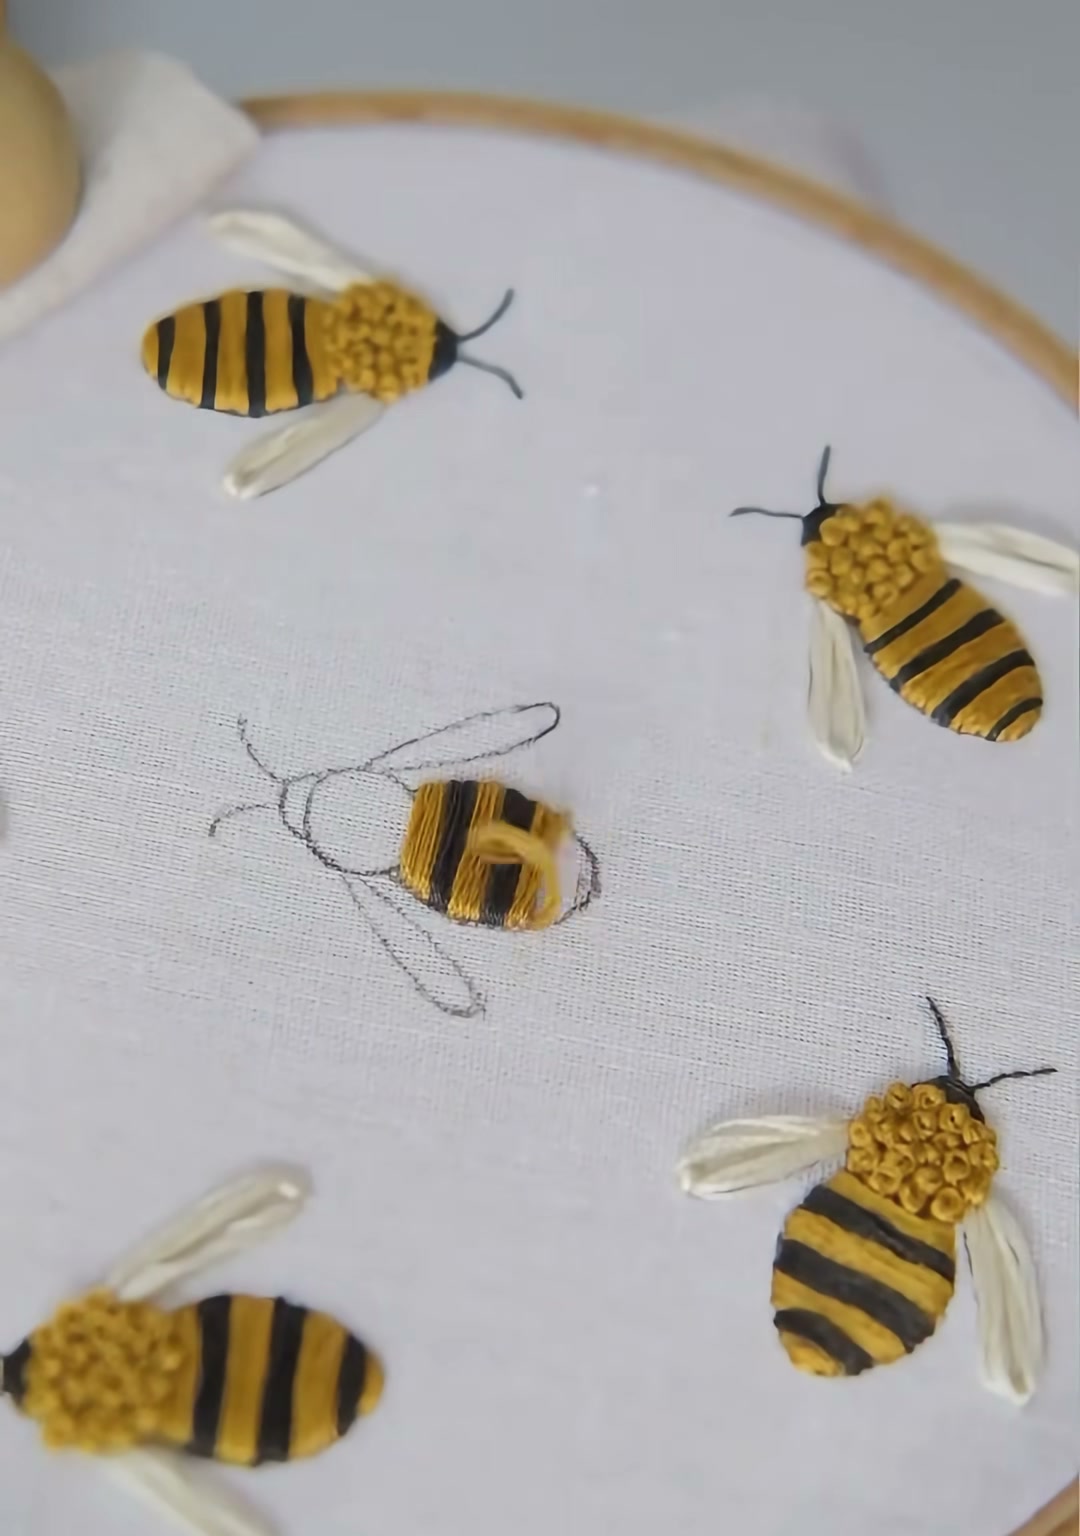
Continue filling the body with yellow, working in clean rows that follow the curve of the oval. These yellow bands will alternate with black bands to create the bee's classic stripes. Keep the stitches close and even — the body is the largest visible area, so neatness here matters.
03 — Add the Black Stripes
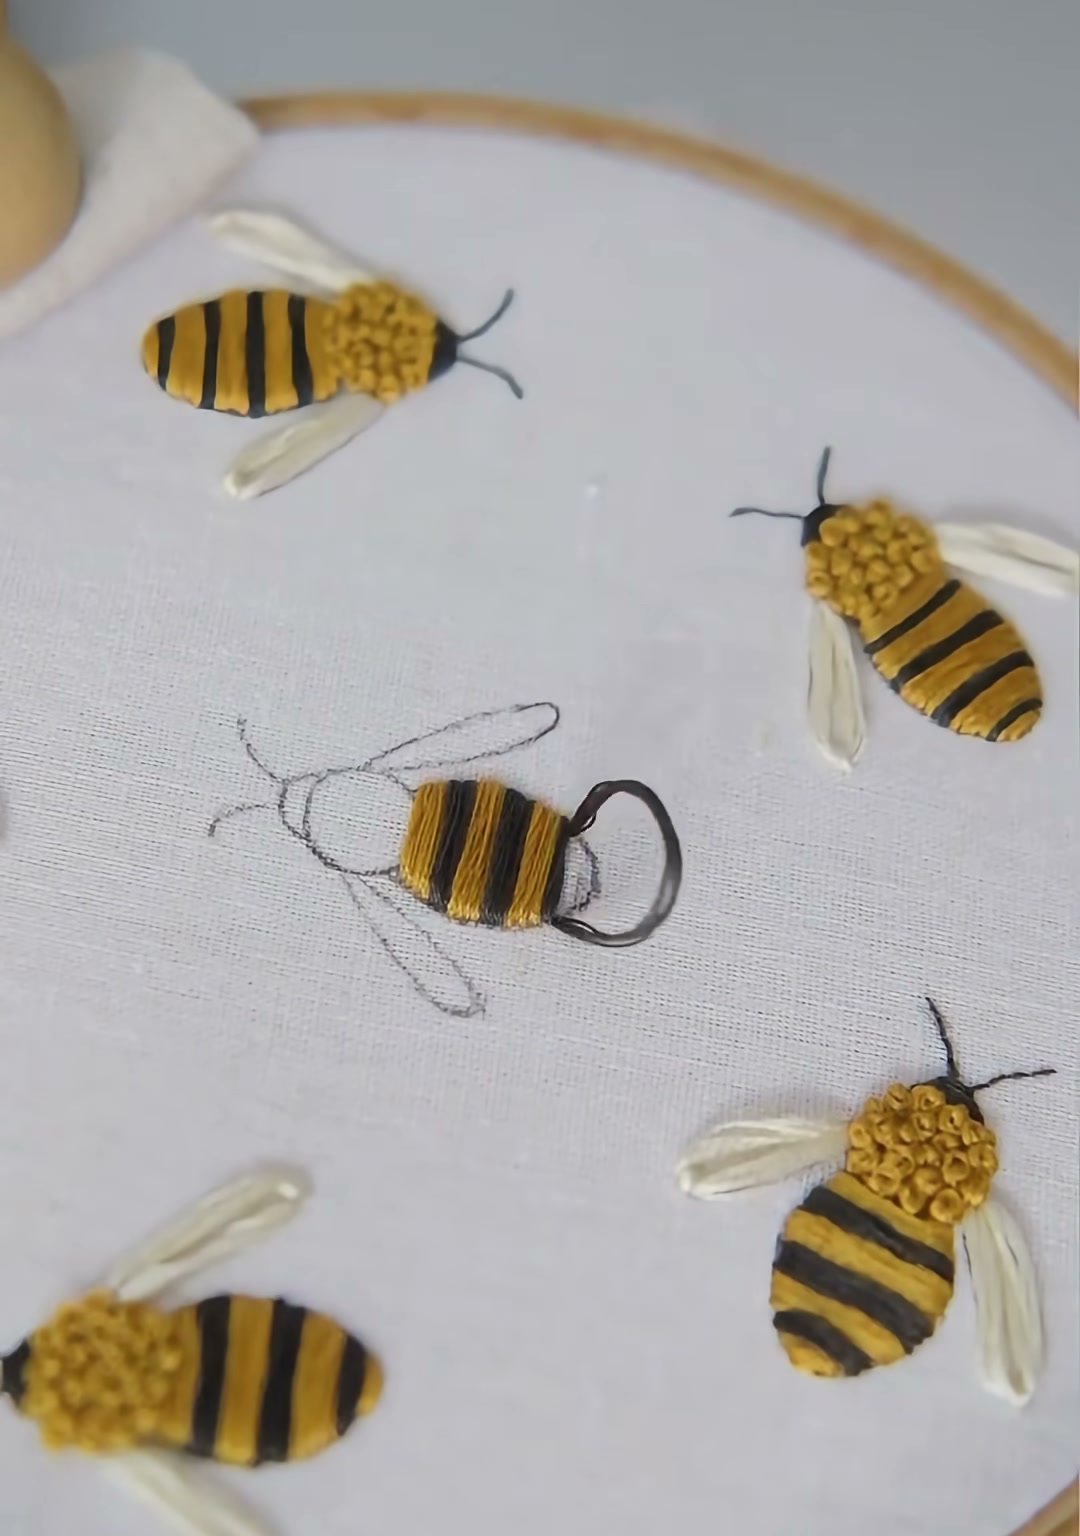
Switch to black floss and stitch narrow bands between the yellow sections. The black stripes should be slightly thinner than the yellow ones, giving the body its recognizable bee-like rhythm. Work each black stripe in the same direction as the yellow rows so the surface stays smooth.
04 — Complete the Body Shape
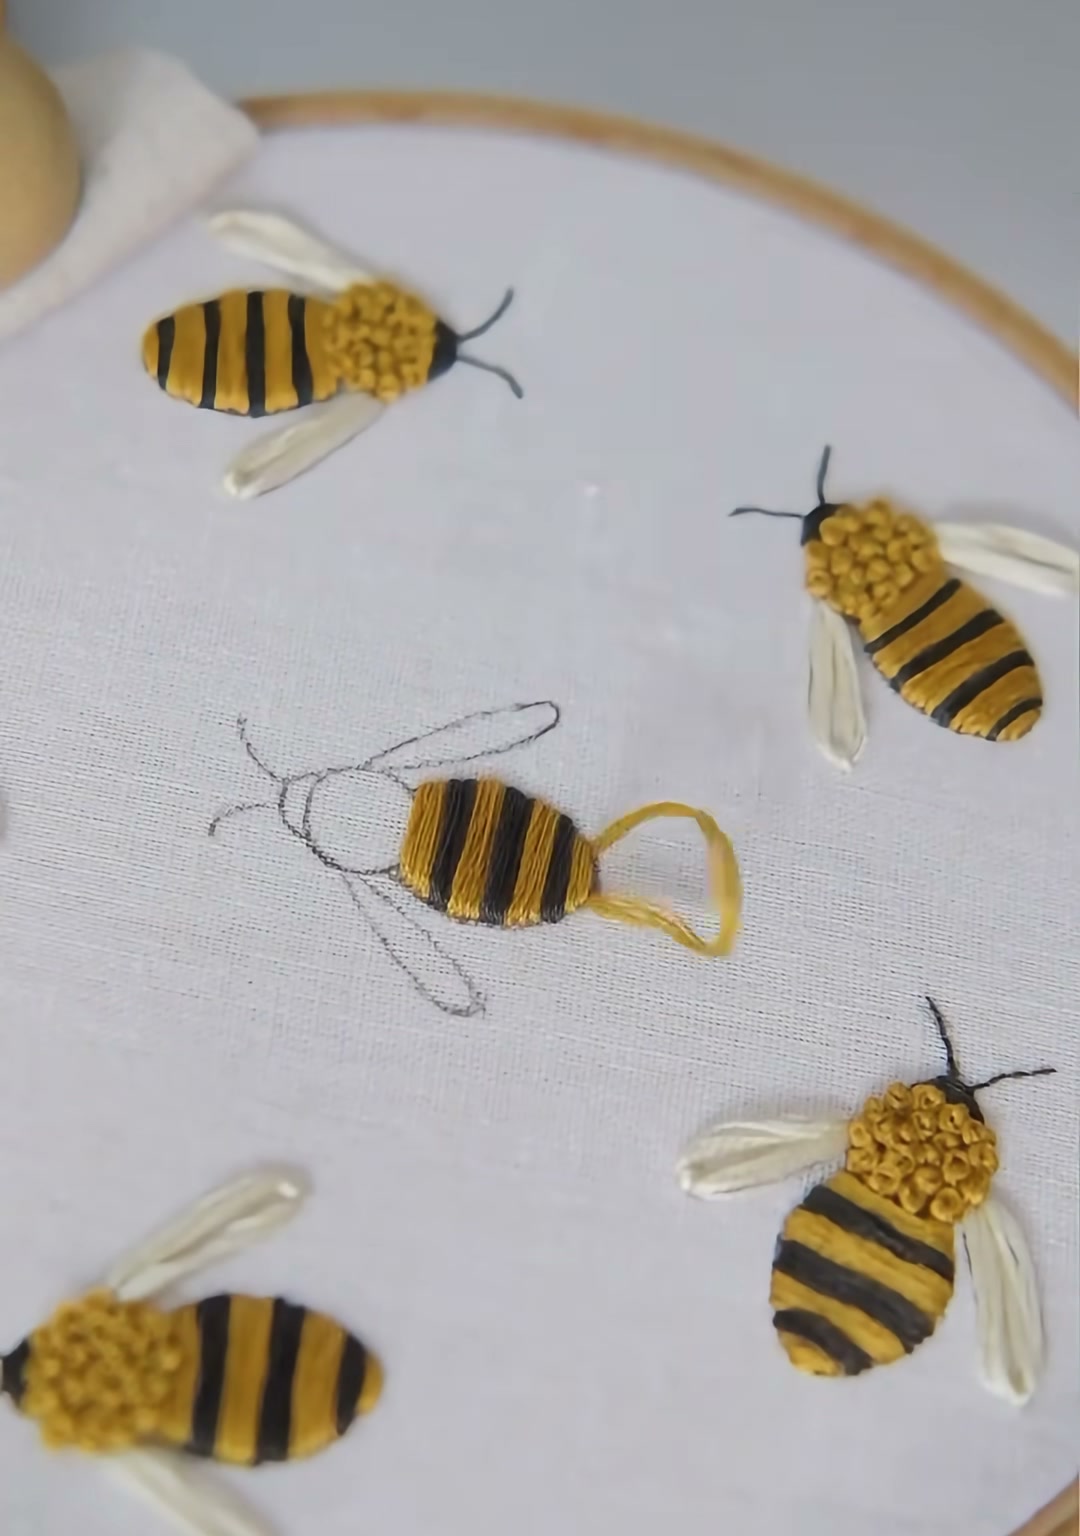
Fill in any gaps and tidy the edges of the body. The oval should feel solid and slightly raised, almost like a tiny cushion. This dimensional stitching is what makes the bee look handcrafted rather than printed.
05 — Fill the Head with French Knots
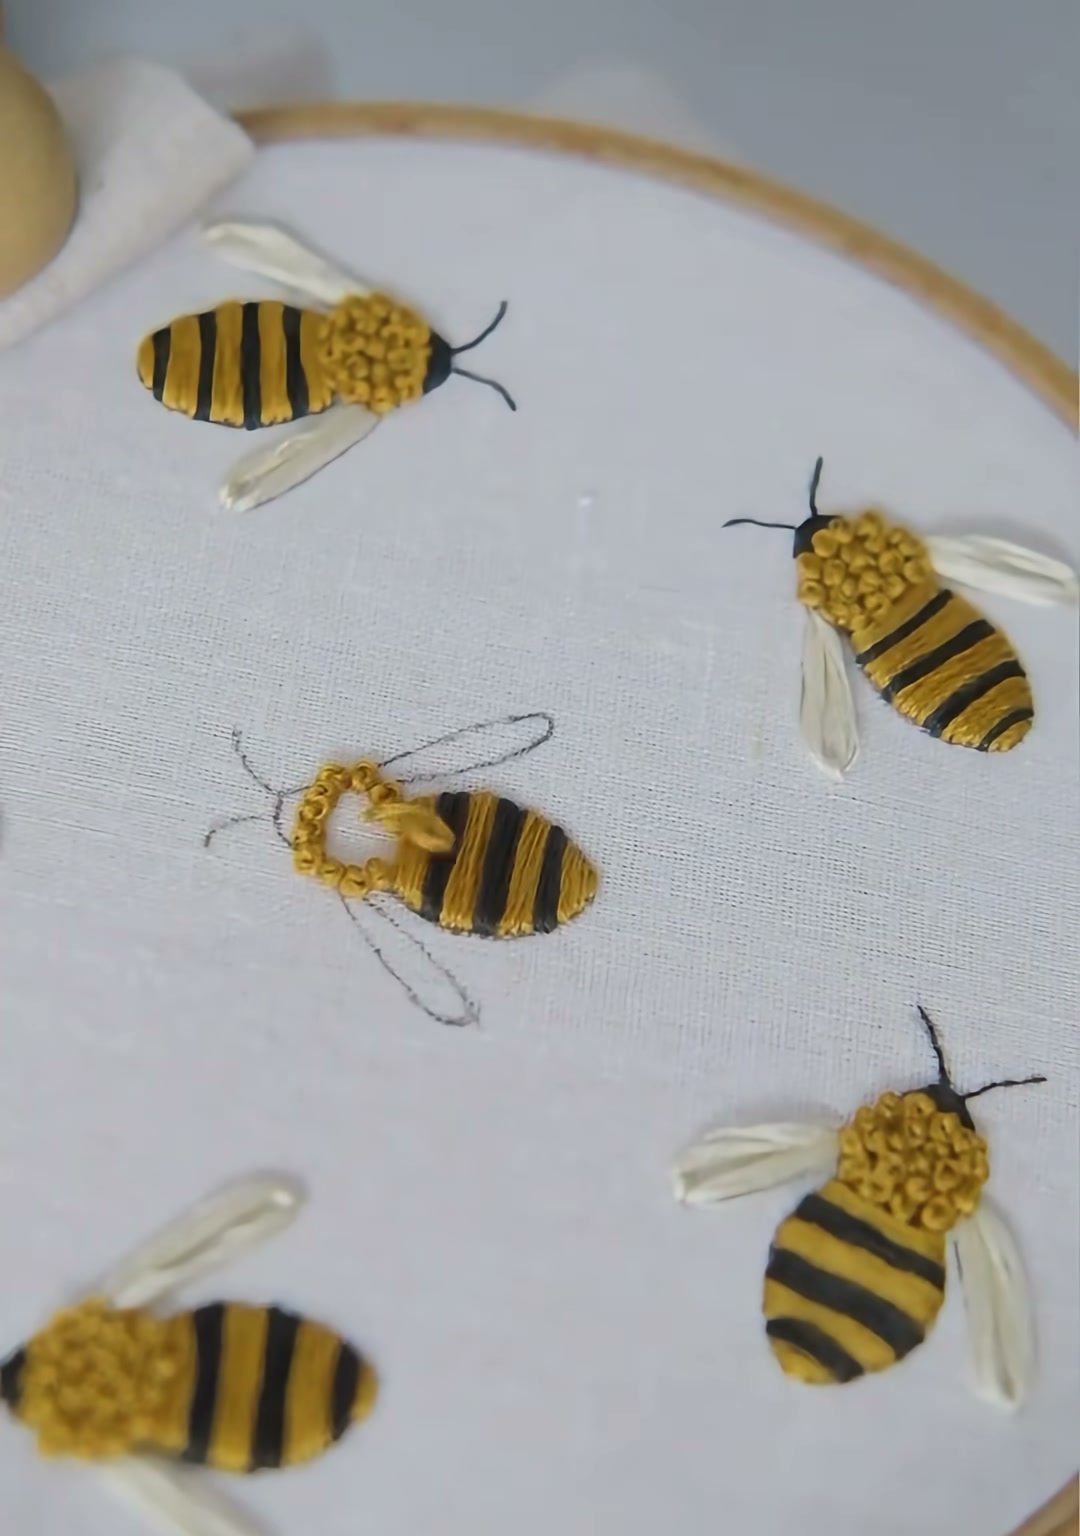
Move to the small round head and switch back to golden yellow. Fill it completely with French knots, placed close together. The knotted texture looks fuzzy and soft — exactly how a bee's head appears when you see one up close.
06 — Outline the Head and Add Antennae
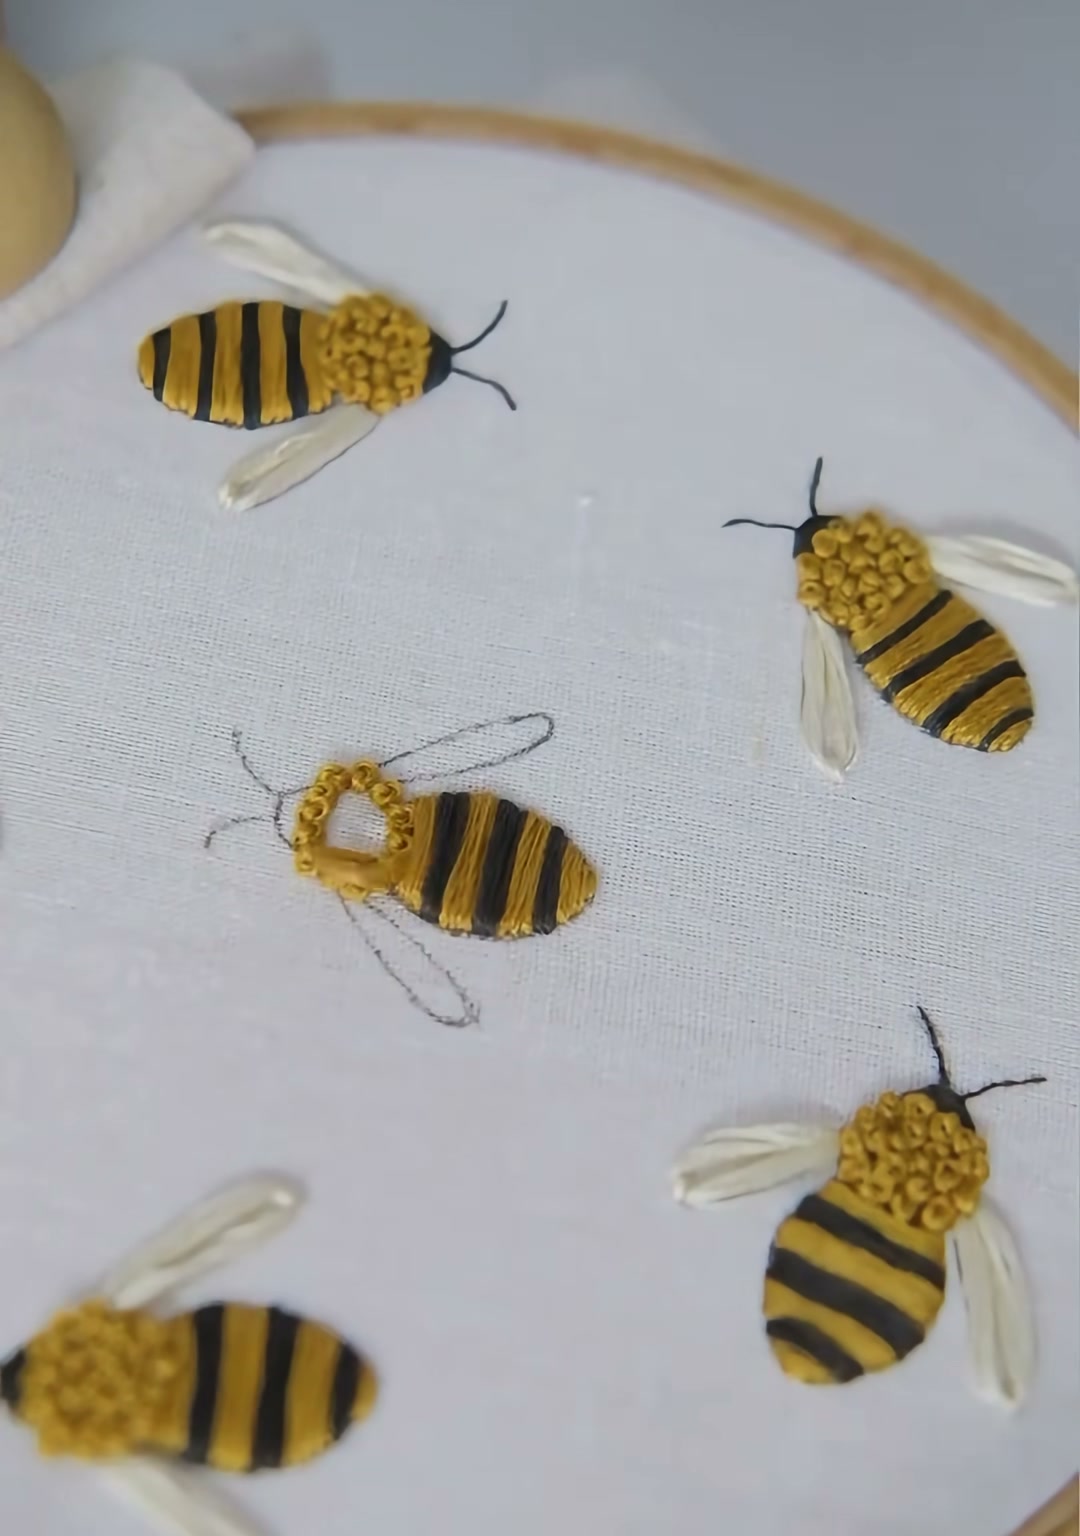
Using a single strand of black floss, outline the head and stitch two slender antennae curving forward. The black outline separates the head cleanly from the body and gives the bee its alert, curious expression.
07 — Start the Wings
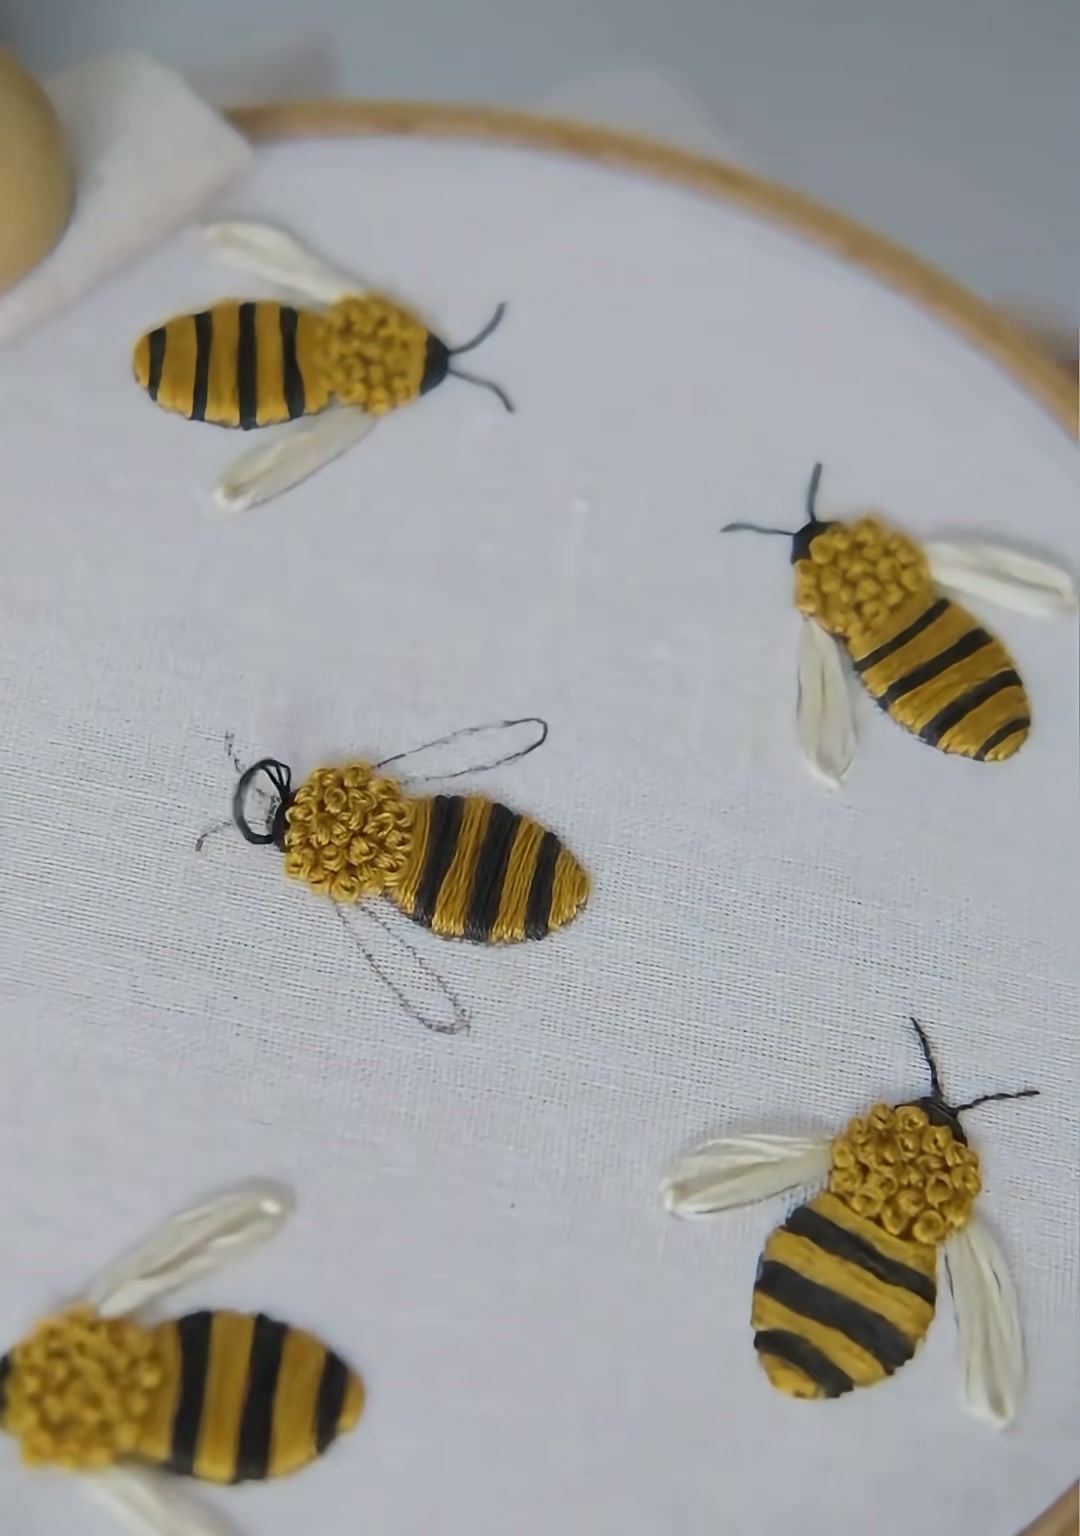
Switch to ivory or off-white floss. Begin the two wings with long satin stitches that extend from the bee's back. The wings should be slightly angled and come to a gentle point. Keep the tension loose enough that the wings puff up just a little above the fabric.
08 — Complete the First Wing
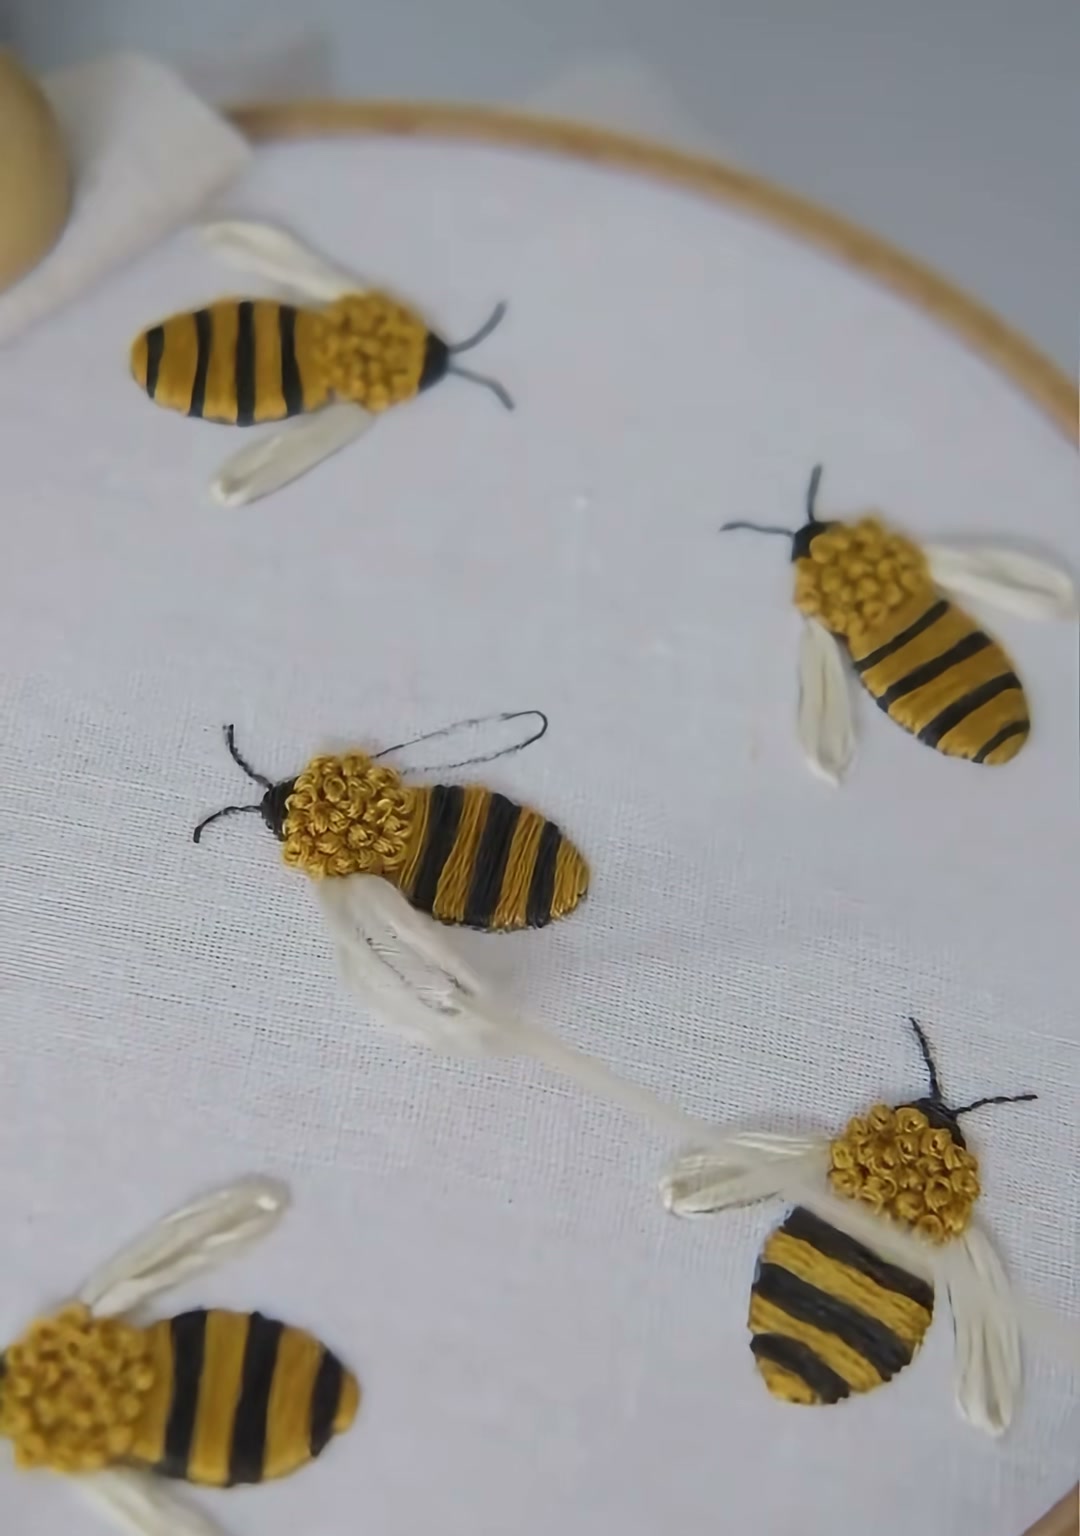
Finish the first wing with parallel satin stitches, then begin the second. The two wings can overlap slightly where they meet the body — this overlap adds to the three-dimensional feel. Let the stitches follow the natural veining direction of an insect wing.
09 — The Finished Bee
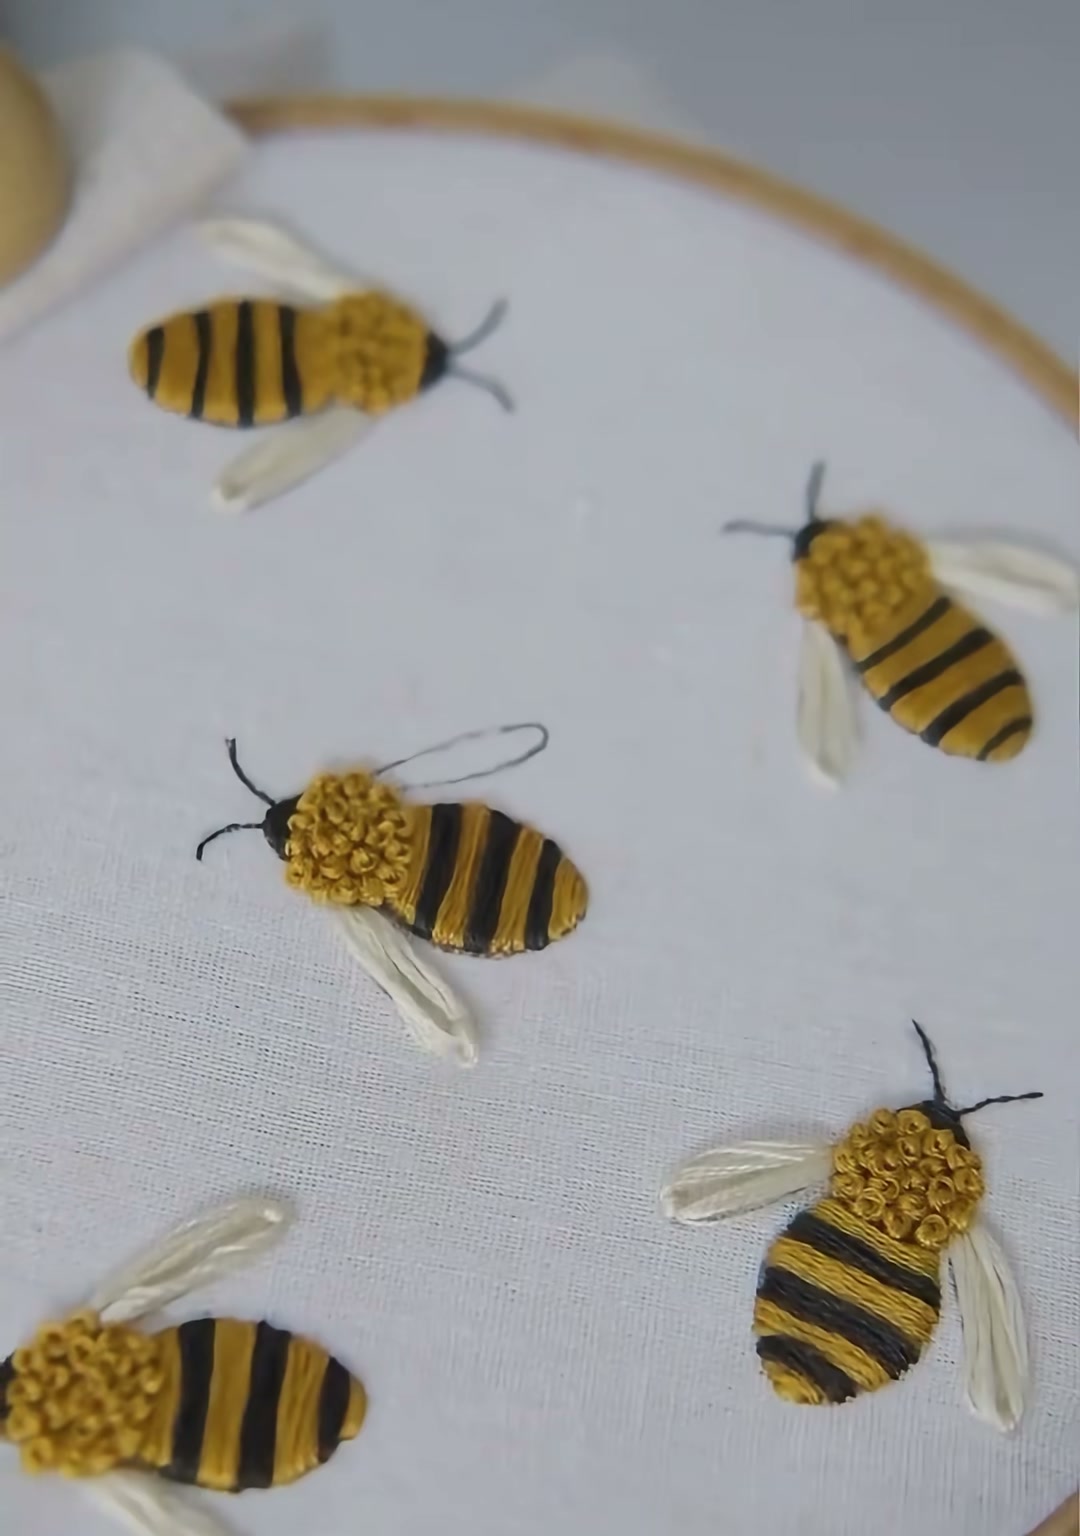
Step back and look at your first finished bee. The stripes are crisp, the head is textured, the antennae are fine, and the wings lift softly from the fabric. Repeat the process for the other sketched bees, turning your hoop into a small buzzing scene.
10 — Close-Up Detail
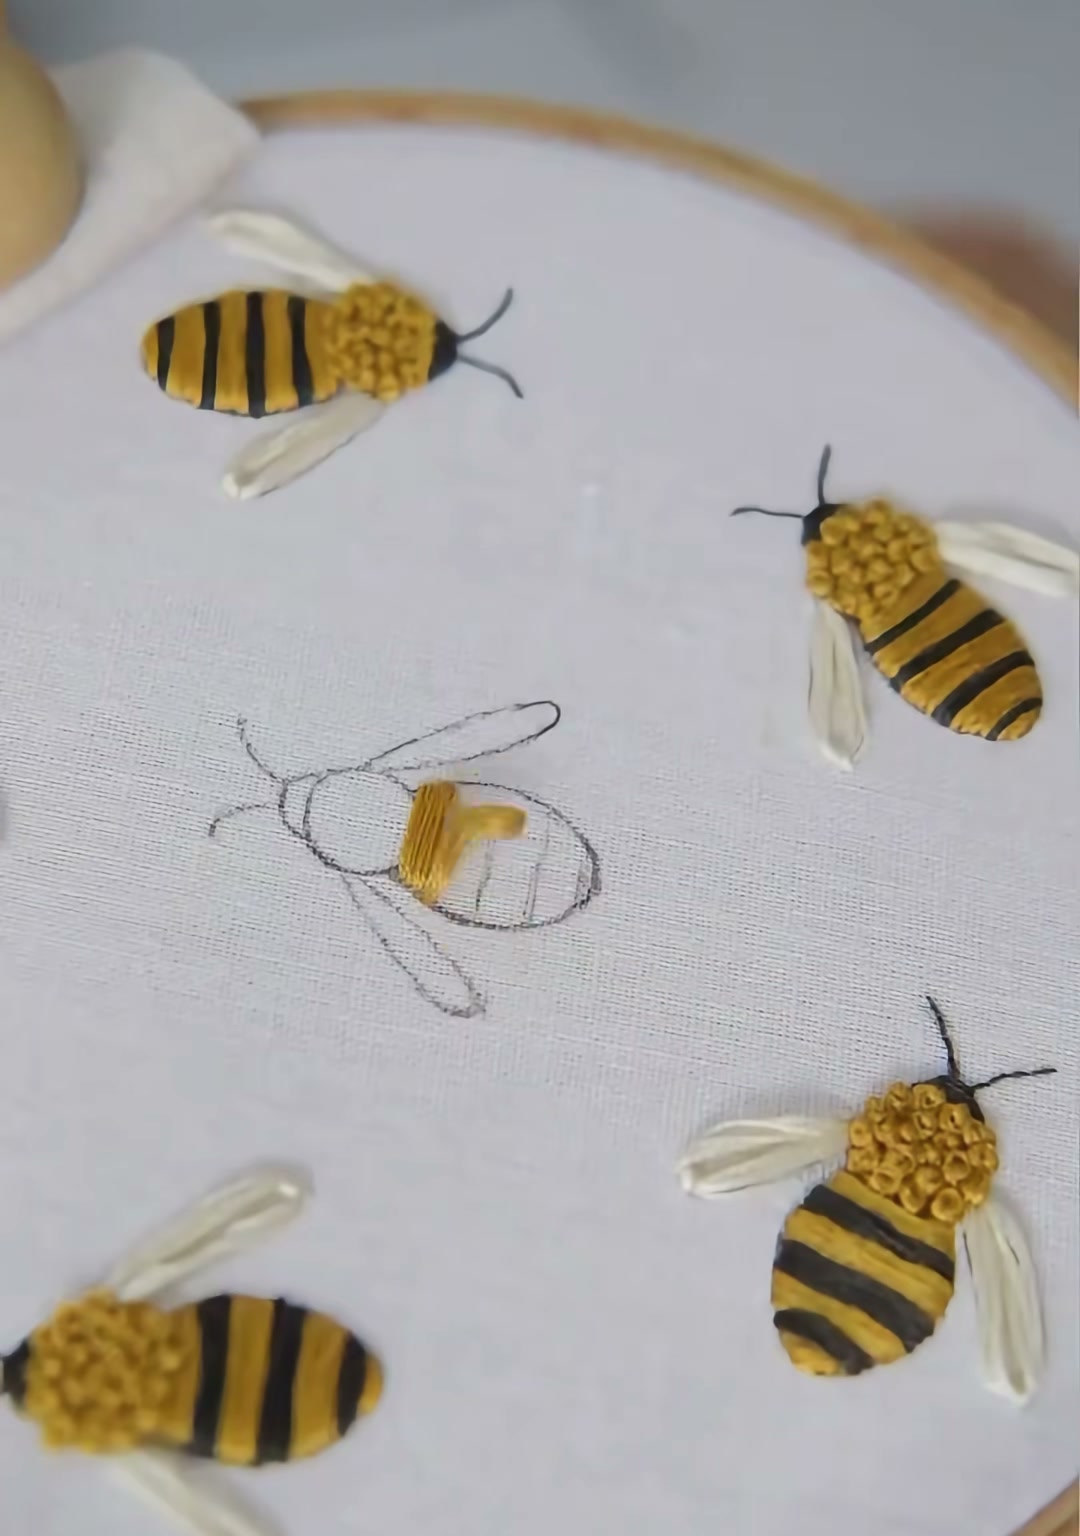
A close-up shows why hand embroidery wins over machine work: the French knots are slightly uneven, the satin stitches have a soft sheen, and the wings catch the light at different angles. These tiny imperfections are what make the bee feel alive.
Bees are small, but they carry a lot of symbolism — hard work, community, and the sweetness that comes from patience. Stitching them takes a little patience too, especially the French knot heads and the careful stripes. But once you finish one, you will want to make a whole swarm.
Happy stitching — one buzz at a time.