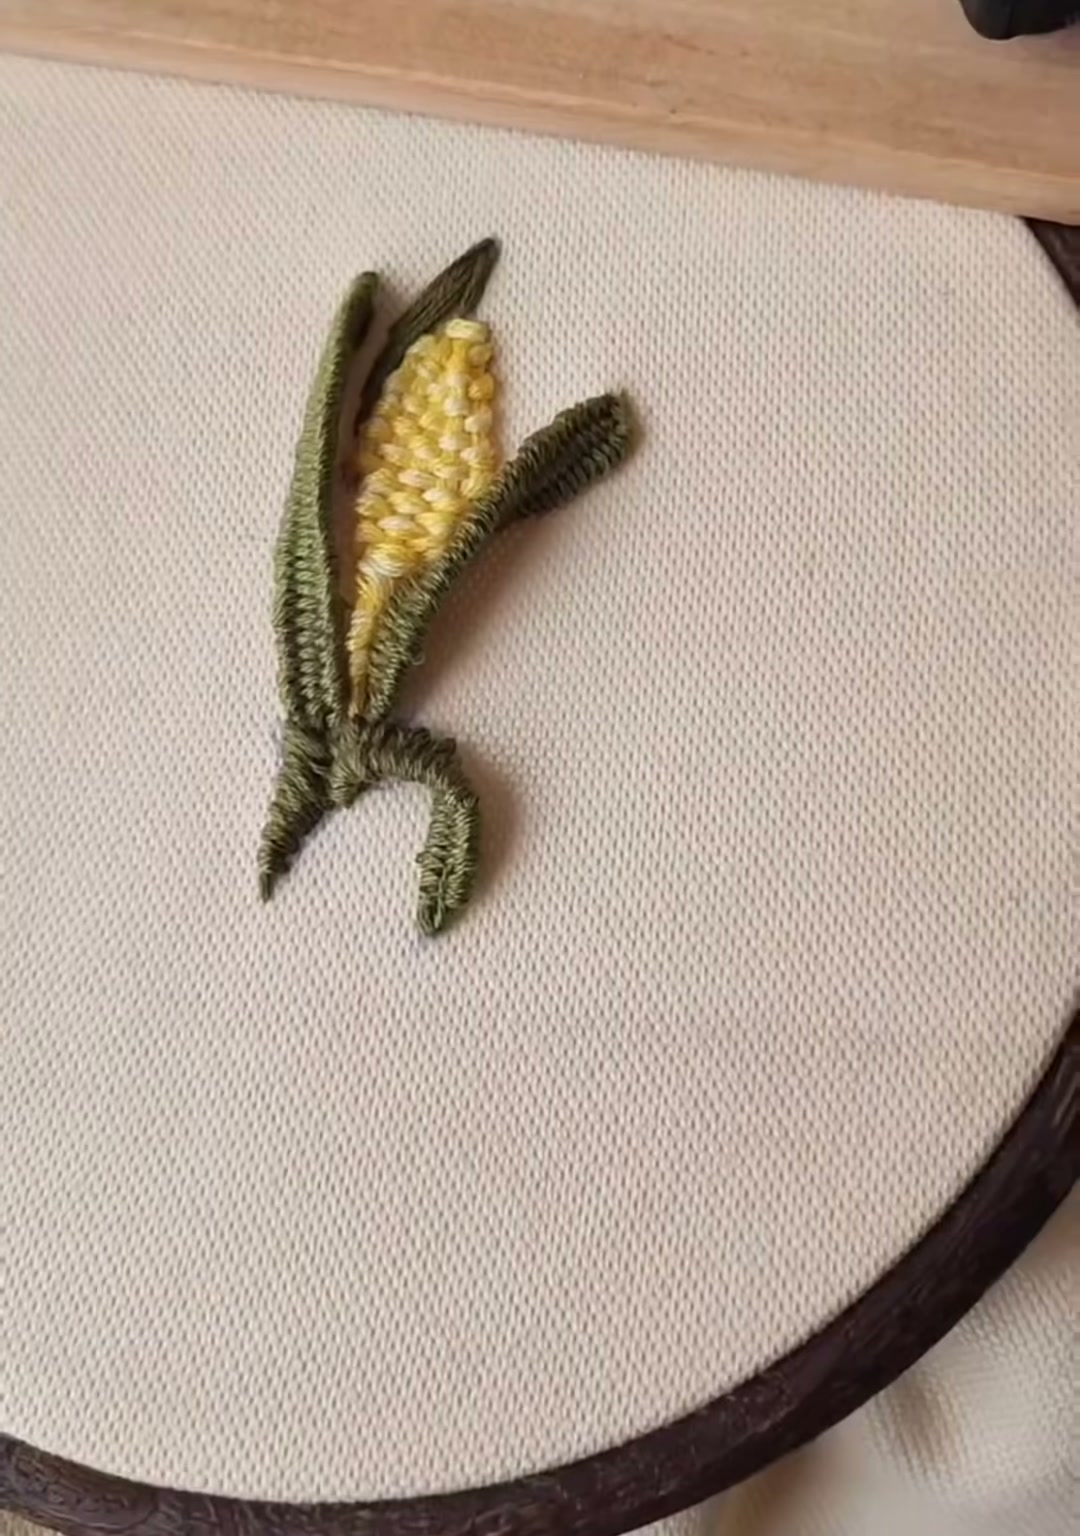
3D Embroidered Corn — Stitched Sunshine in a Hoop
3D Embroidered Corn — Stitched Sunshine in a Hoop
Corn is one of those quiet miracles: rows of tiny kernels tucked inside crisp green leaves. In this tutorial, we will translate that humble shape into thread — using satin stitch, padded straight stitches, and a little patience to make the corn look almost edible.
- Embroidery hoop (15–20 cm)
- Plain weave fabric (cotton or linen)
- Water-soluble fabric marker
- Embroidery needle
- Yellow embroidery floss (2–3 shades)
- Cream or pale yellow floss
- Olive green embroidery floss
- Scissors
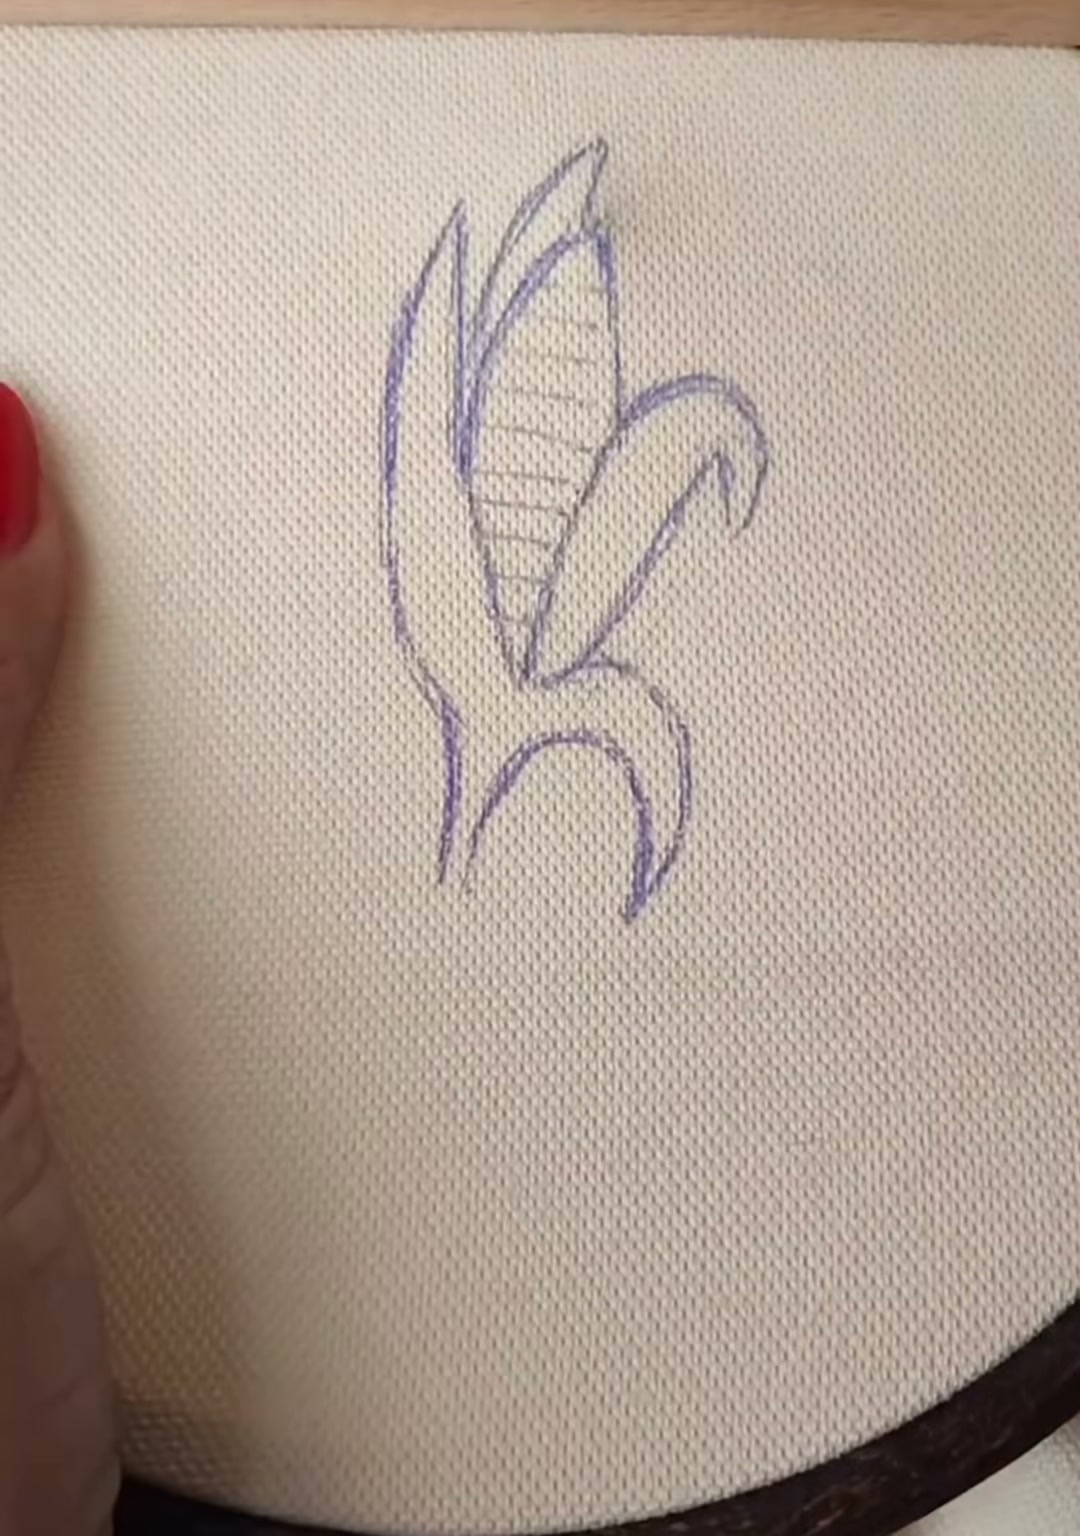
Start by drawing the corn shape directly onto your fabric. A long oval for the ear, with two curved husks framing it like open leaves. Keep the lines light — they will wash away later.
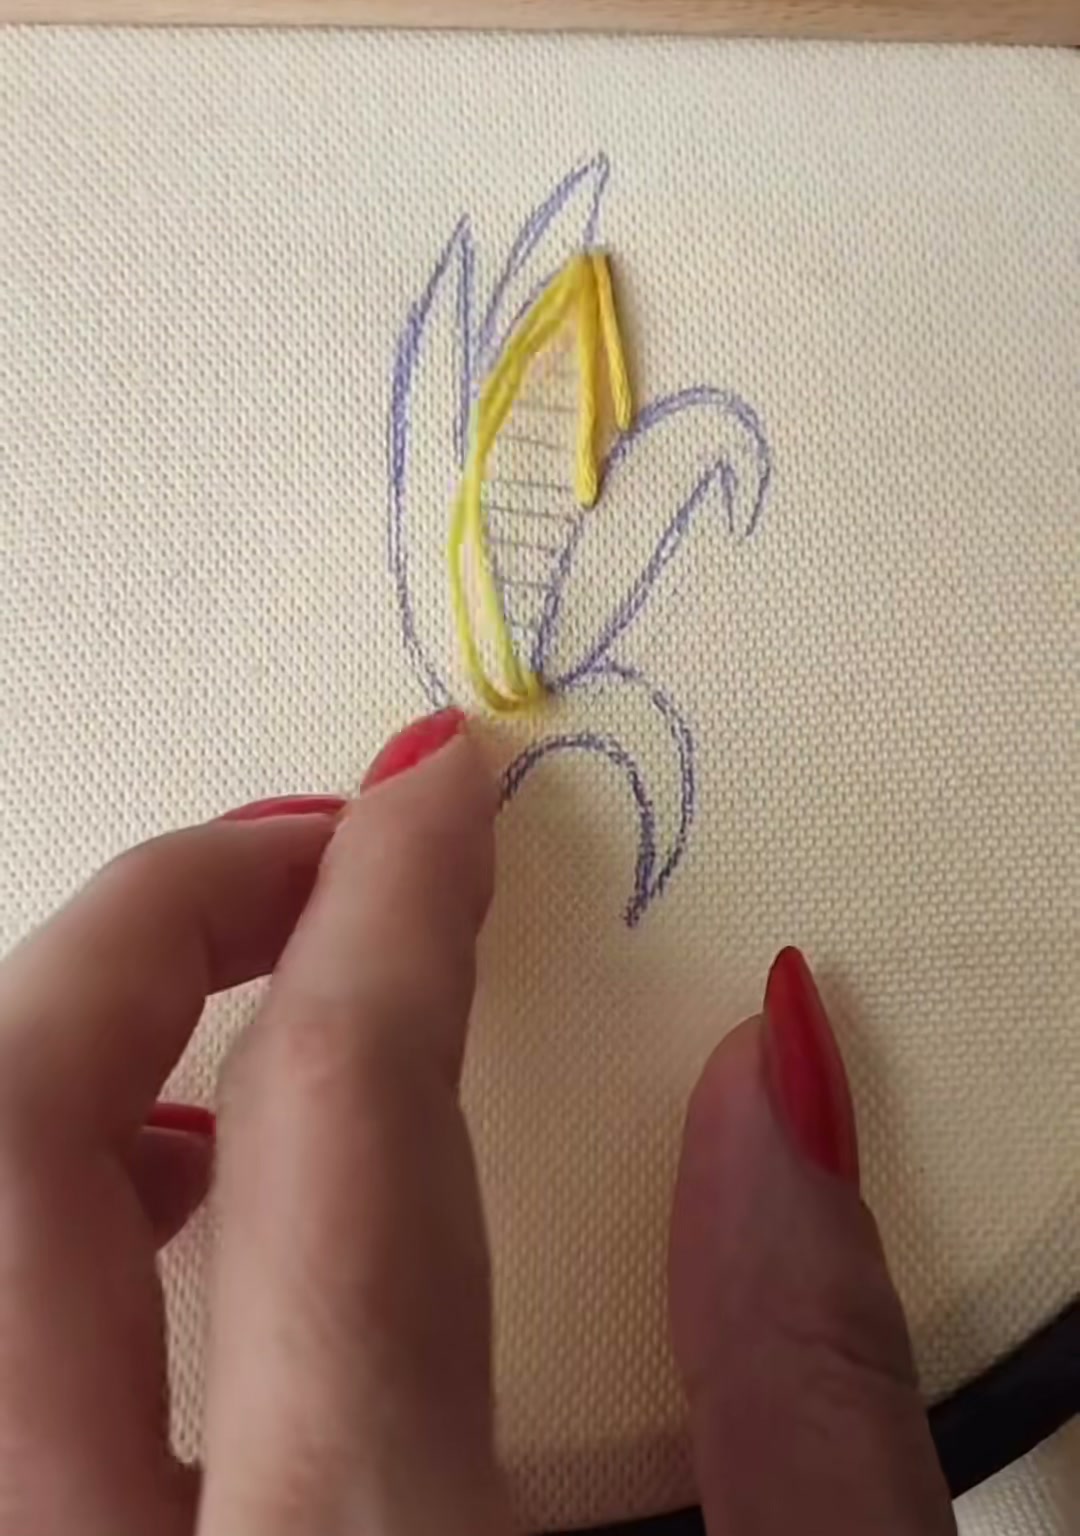
Thread your needle with two strands of bright yellow floss. Lay down long straight stitches down the center of the corn. These will act as the foundation and give the kernels their height.
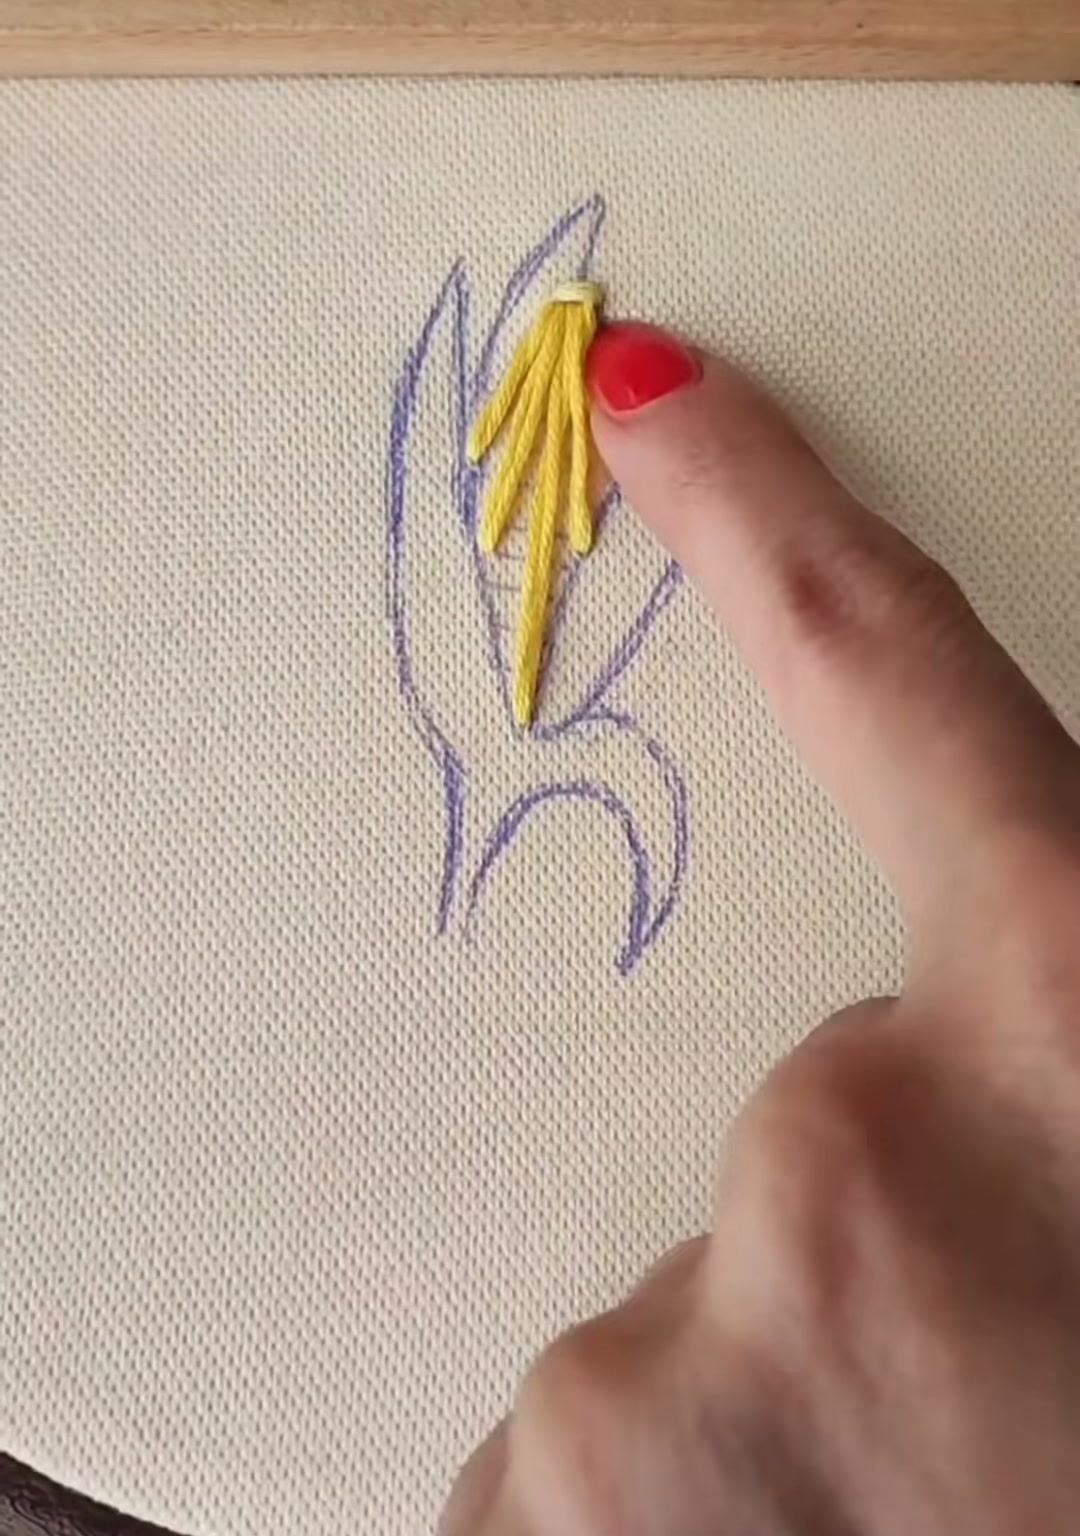
Continue adding rows of straight stitches, working from the top down. Overlap each stitch slightly with the one before it. The small ridges between stitches will read as the gaps between kernels.
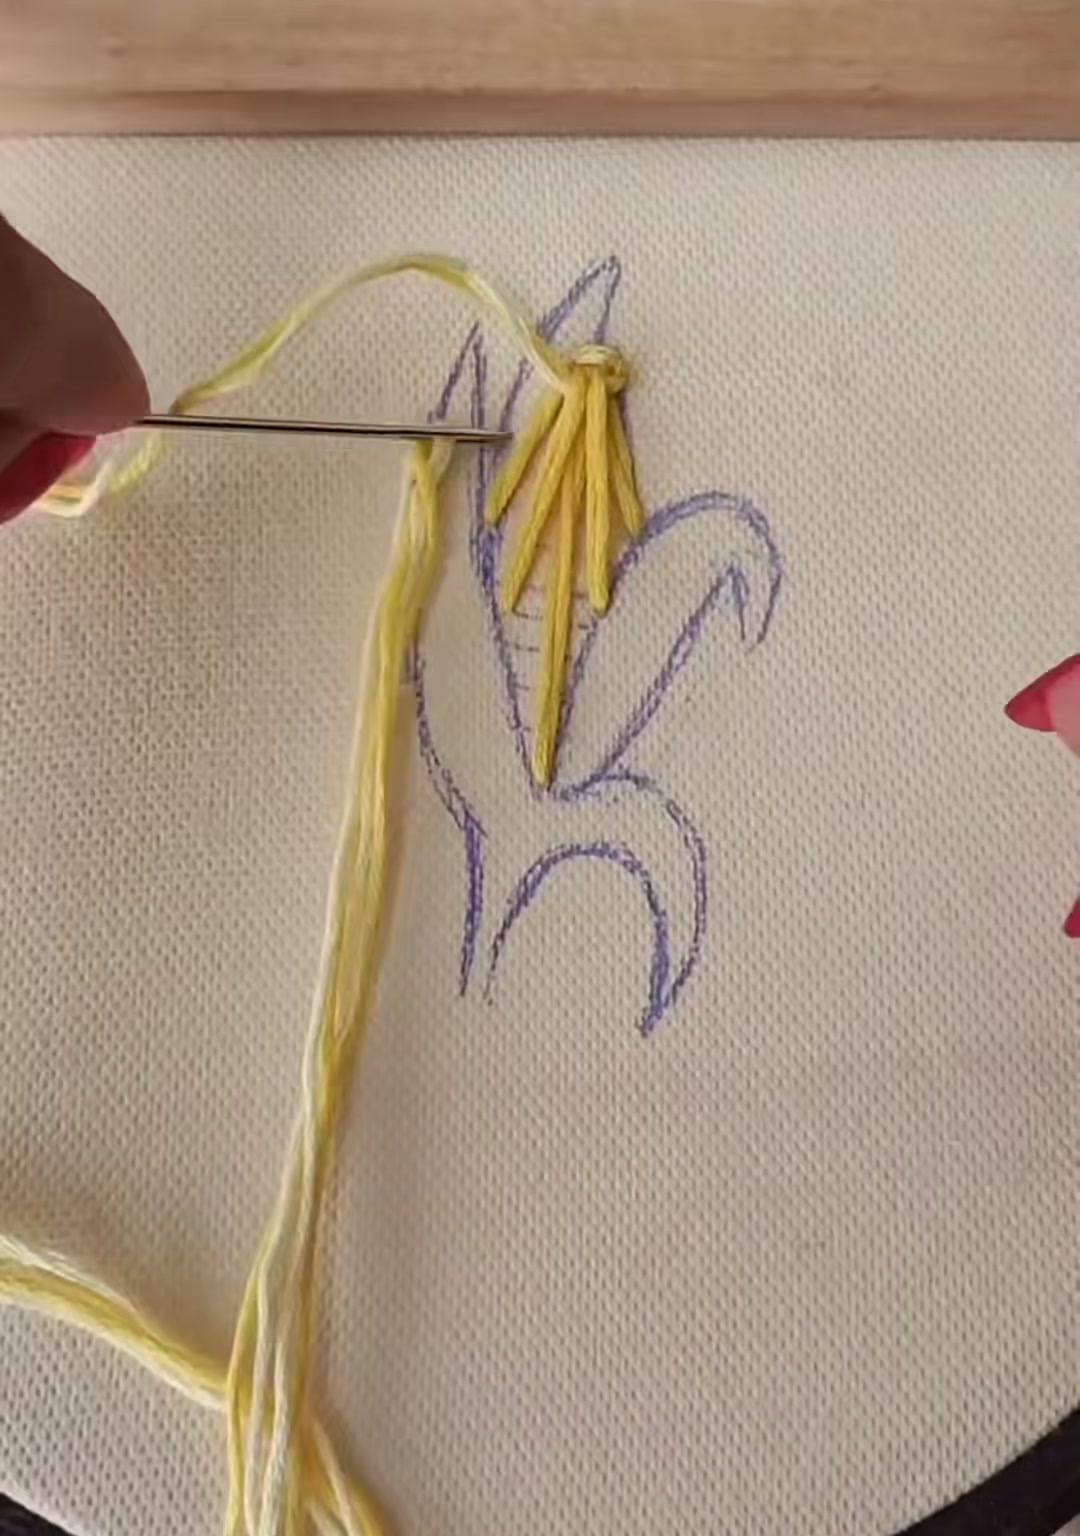
Fill the entire ear shape with yellow stitches. Use a slightly darker yellow at the narrow tip and a paler yellow near the top to suggest the natural color variation of real corn.
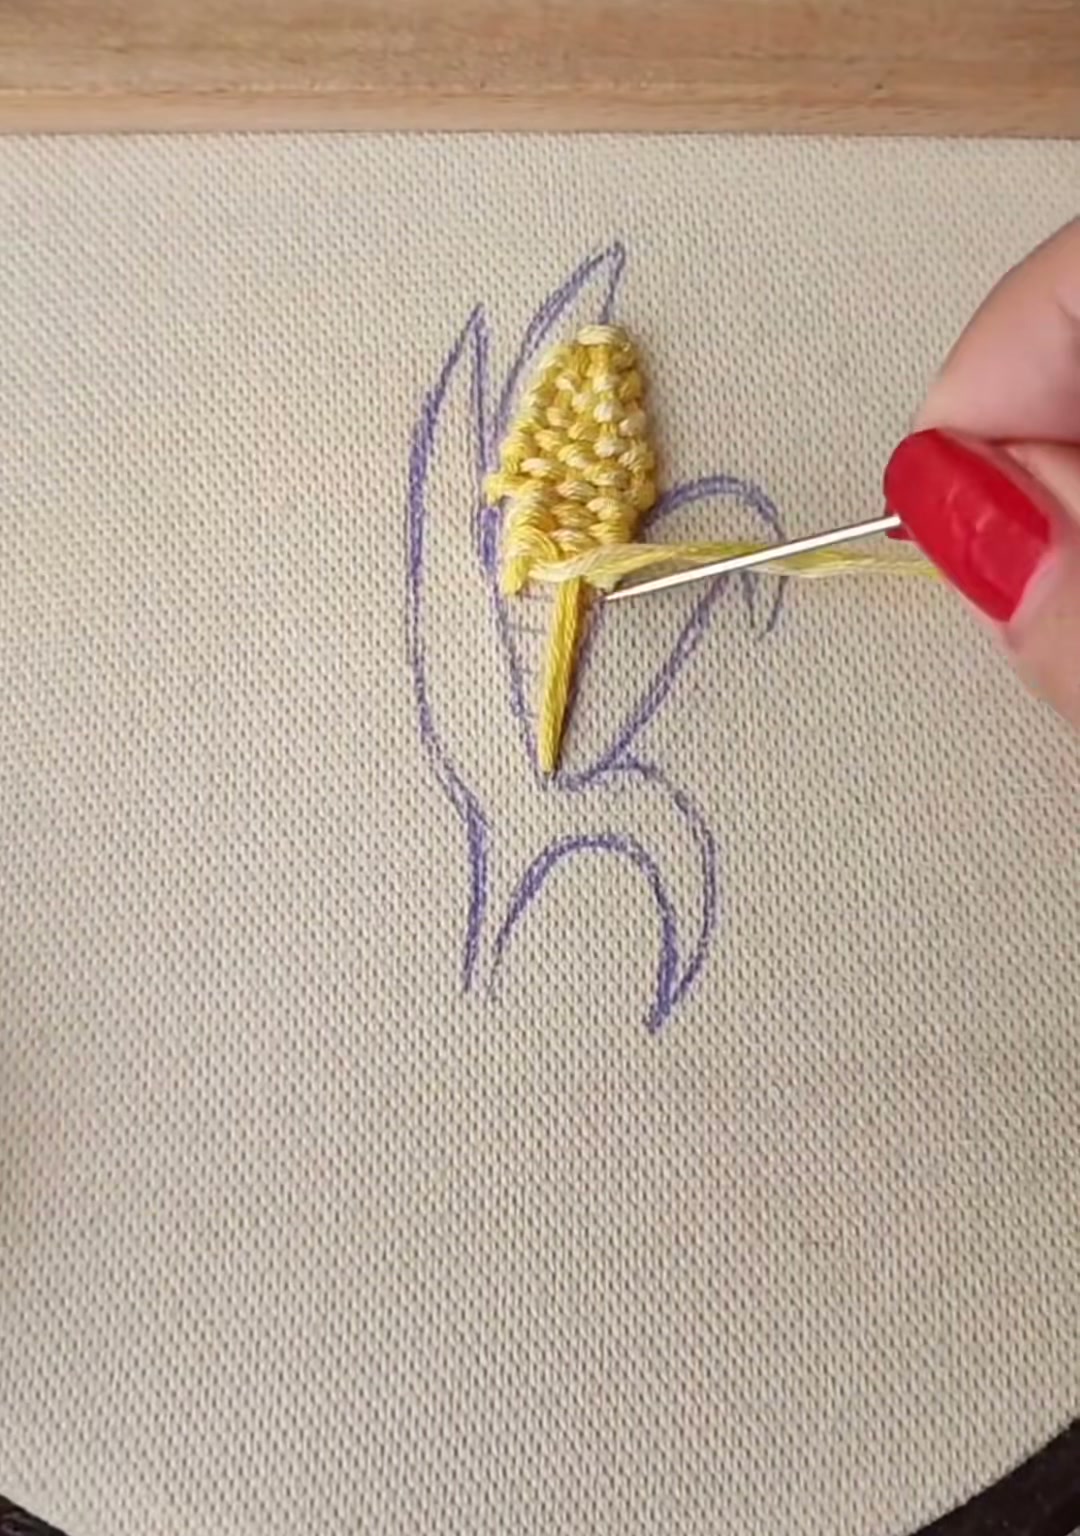
Pack the stitches tightly. The goal is a raised, slightly domed surface — not flat. When you run your finger over it, you should feel the rounded shape of the ear.
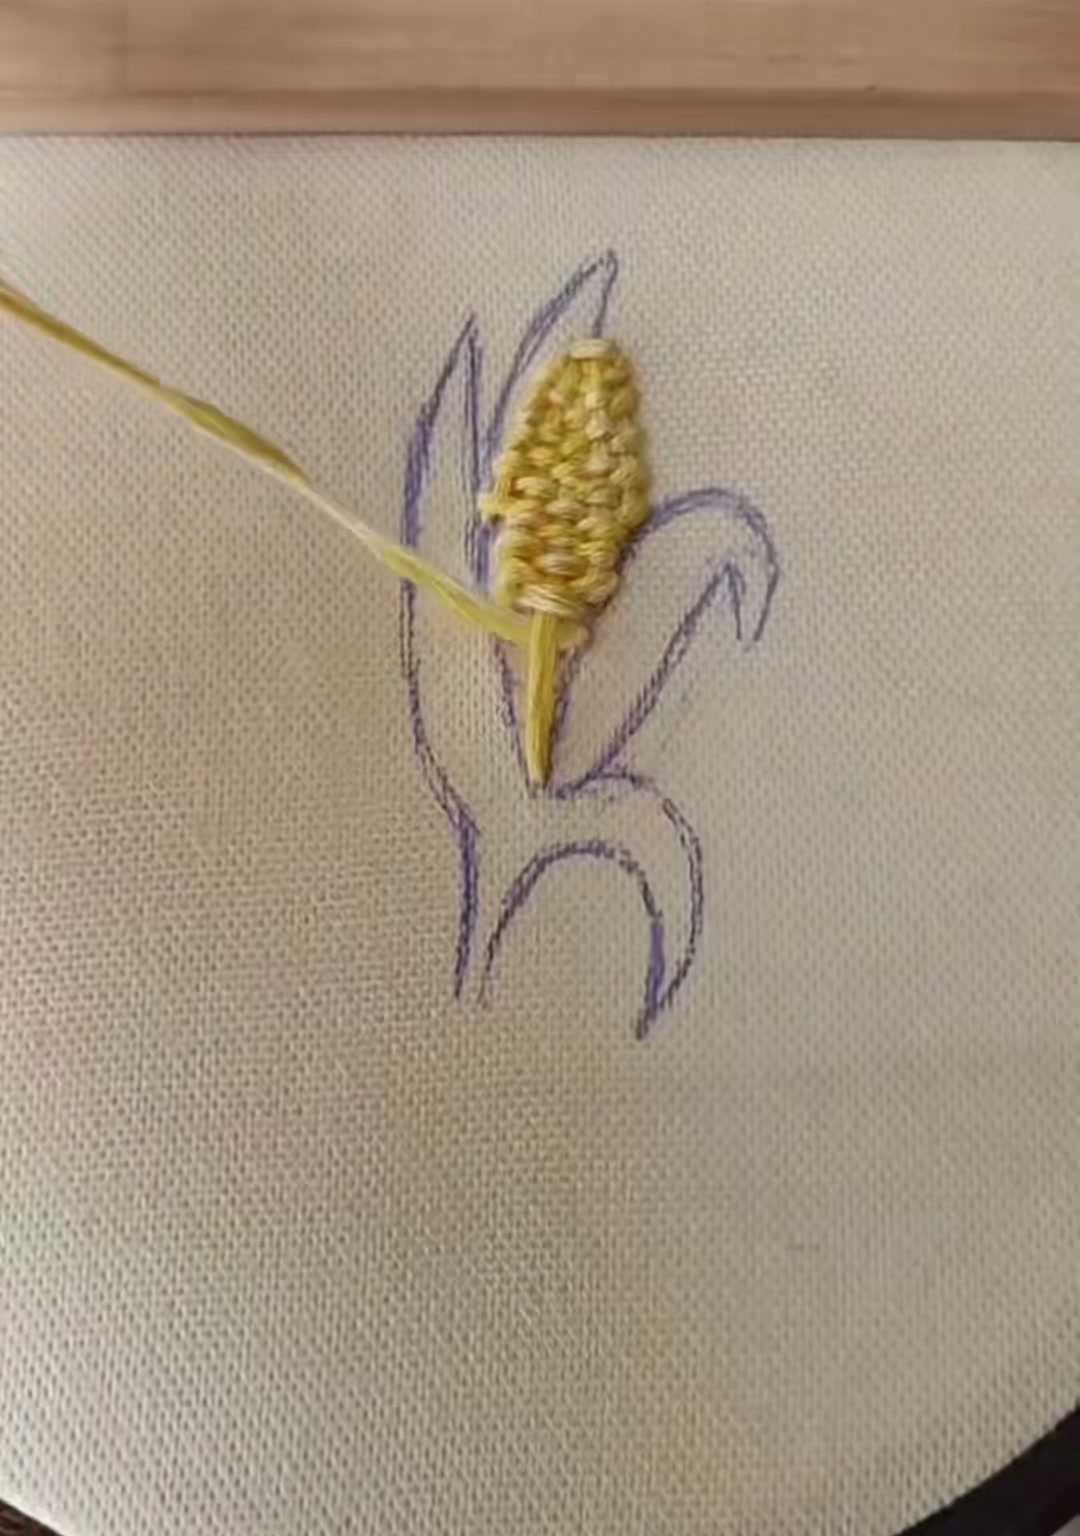
Once the ear is solid yellow, check the edges. The outline should still be visible beneath the stitches. If any fabric peeks through, add a few more stitches to cover it.
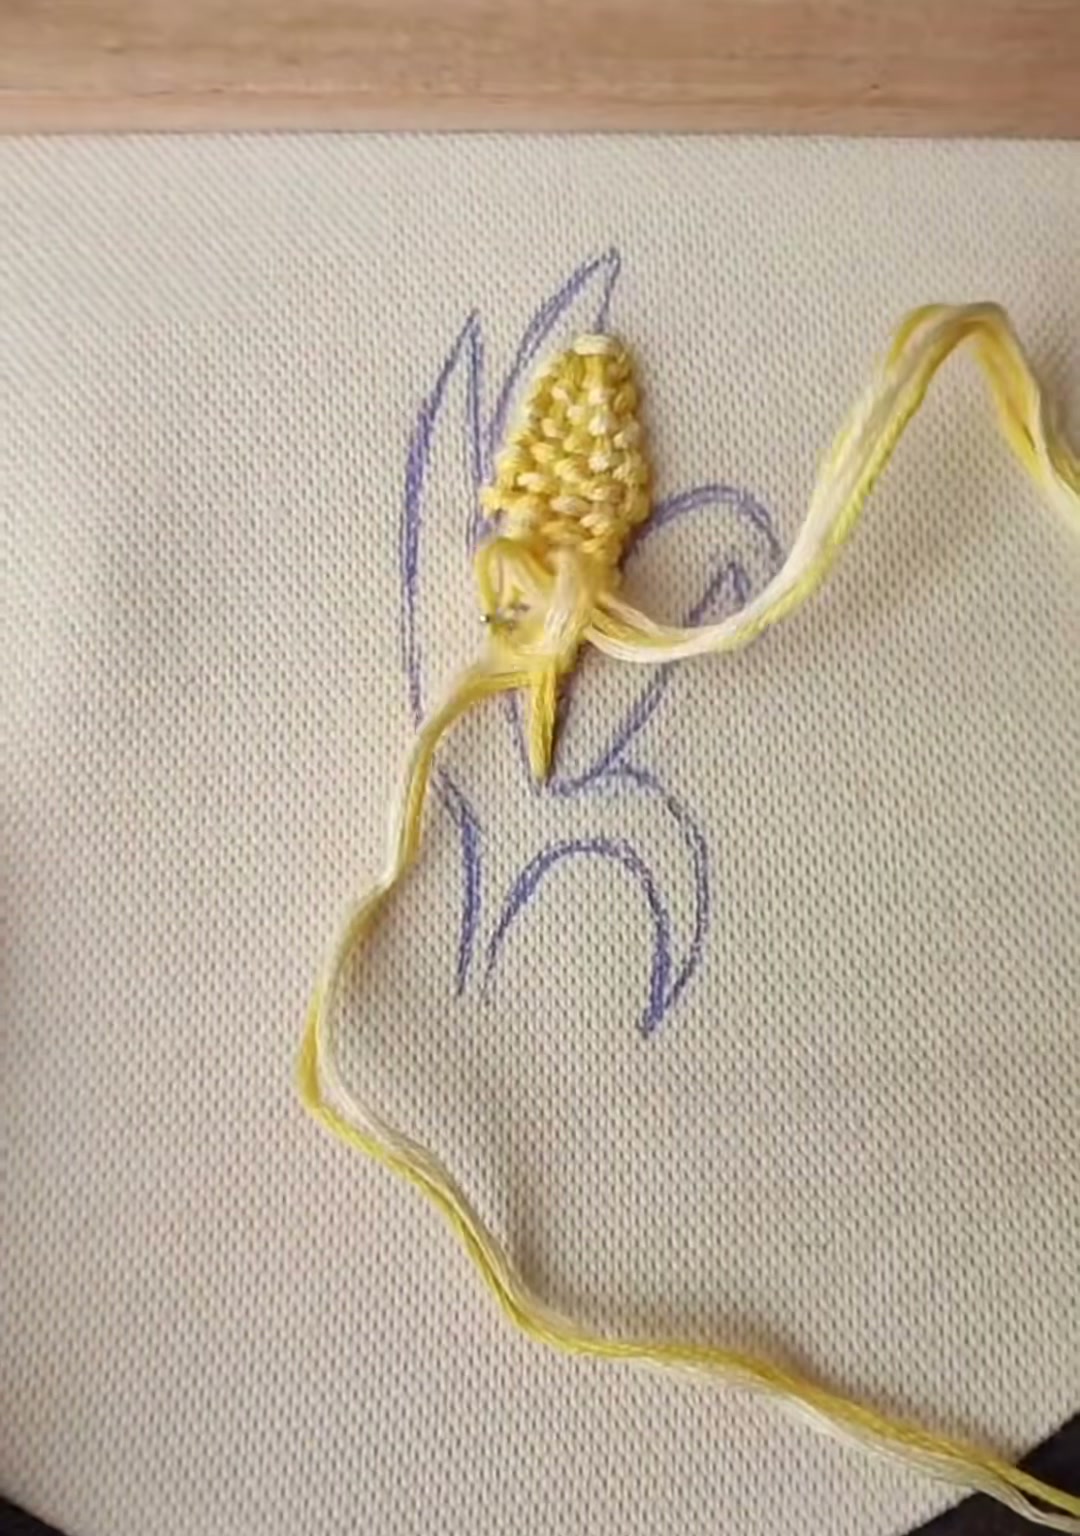
Switch to olive green floss. Stitch the left husk with satin stitch, following the curved outline. Keep the stitches close and parallel, working from the base of the corn upward.
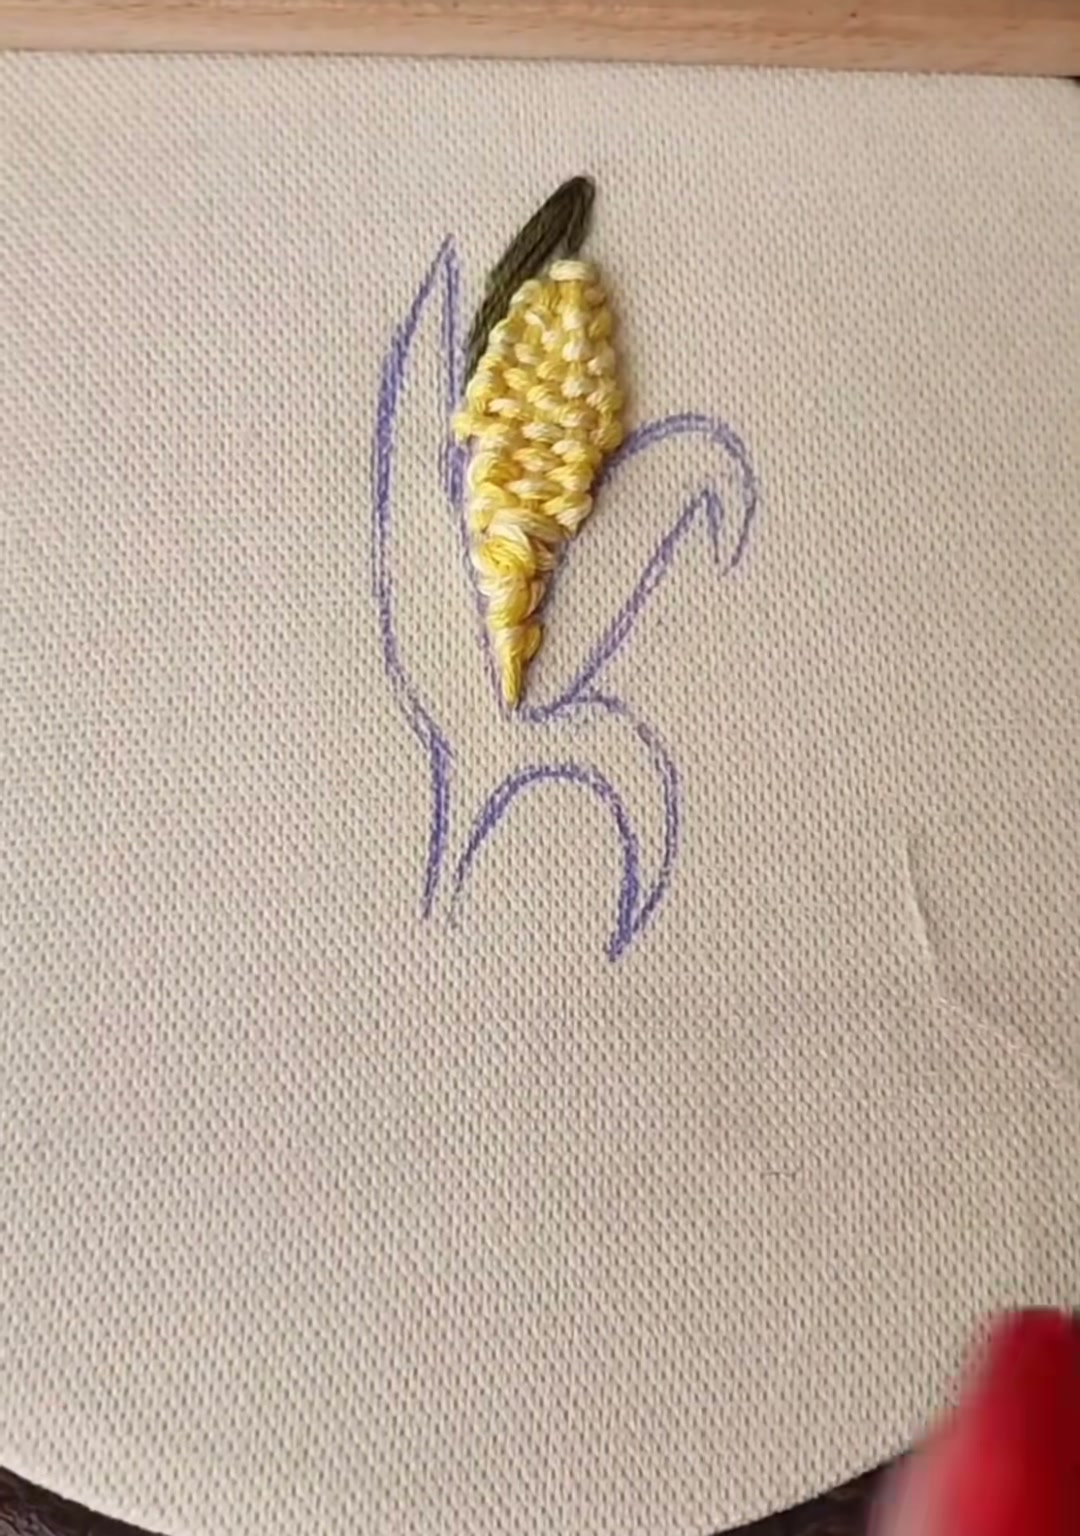
Use a pin to keep the fabric tension steady as you move to the right husk. This small trick keeps the satin stitch from pulling the fabric out of shape.
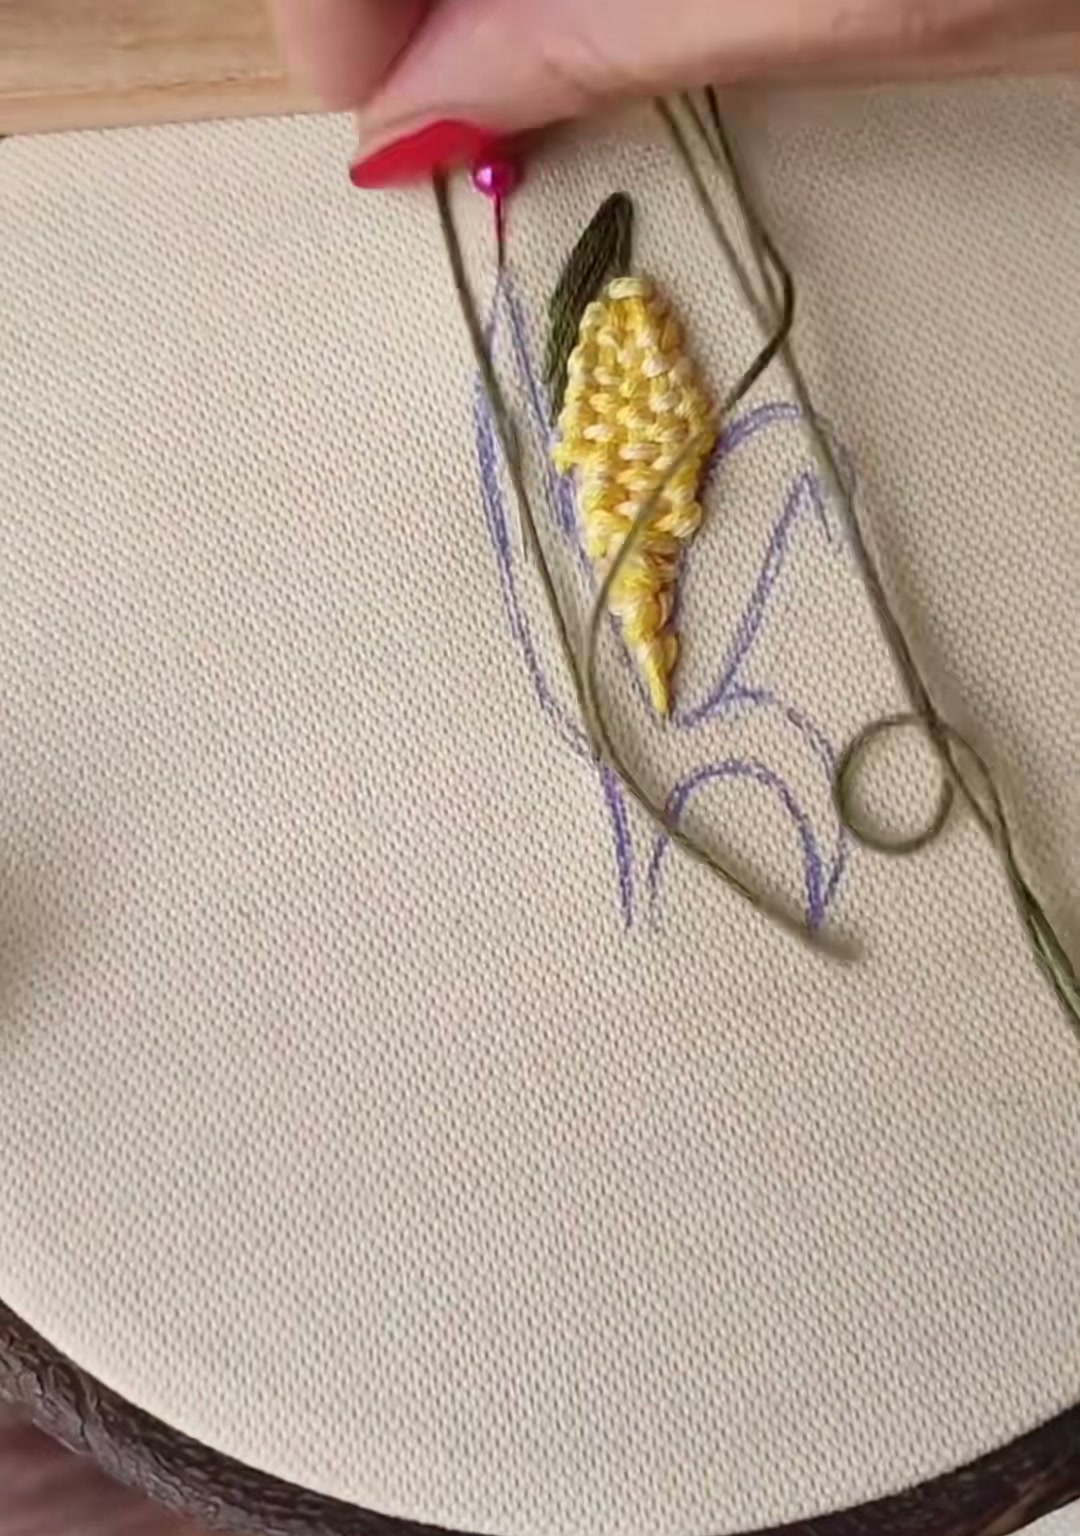
Work the right husk the same way as the left. Let the green stitches tuck slightly behind the yellow ear, as if the corn is peeking out from between real leaves.
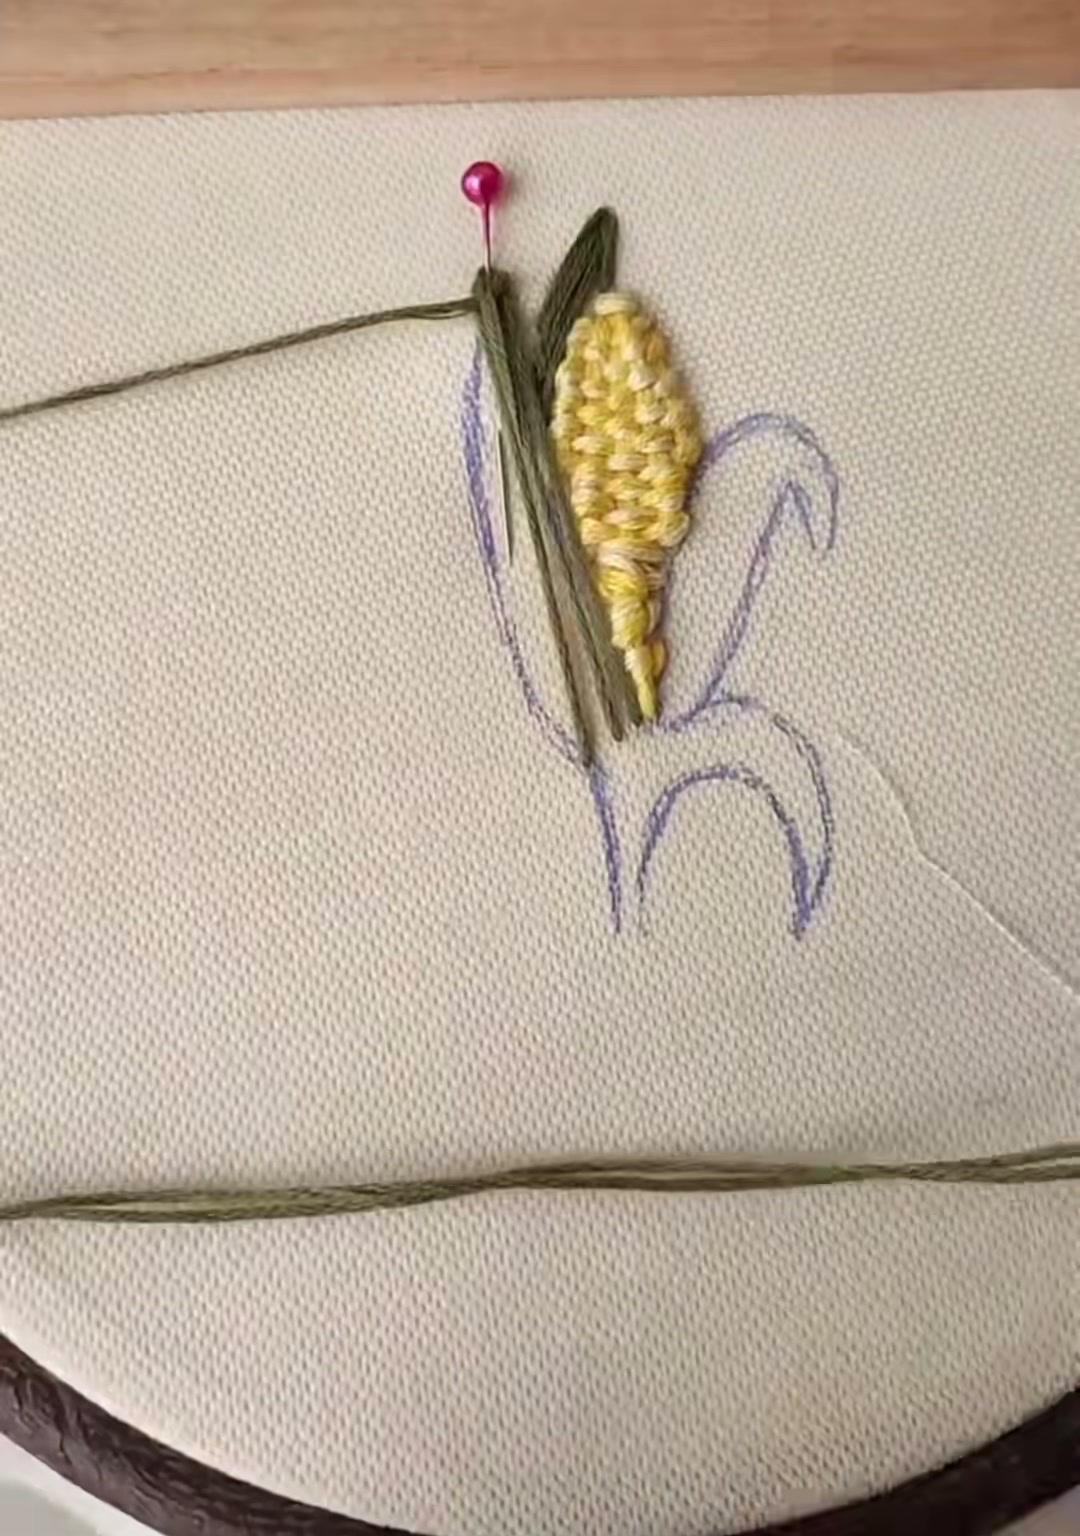
Step back and look at the contrast. The deep green against the bright yellow is what makes the corn look alive.
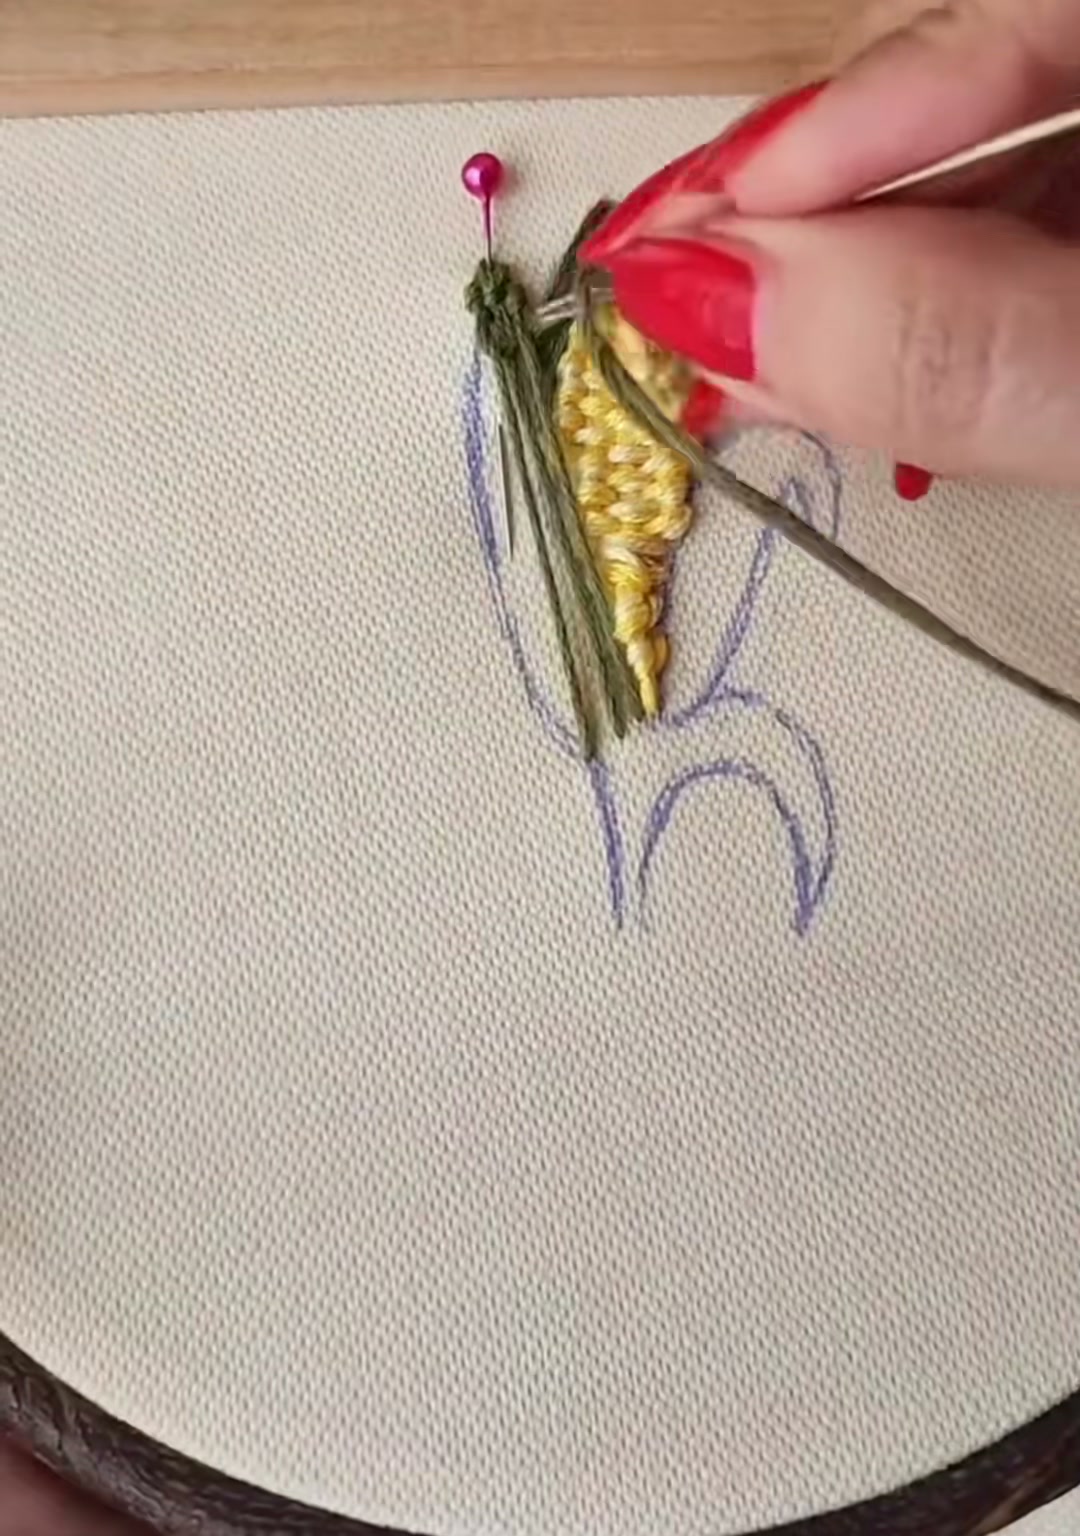
Continue filling the second husk. Pay attention to the curve — the stitches should follow the natural bend of the leaf, not fight it.
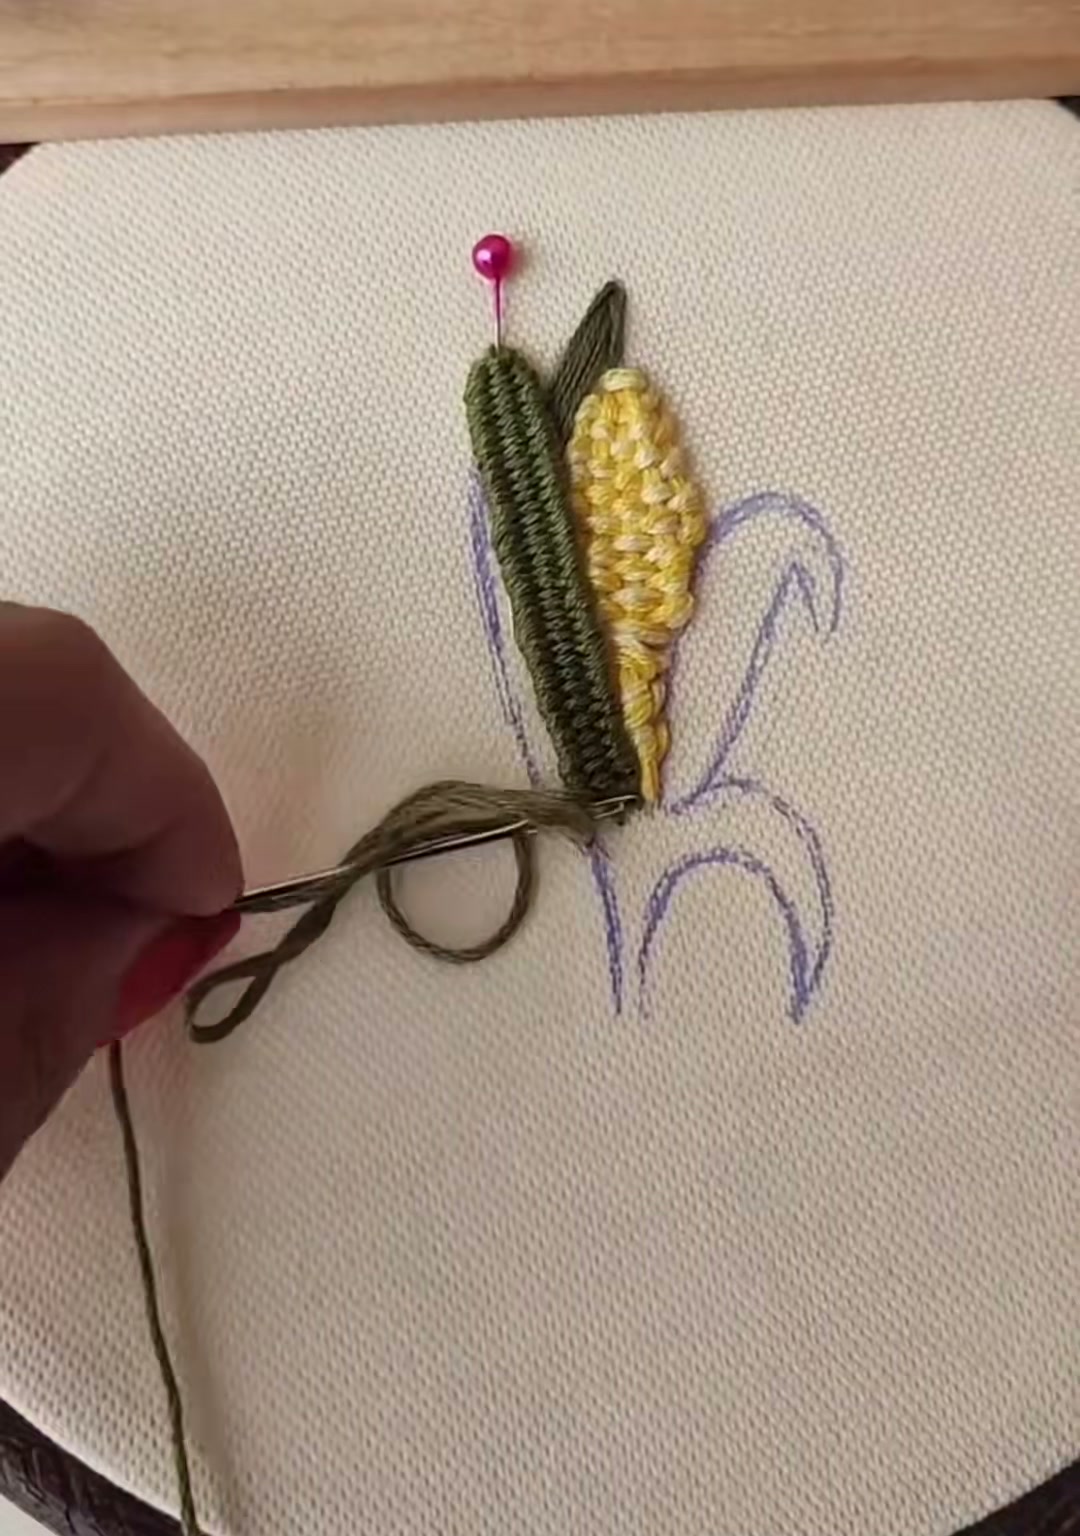
With both husks finished, the corn already feels complete. But the small curled leaf at the base will add the final bit of character.
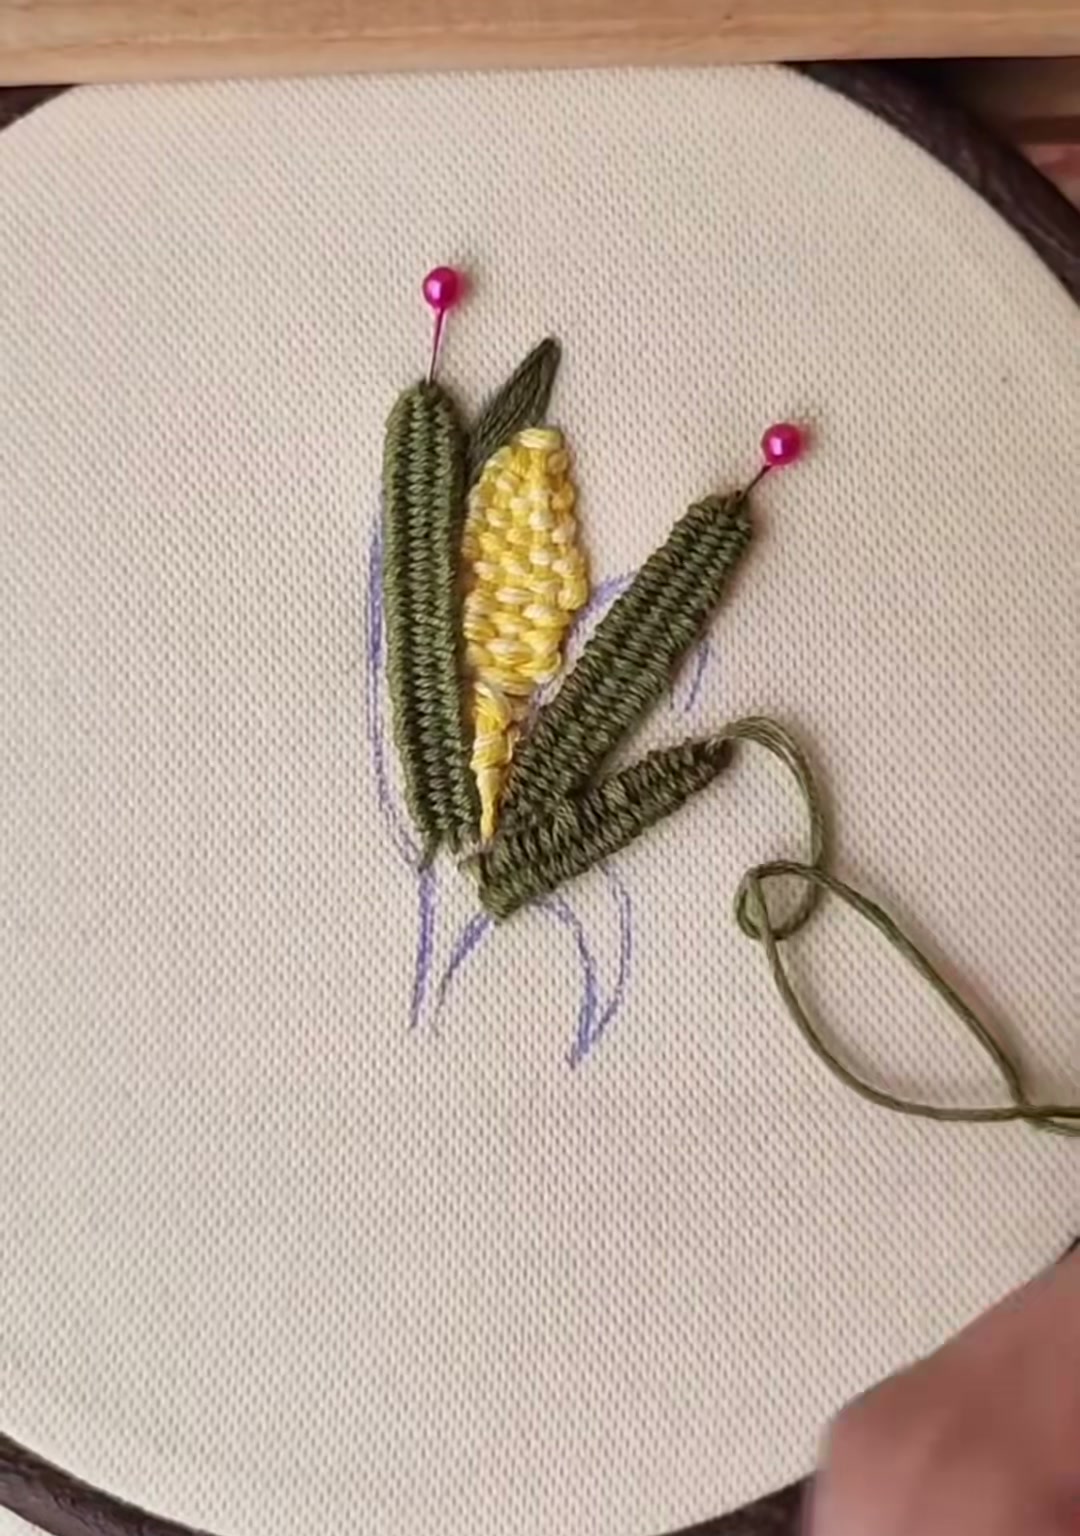
Add the little curled husk at the bottom. Use shorter satin stitches and let the curve sweep outward. This one detail makes the corn look like it is still growing.
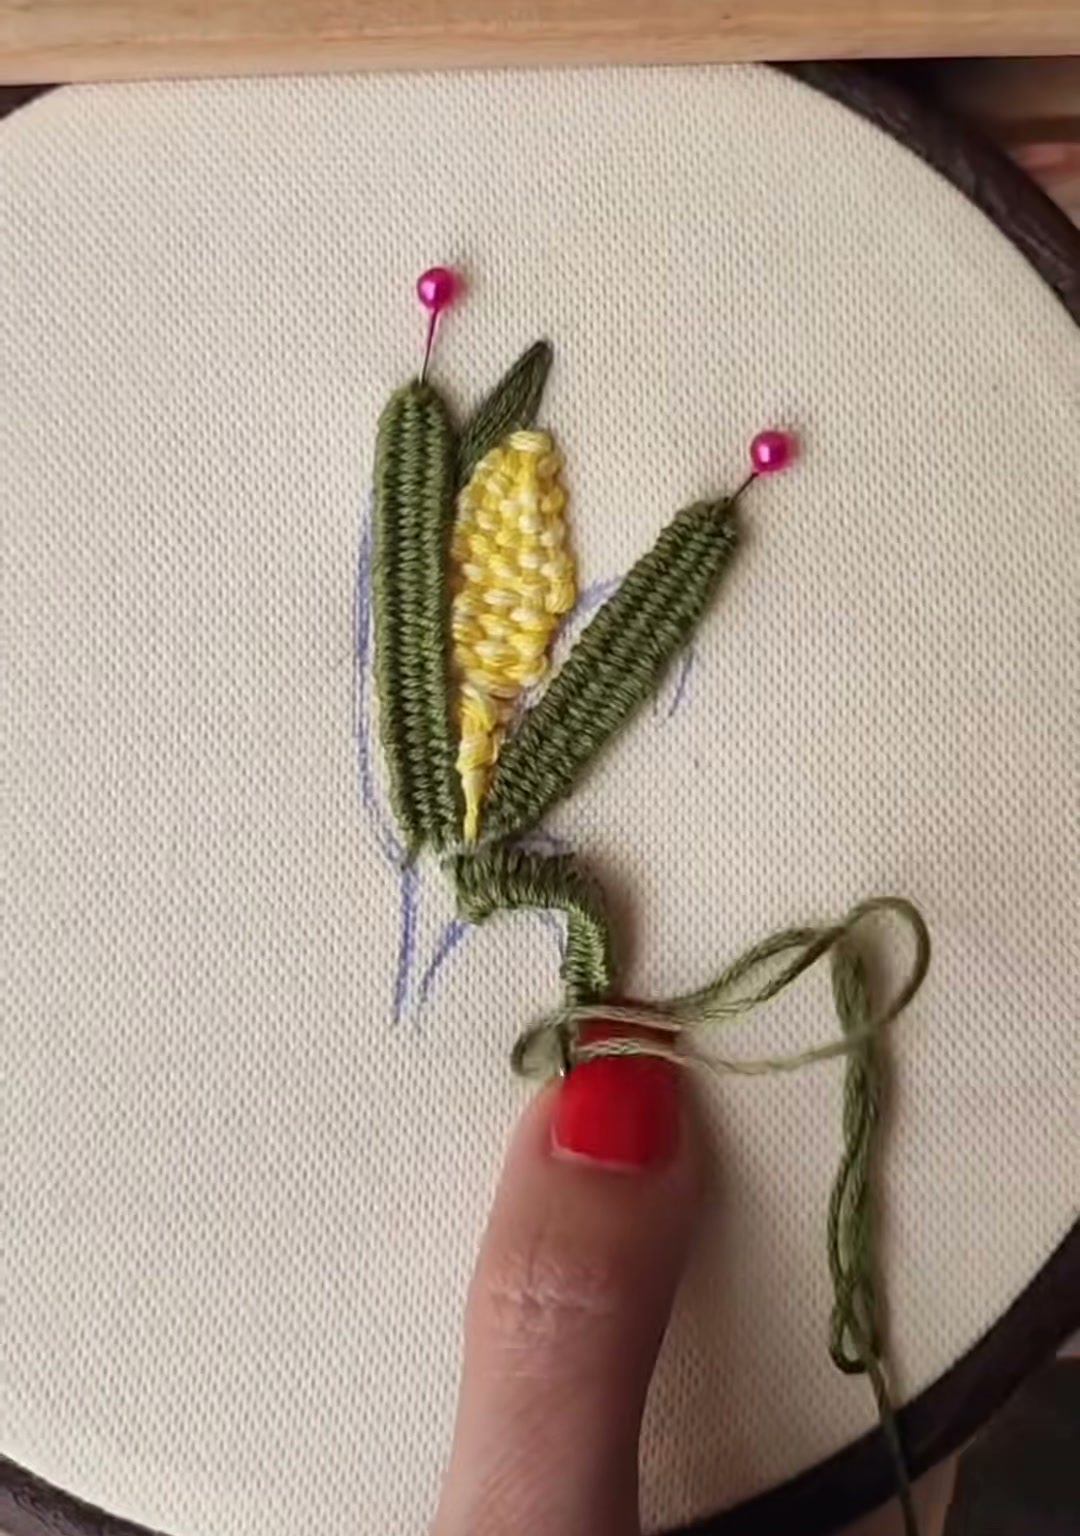
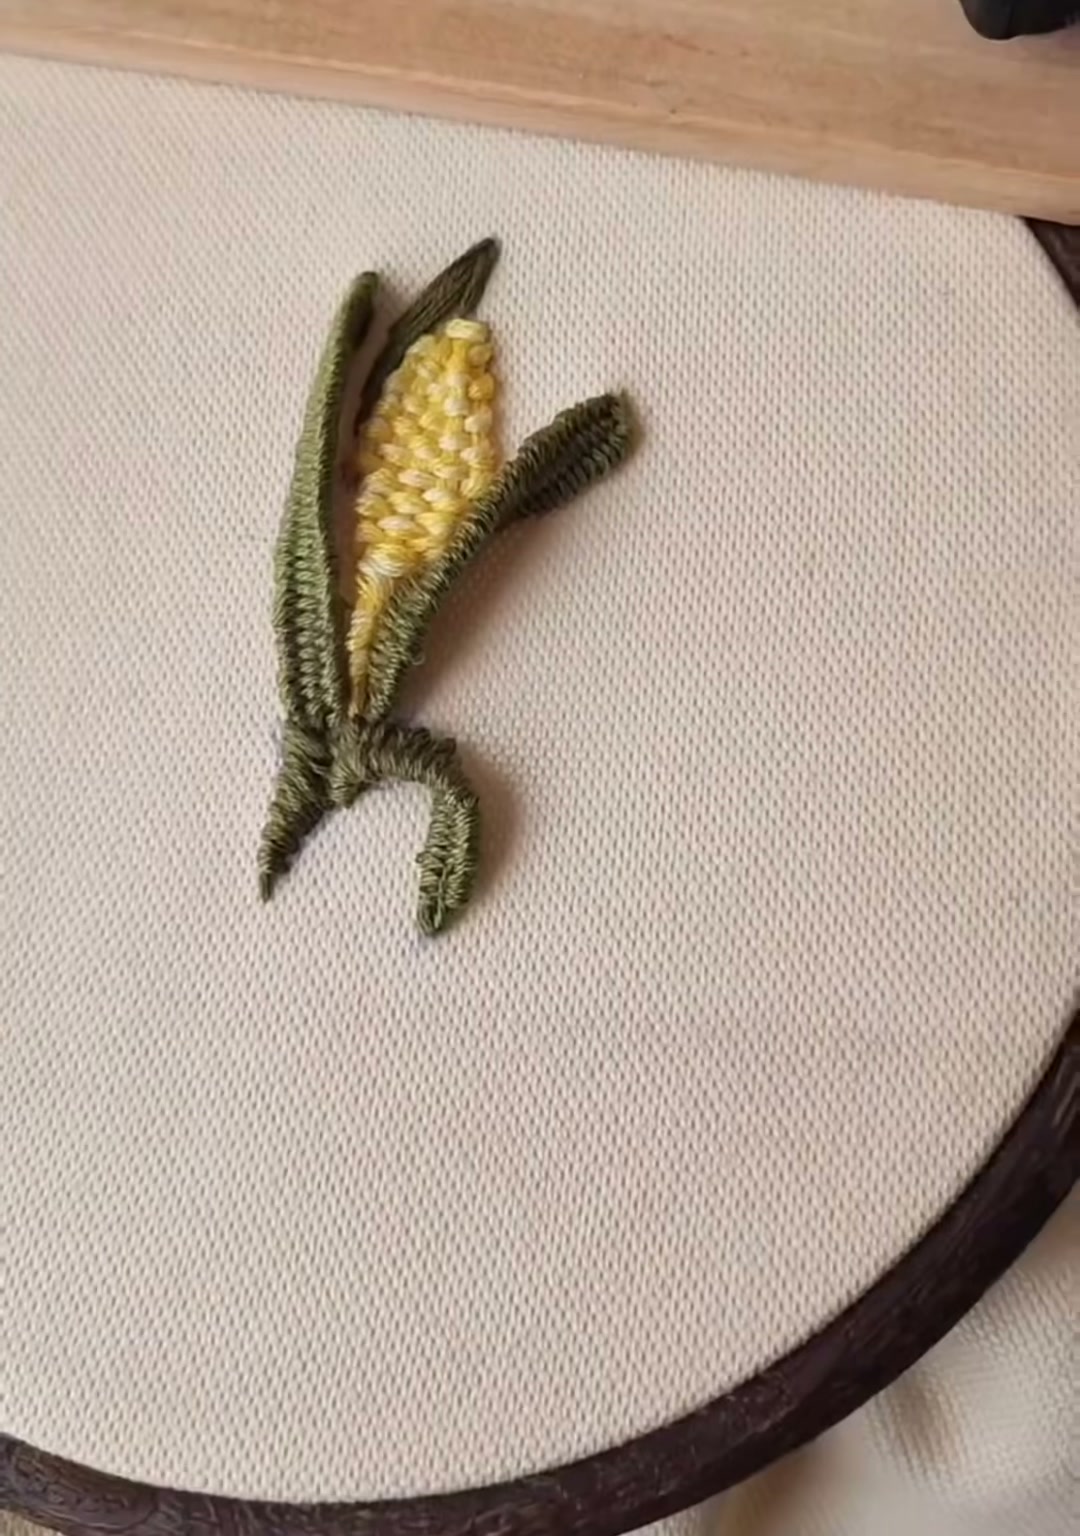
Your corn is finished. The yellow should catch the light, the green should frame it like real leaves, and the whole piece should feel like a tiny harvest in thread.
There is something deeply satisfying about stitching food. It slows you down enough to notice how ordinary things are built: the rows, the curves, the way light hits a kernel. This corn will not feed anyone, but it might make someone pause and smile — and that is its own kind of nourishment.
Happy stitching — one kernel at a time.