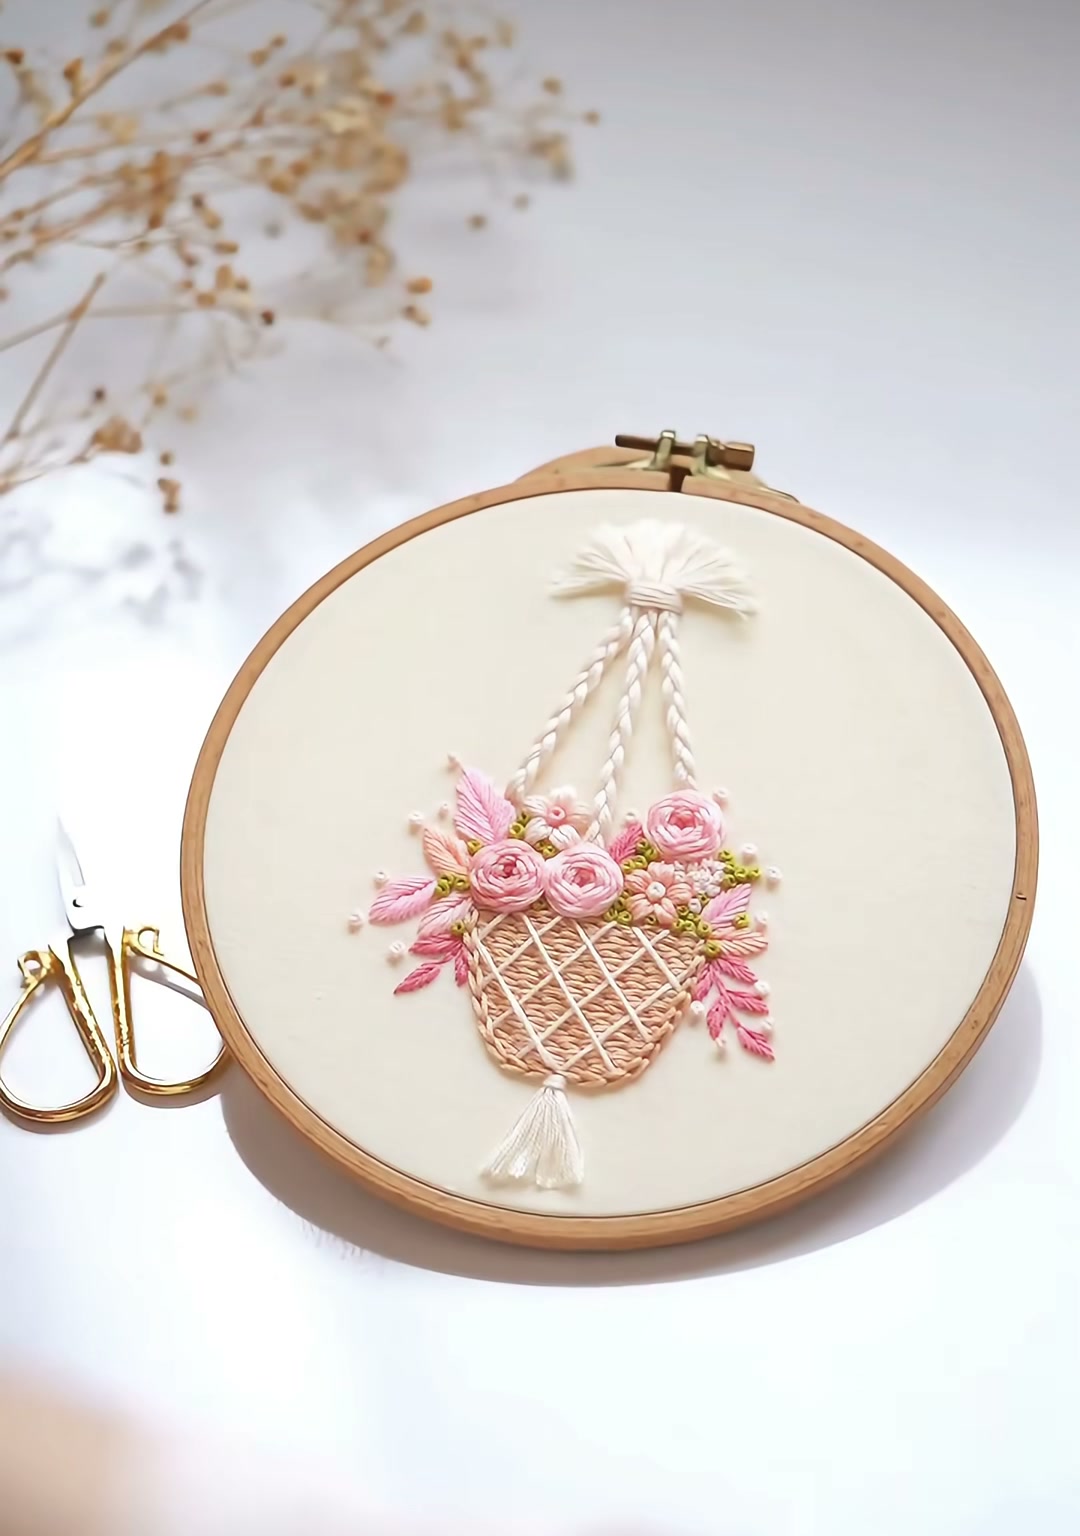
3D Embroidered Flower Basket — A Hanging Garden in a Hoop
3D Embroidered Flower Basket — A Hanging Garden in a Hoop
There is a particular softness to embroidery that imitates wicker and flowers. This little hanging basket is built from satin stitches, French knots, and twisted cord, all arranged inside a wooden hoop like a miniature garden suspended in mid-air.
- Wooden embroidery hoop
- Natural linen or cotton fabric
- Water-soluble fabric marker
- Embroidery needle
- Embroidery floss — tan / light brown
- Embroidery floss — ivory / off-white
- Embroidery floss — soft pink
- Embroidery floss — pale pink
- Small scissors
01 — Sketch and Start the Basket
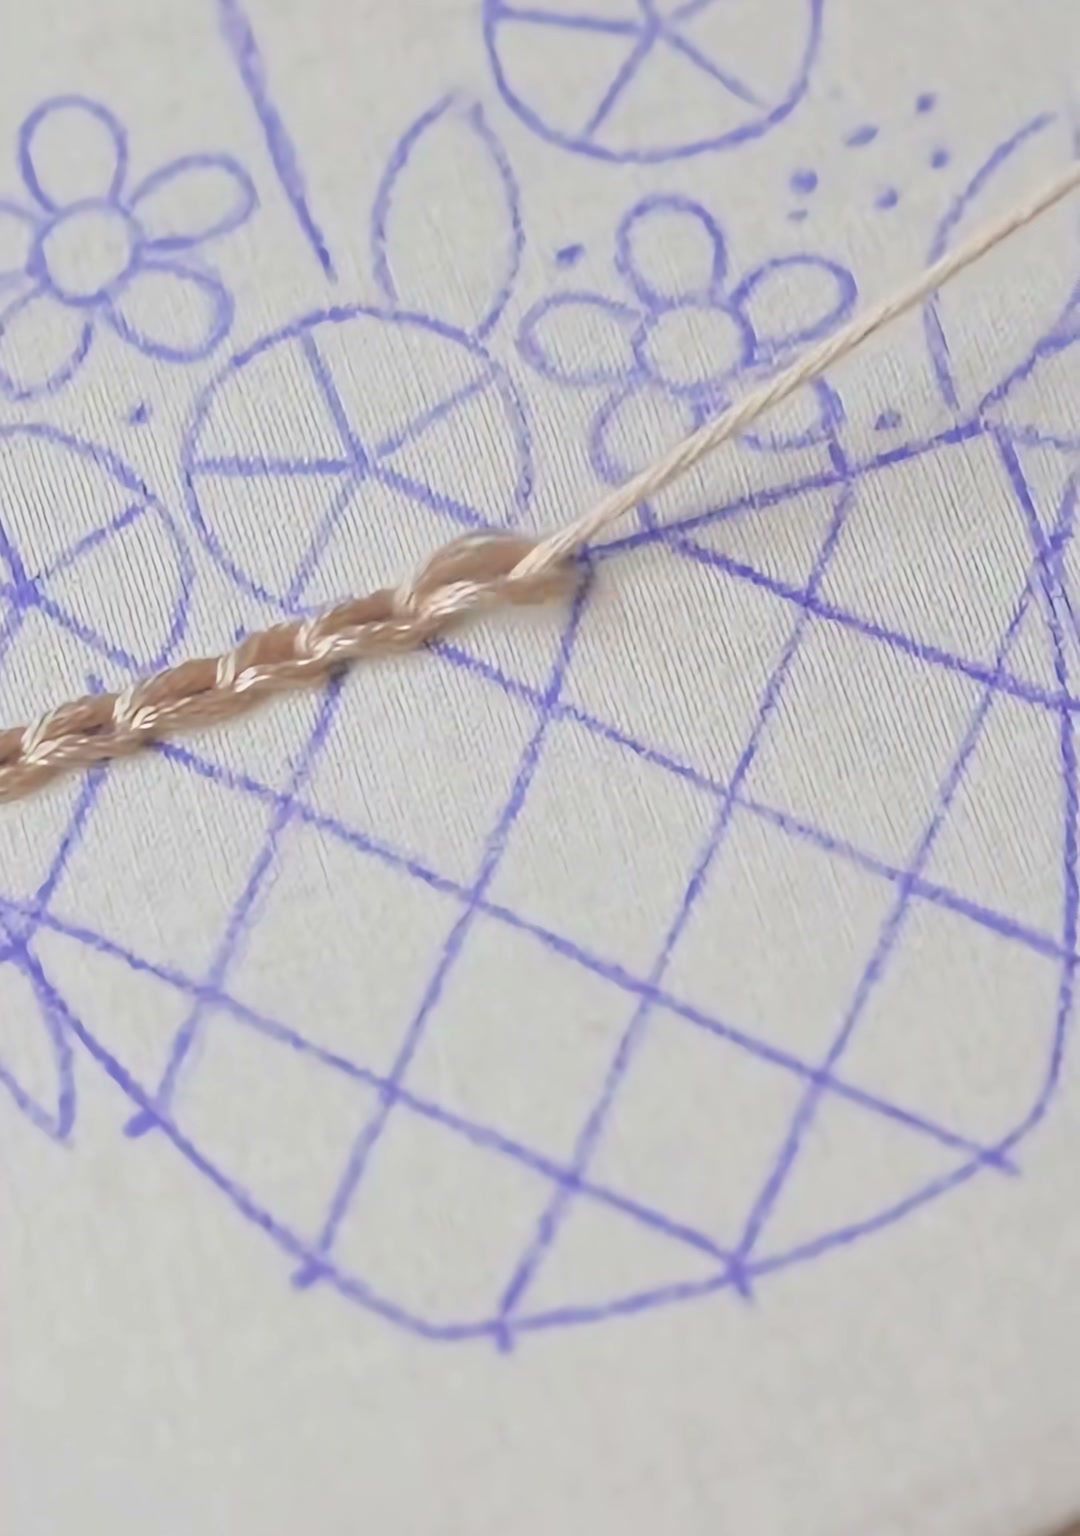
Stretch your fabric in the hoop and draw the whole composition with a water-soluble marker: a rounded basket at the bottom, clusters of roses and small flowers above it, leaves spilling out, and two twisted ropes rising to a bow at the top. Begin filling the basket with tan satin stitches, working diagonally to mimic woven wicker.
02 — Fill the Basket Body
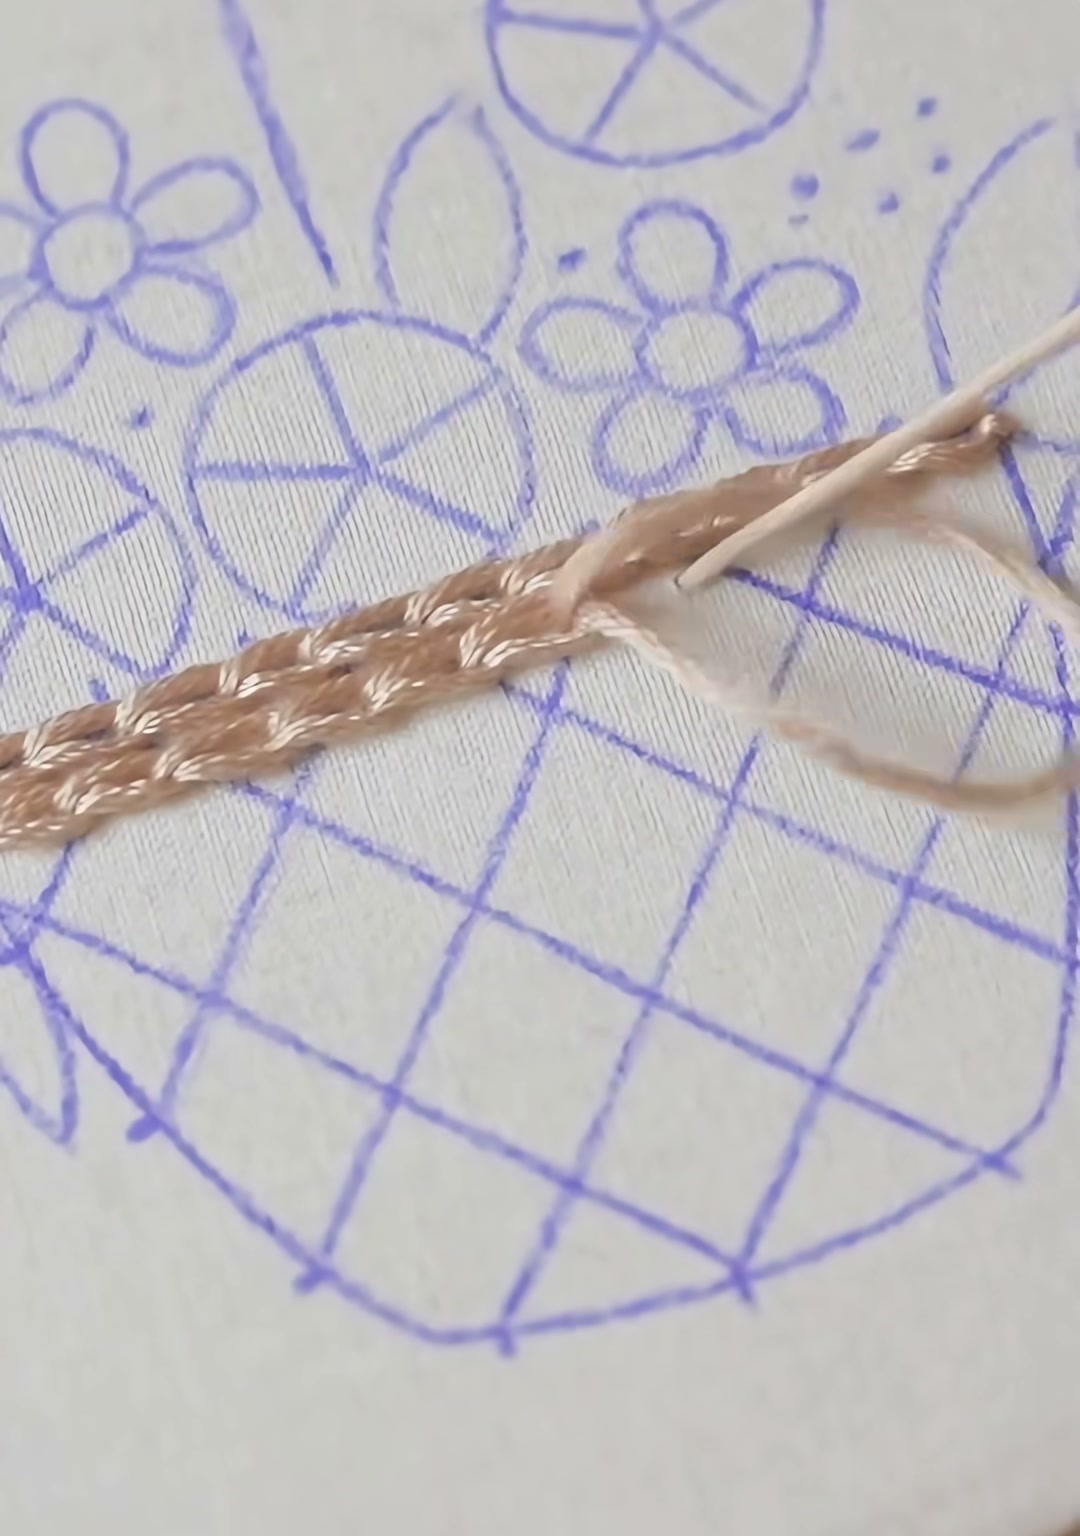
Continue covering the basket shape with tan satin stitches. Keep the stitches close and even so the surface looks like tightly woven straw.
03 — Add the First Vertical Grid Lines
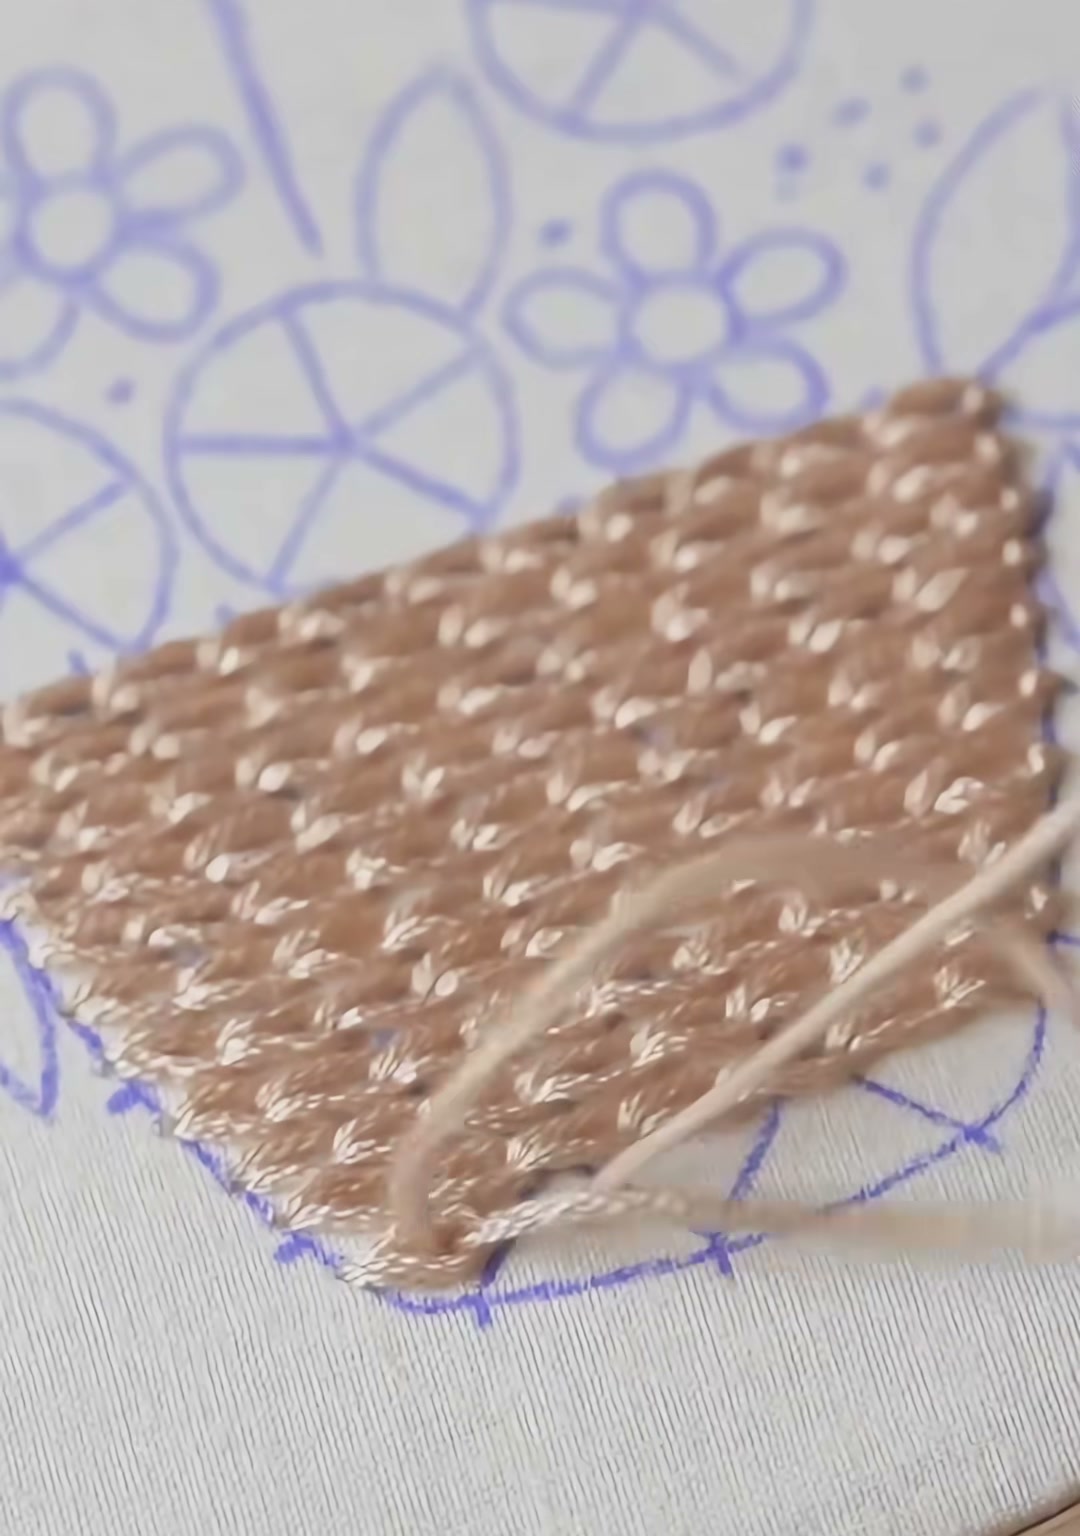
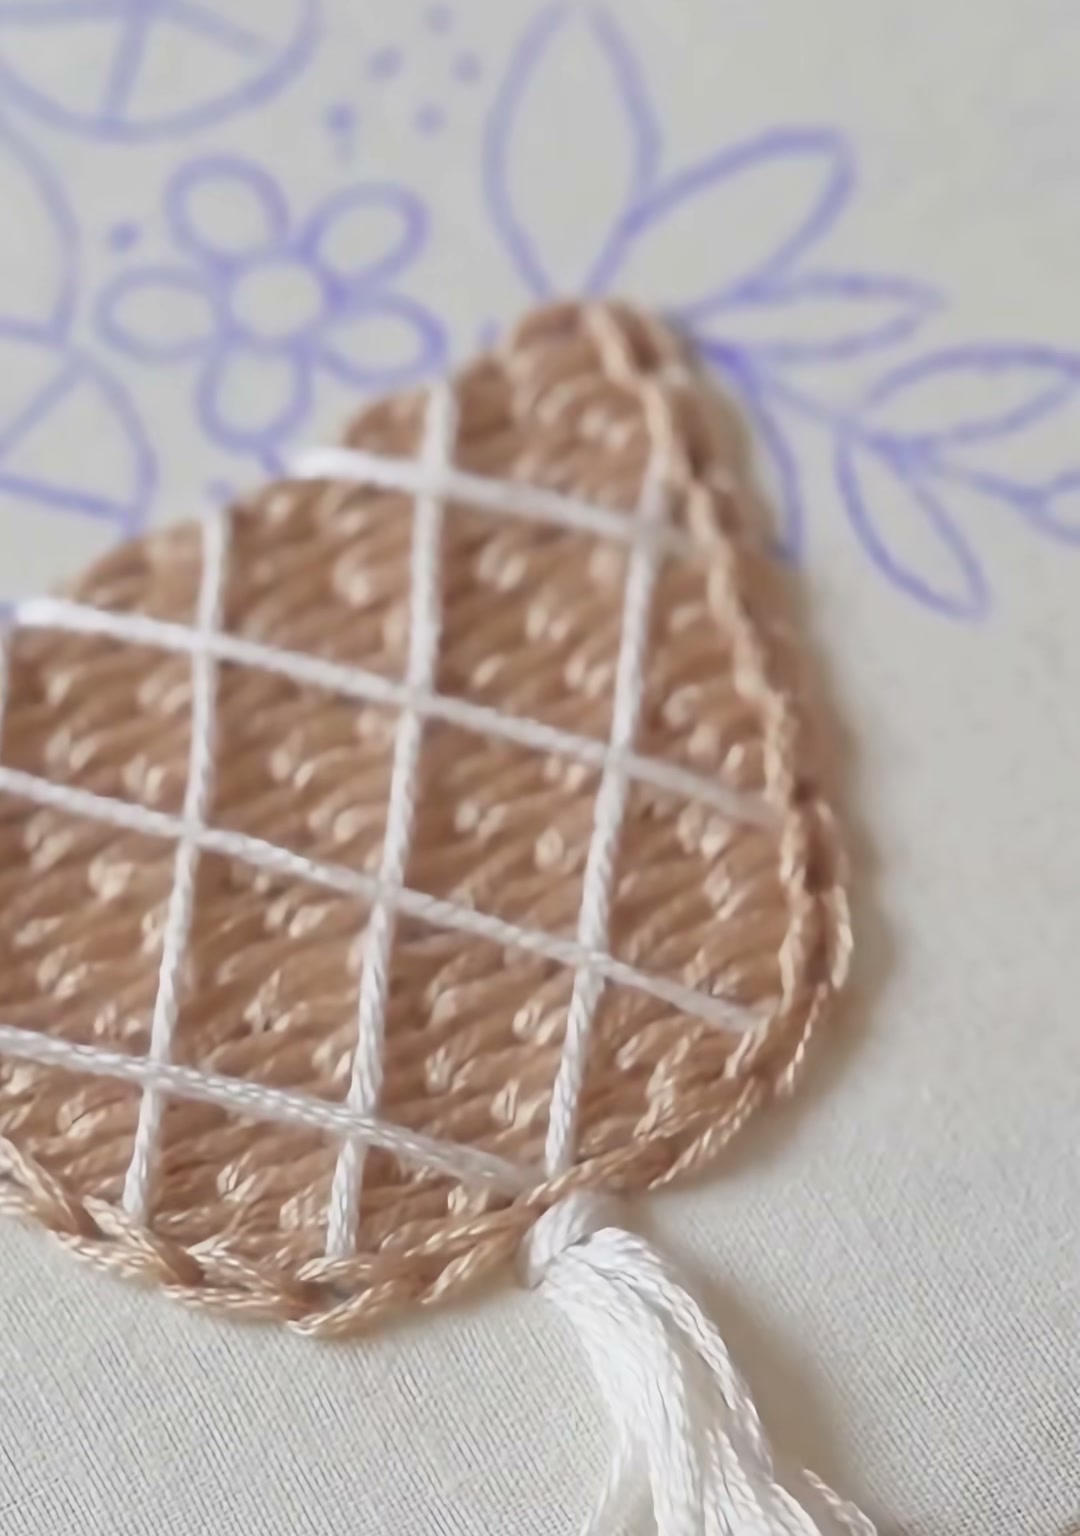
Switch to ivory thread and lay the first vertical grid lines across the basket. These lines add structure and make the basket look like lattice wickerwork.
04 — Continue the Grid
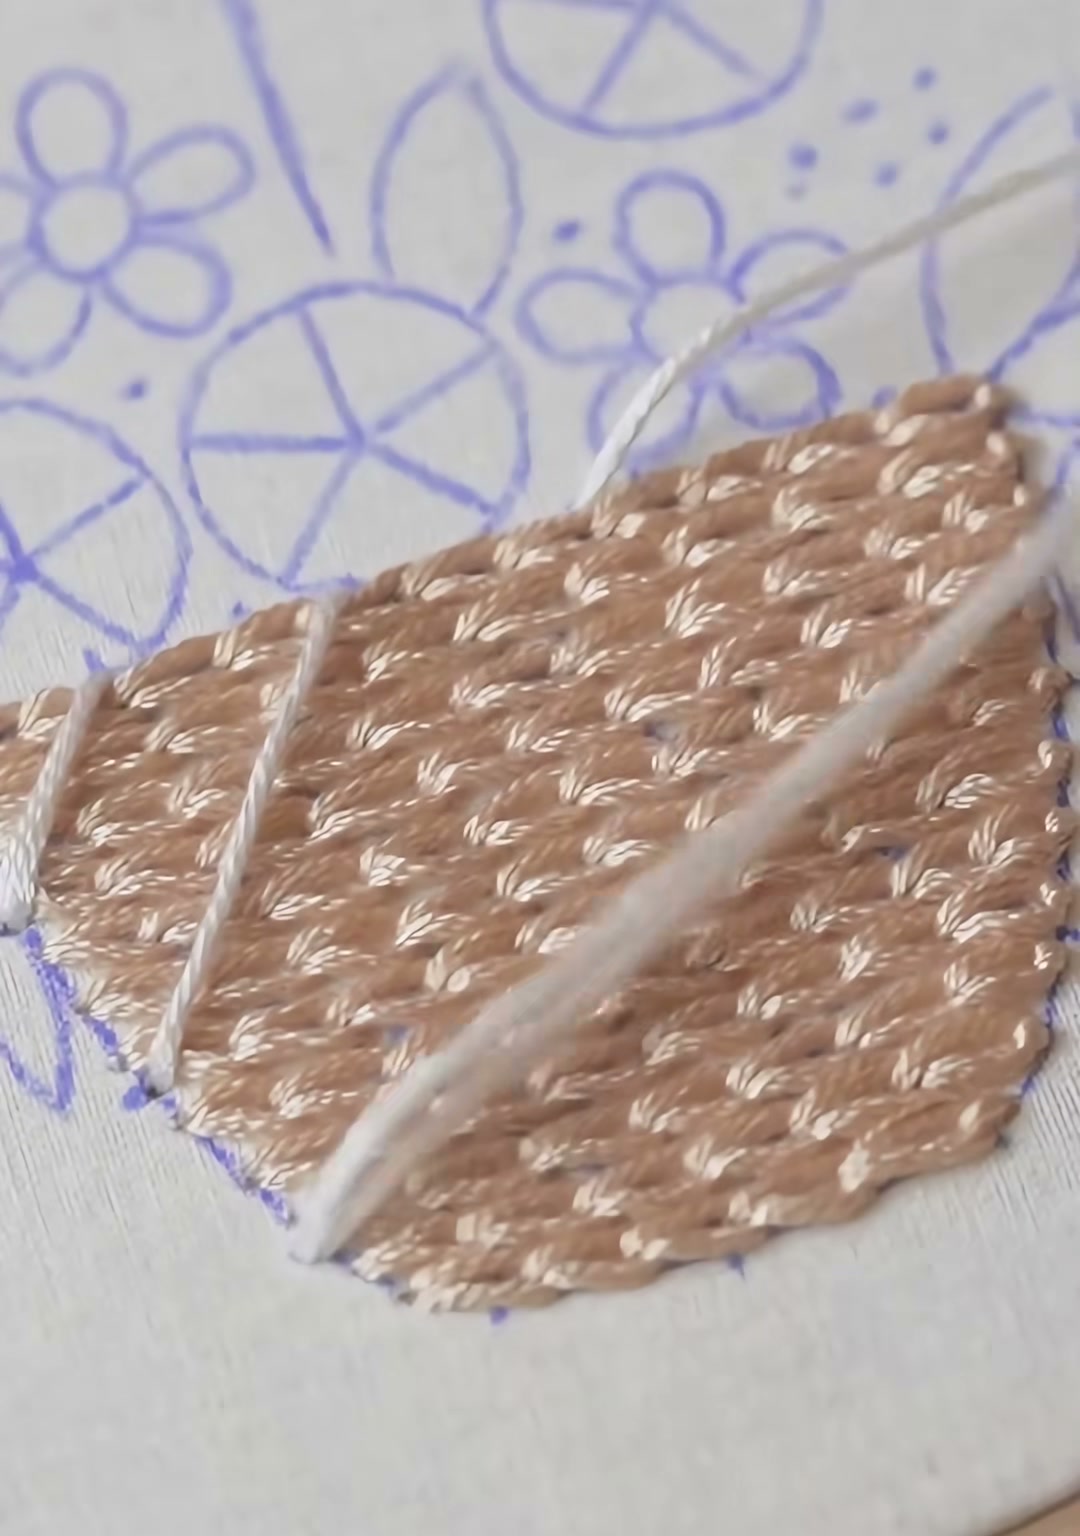
Add more vertical lines, spacing them evenly. Do not worry if they are slightly imperfect; real wicker is never machine-perfect either.
05 — Complete the Wicker Grid
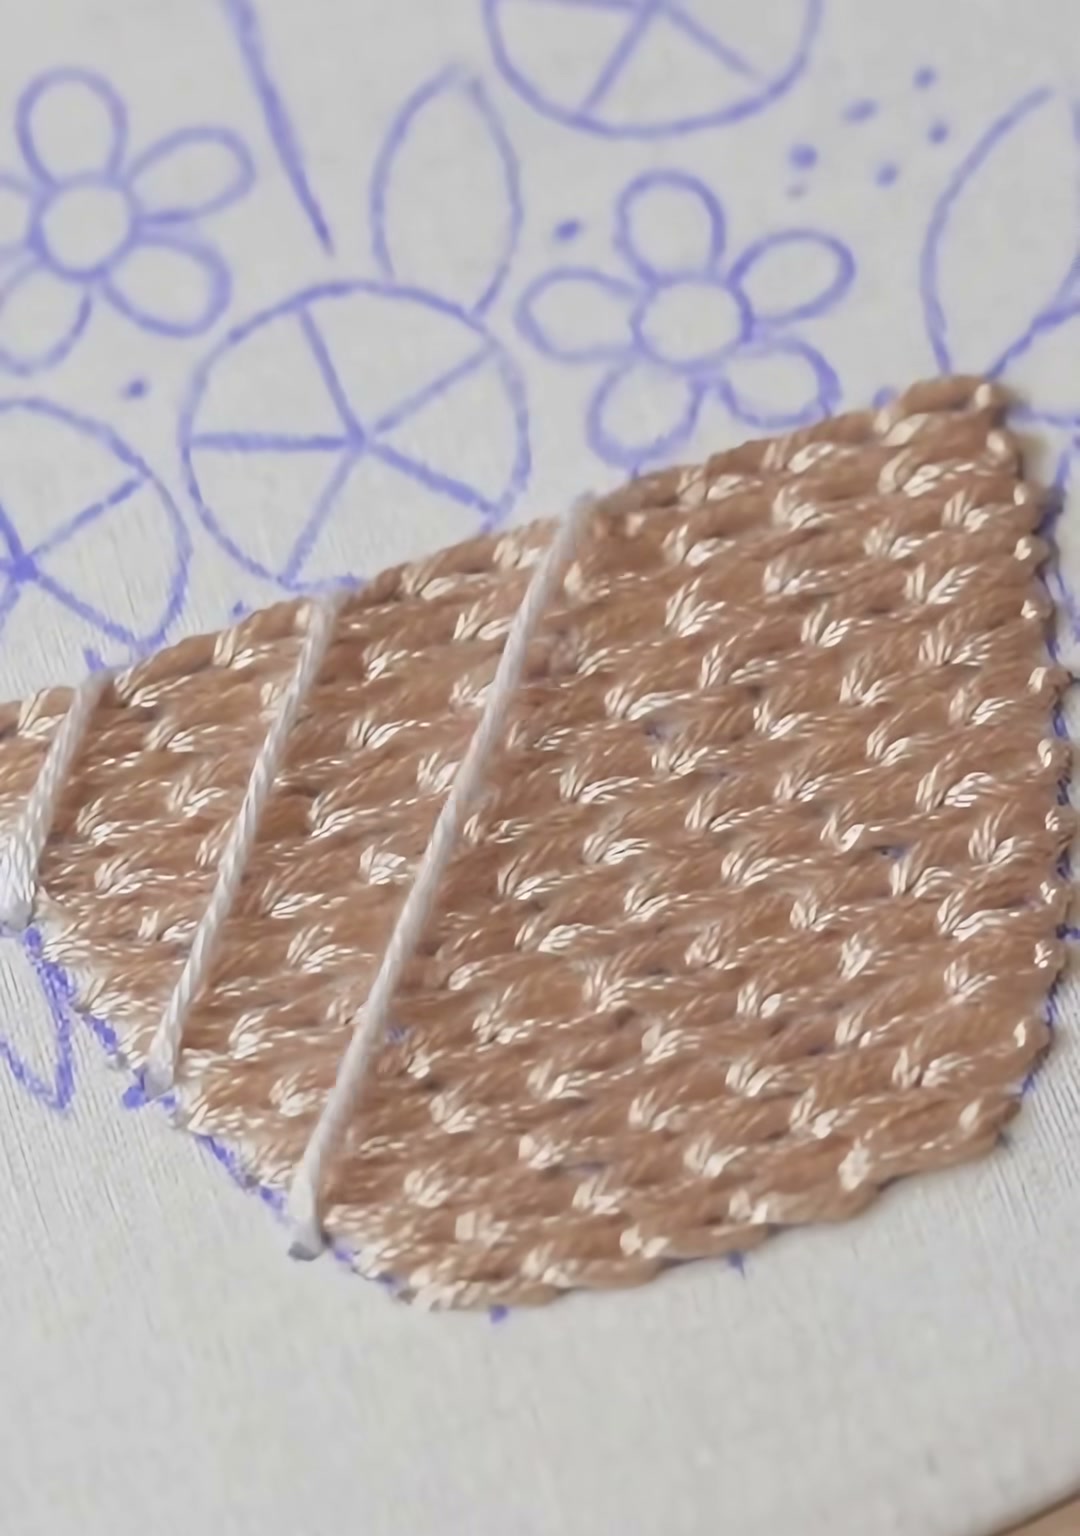
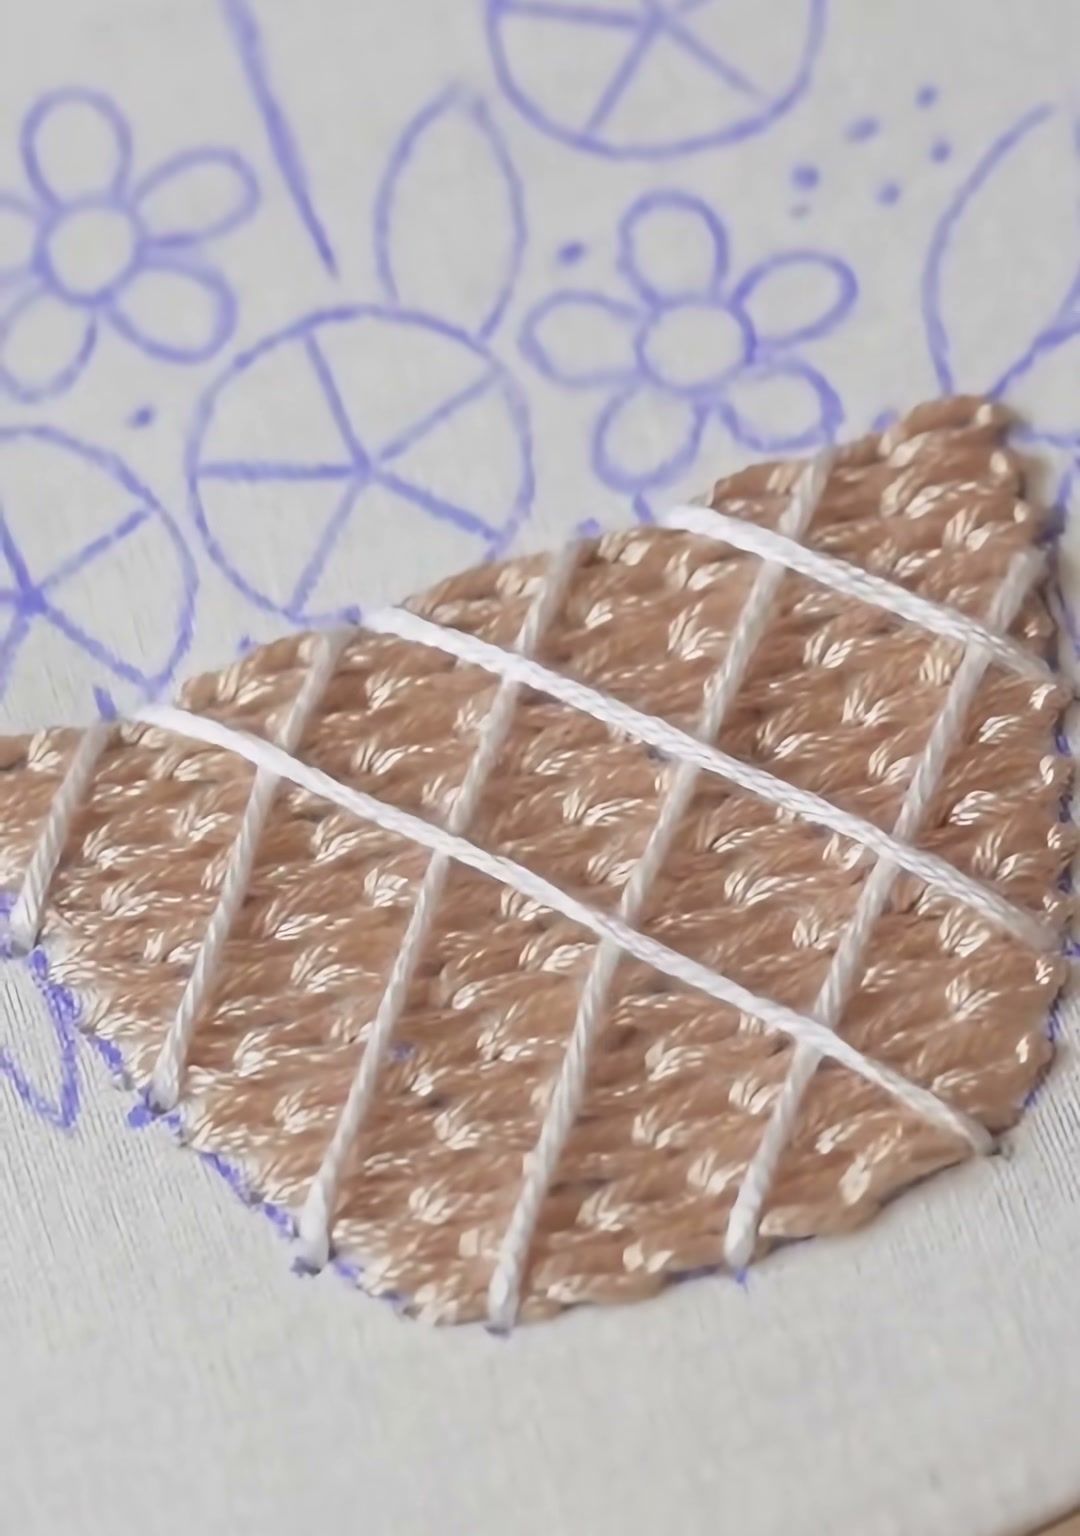
Finish the grid with horizontal ivory lines crossing the vertical ones. The intersection of tan, ivory, and shadow gives the basket its woven depth.
06 — Outline and Tassel
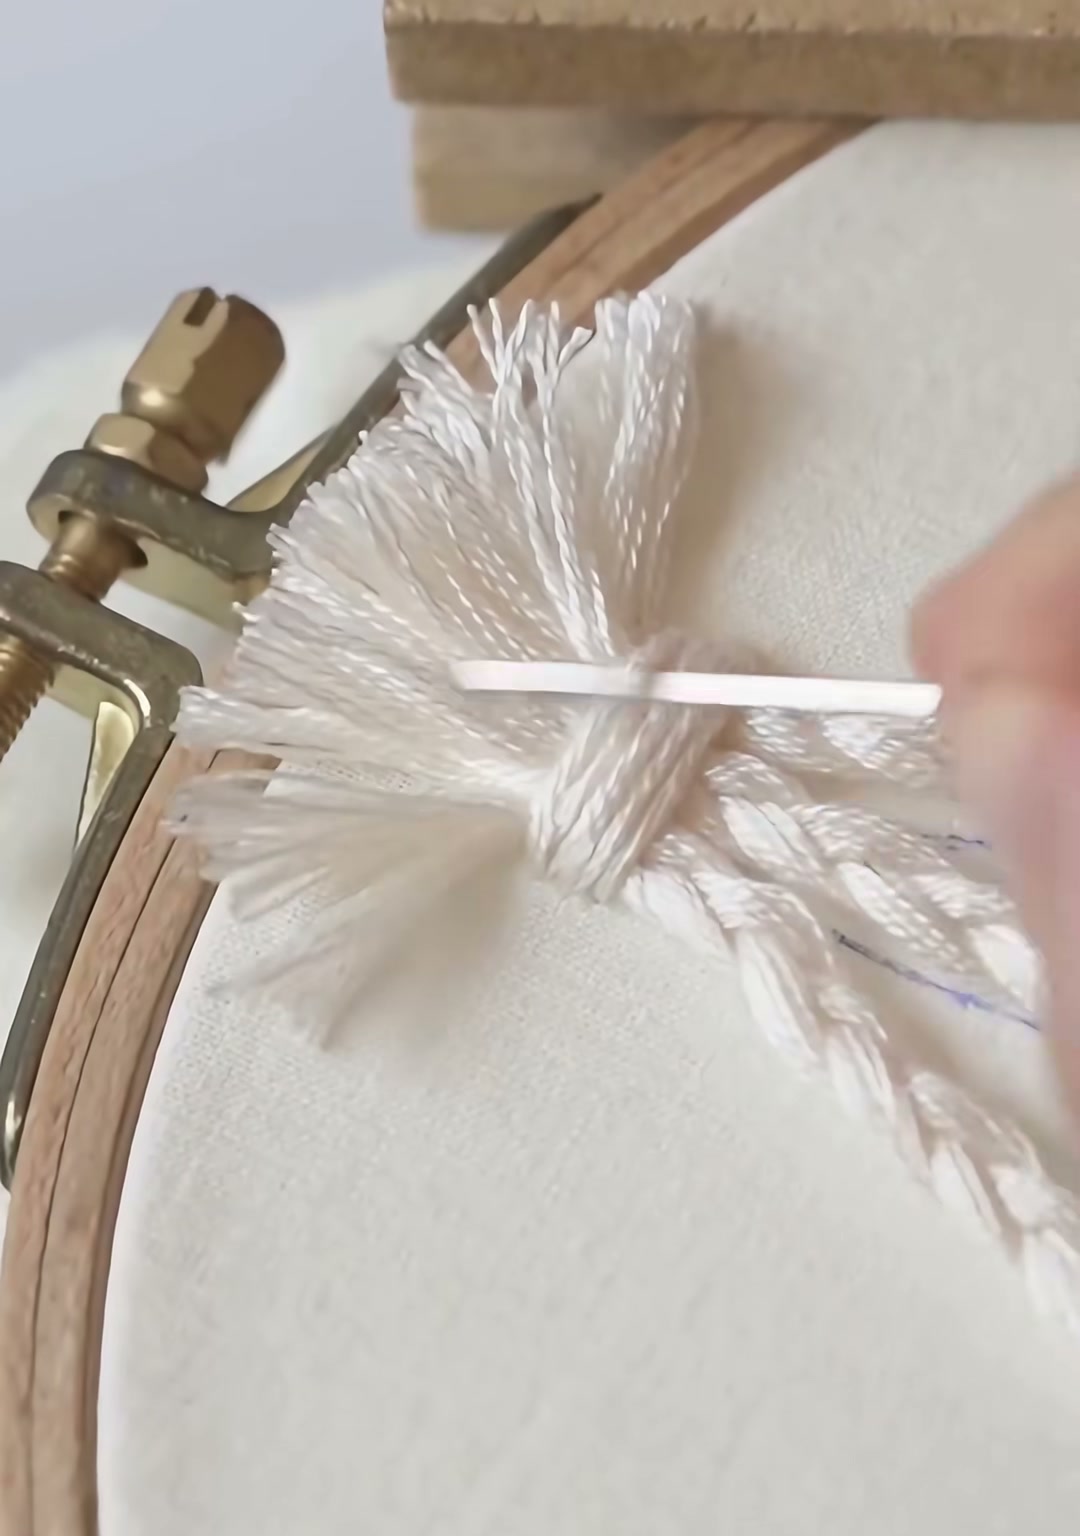
Outline the top rim of the basket with a neat line of tan stitches to define its shape. Add a small ivory tassel or knot at the bottom center for a sweet finishing touch.
07 — Start the Hanging Ropes
Use several strands of ivory floss and twist or braid them into a cord. This will become the rope from which the basket hangs.
08 — Braid the Ropes
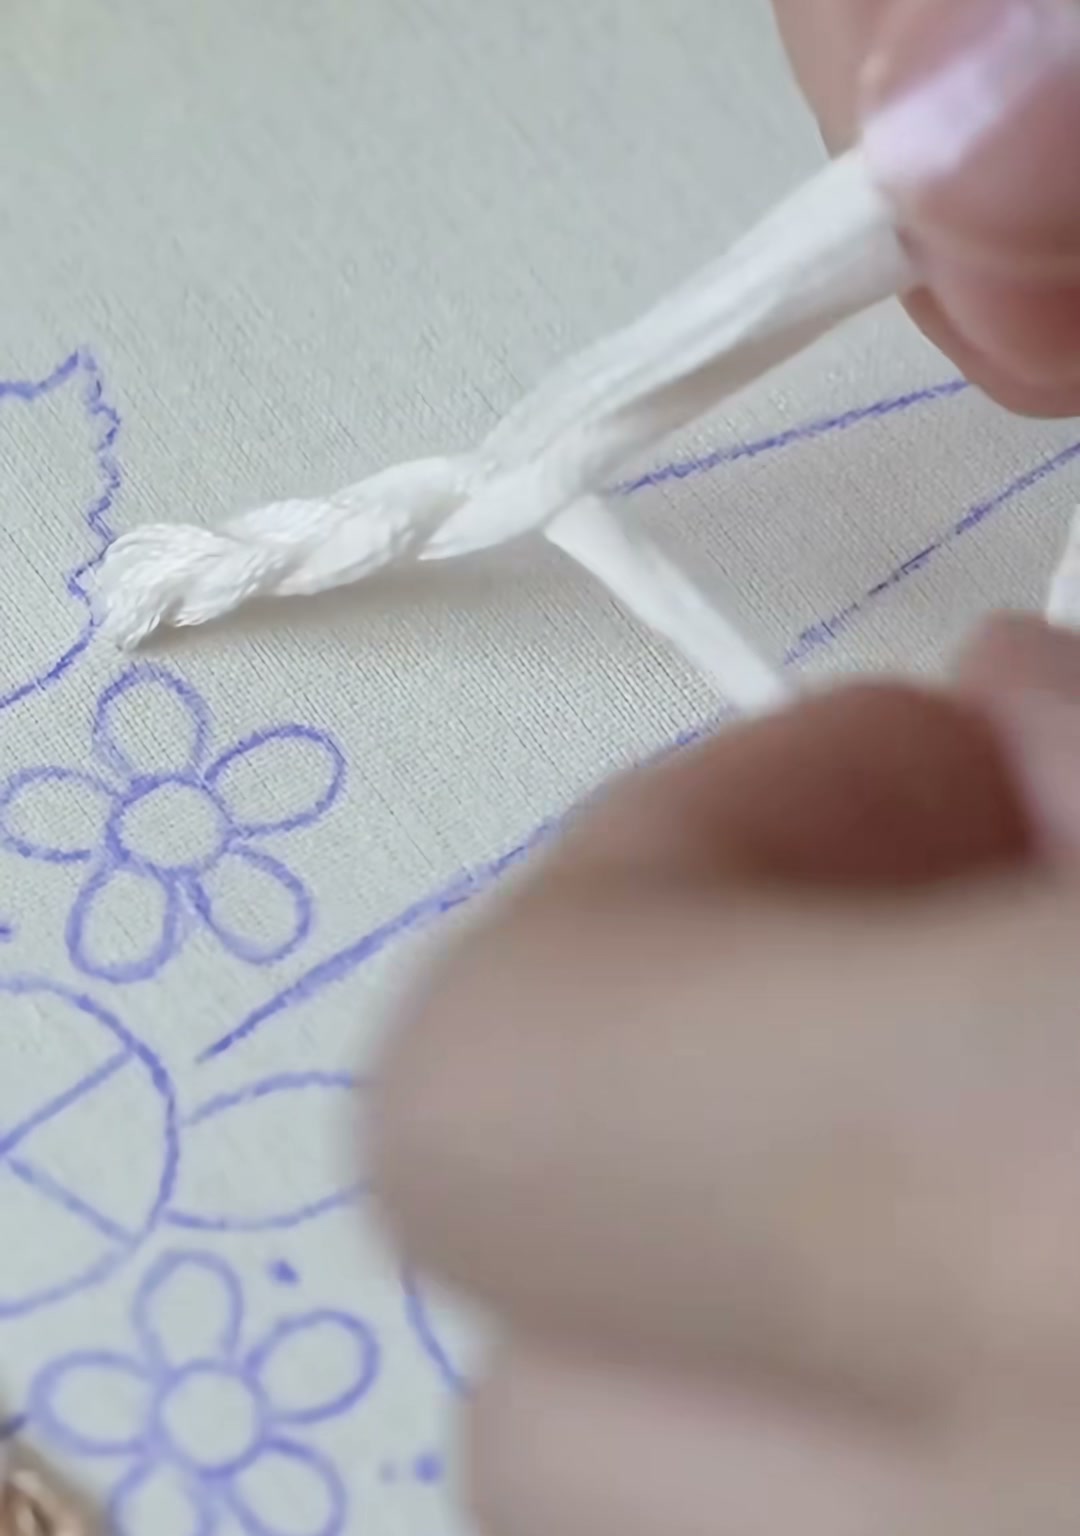
Make two matching twisted ropes that rise from opposite sides of the basket toward the top of the hoop. Keep the tension consistent so they hang gracefully.
09 — Secure the Ropes at the Top
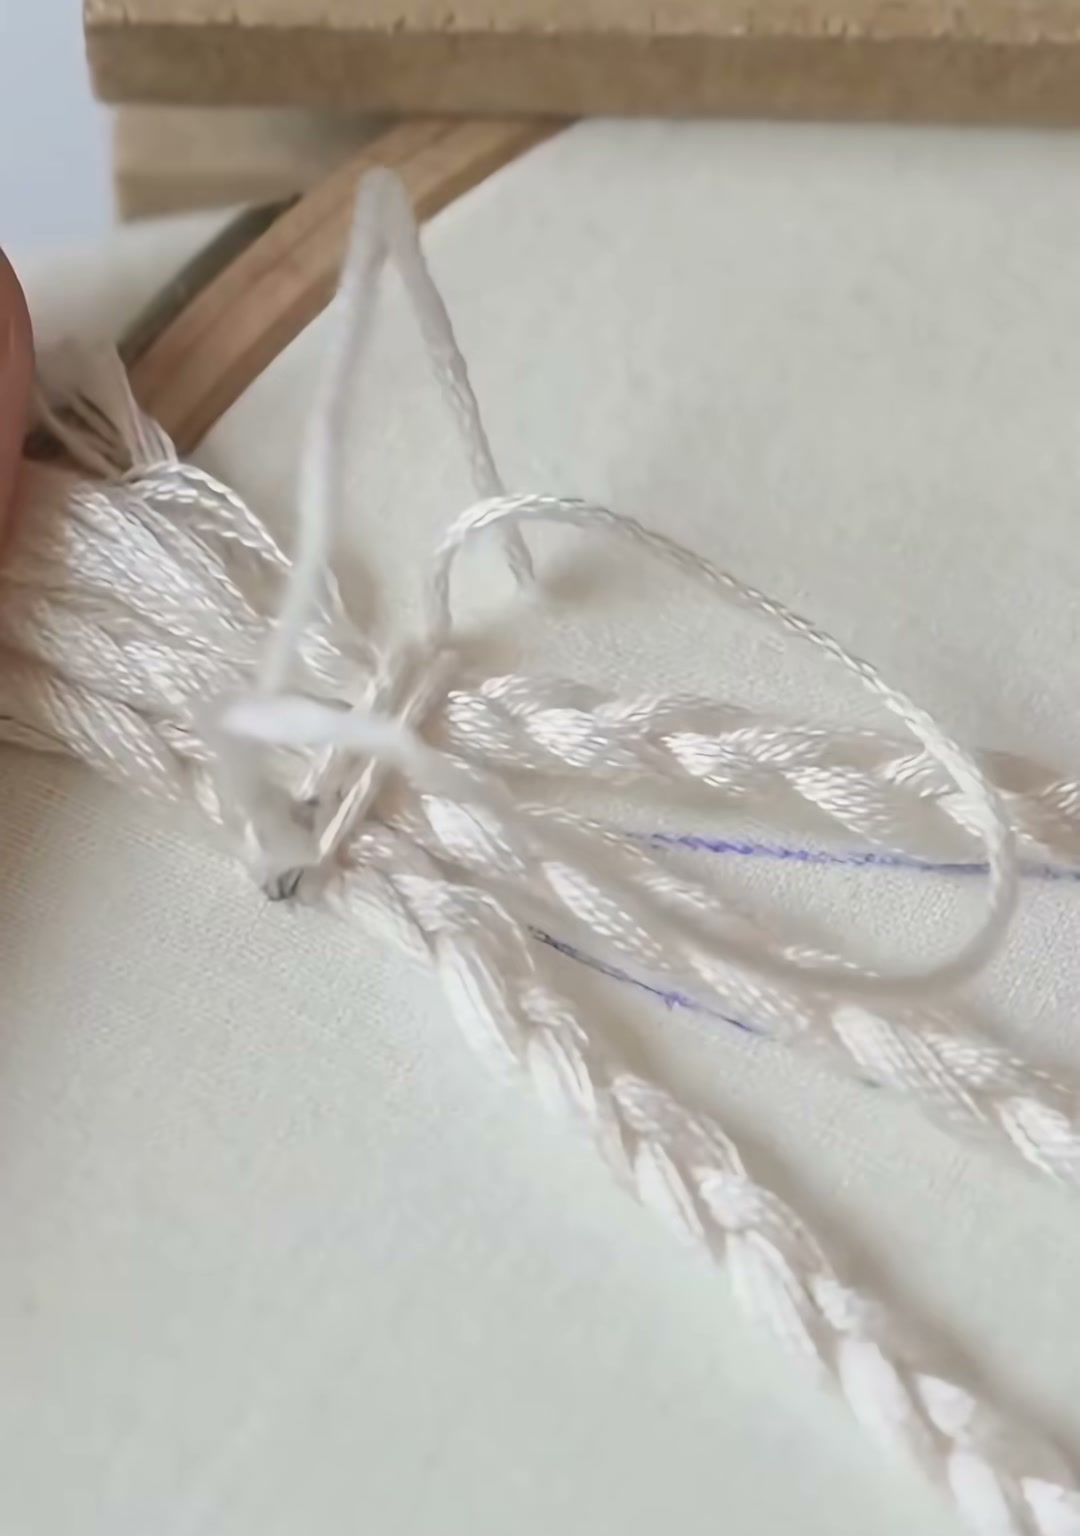
Gather the two ropes at the top and secure them with several small stitches. This is where the bow will later hide the knot.
10 — Add the Bow and Tassel
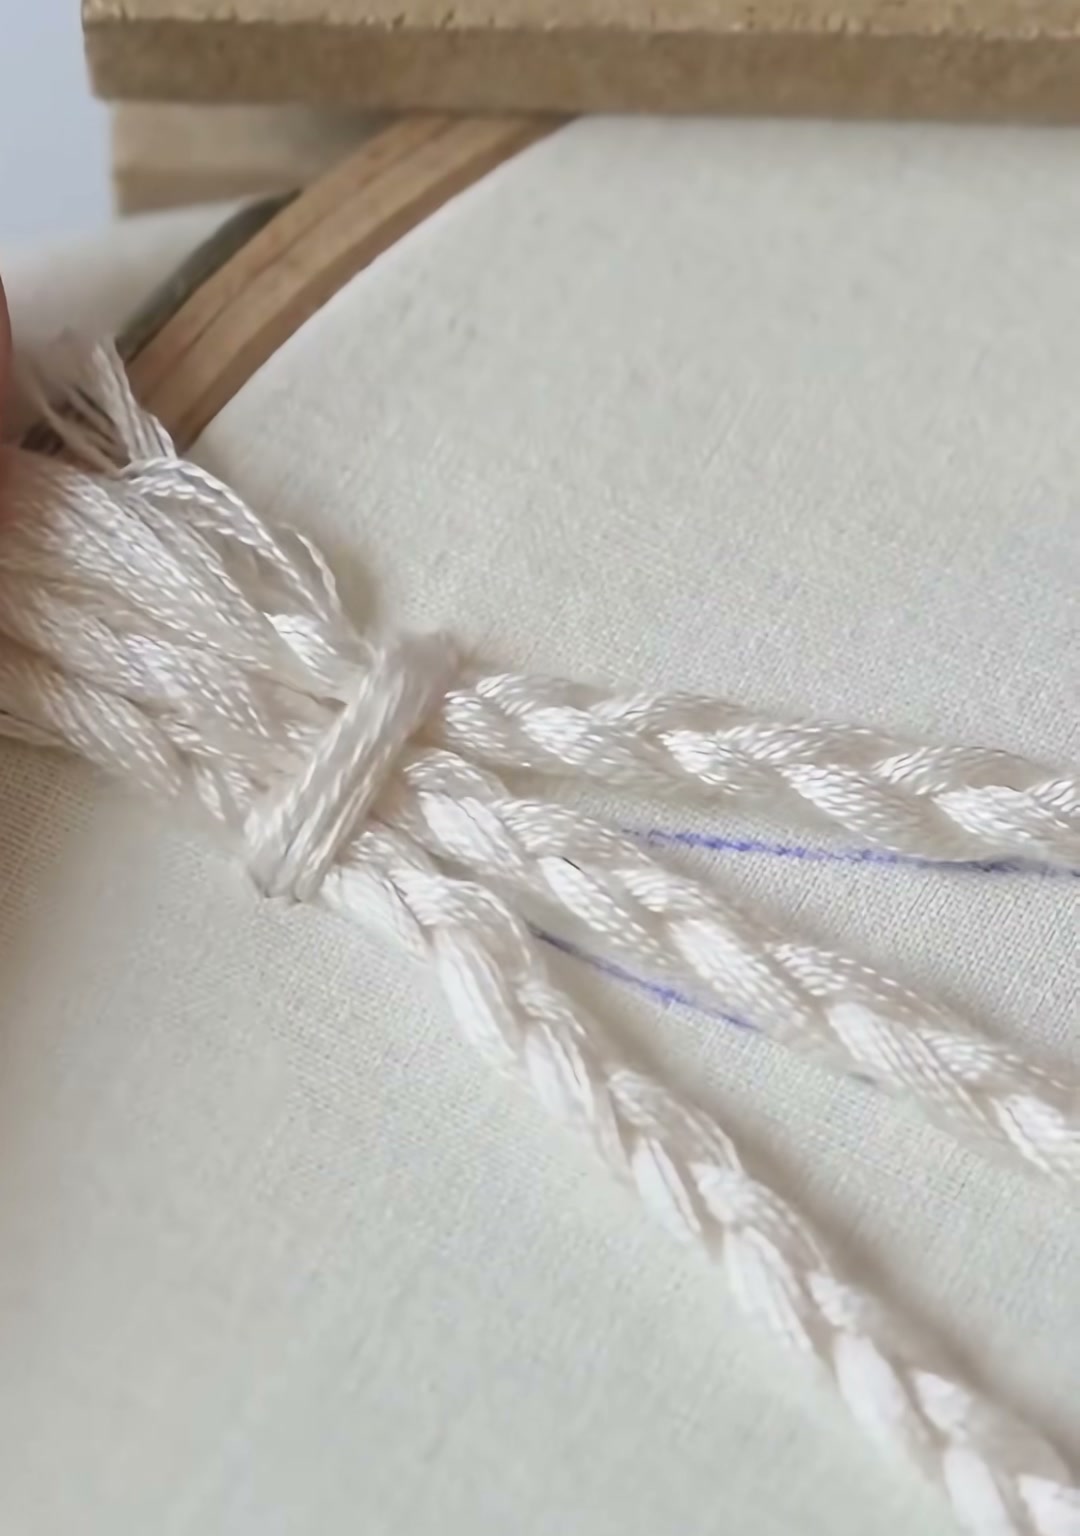
Create a soft bow by fanning out several strands of ivory floss and tying them in the center. Let a small tassel hang below it for movement.
11 — Stitch the First Pink Rose
Switch to soft pink thread and work a spiral rose using woven wheel stitch. Start at the center and wind outward, keeping the petals relaxed so the rose looks full and rounded.
12 — Add More Roses
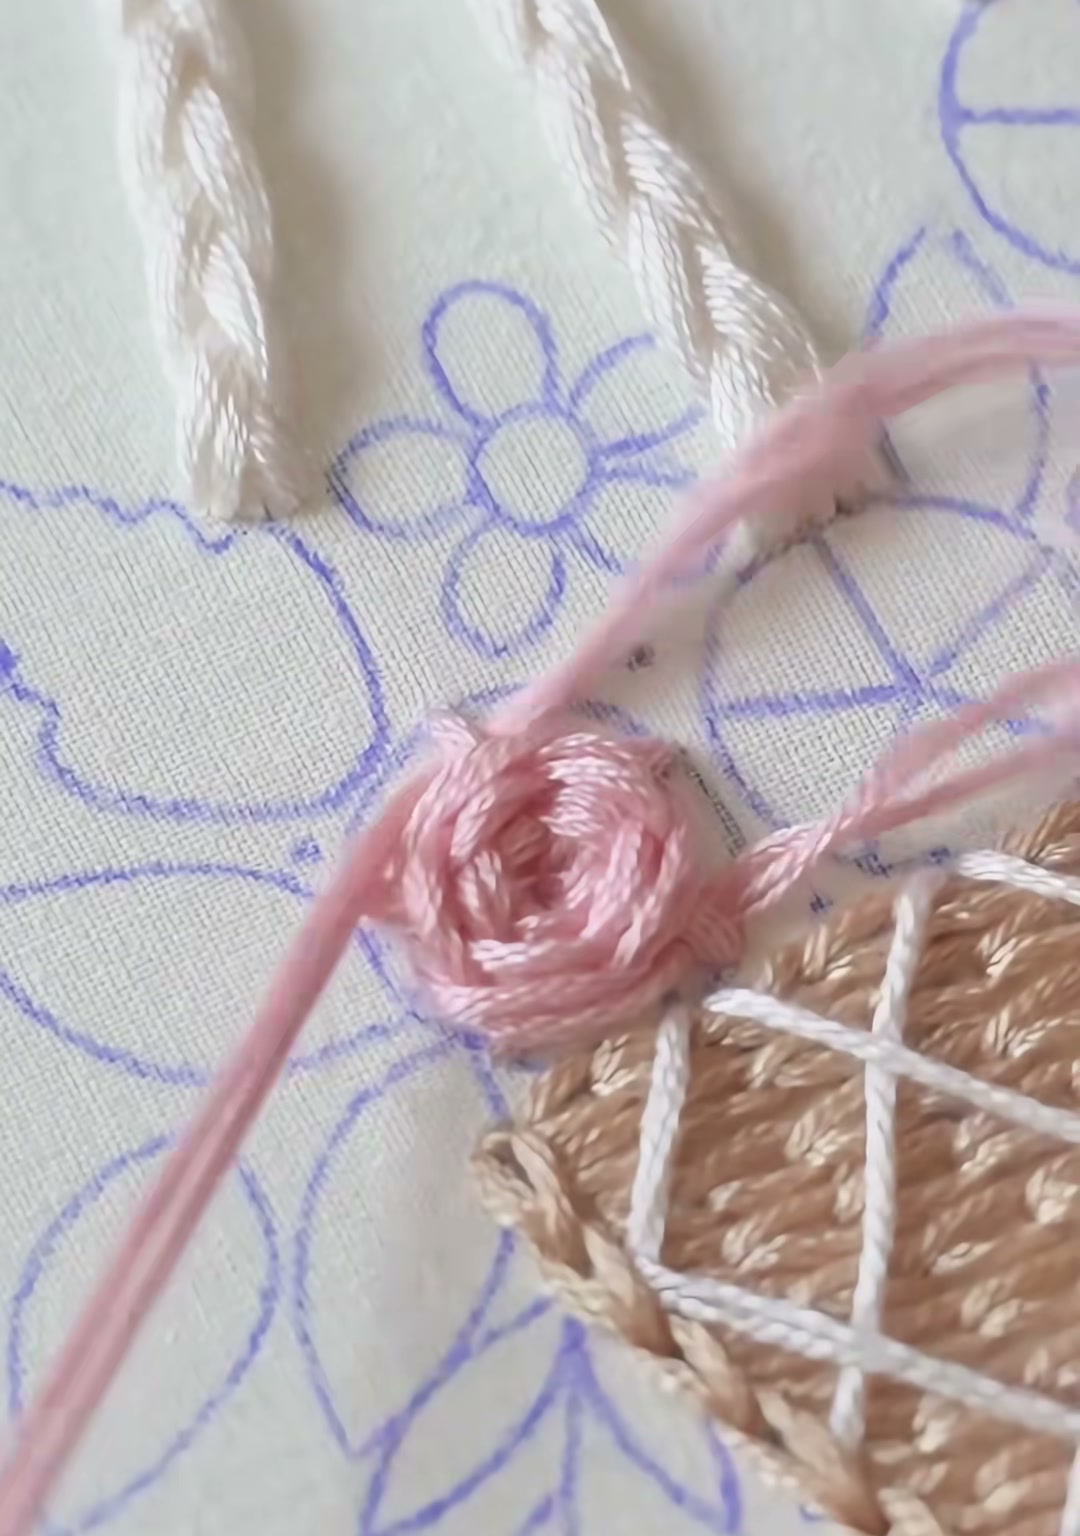
Add a second and third rose, varying the size slightly so the bouquet feels natural. Place them so they overlap the basket rim and each other.
13 — Add Small White Blossoms
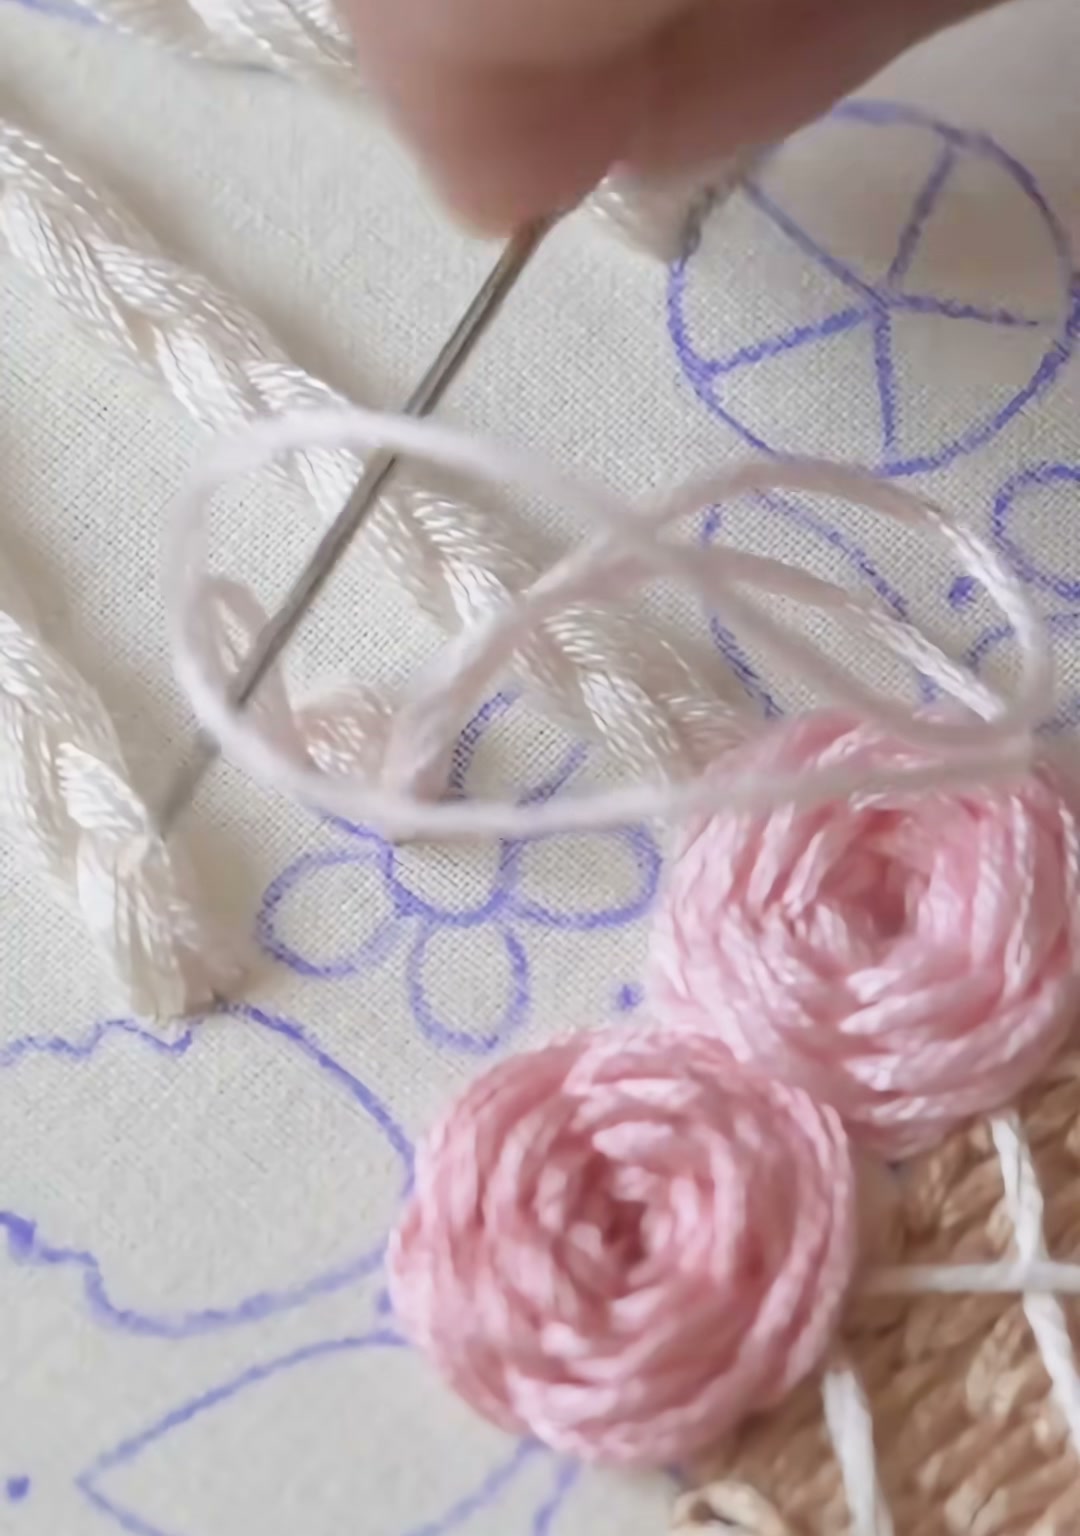
Fill the gaps between the roses with small white flowers. Use simple daisy stitches or five-petal satin stitches, and add a pale pink French knot at each center.
14 — Embroider the Leaves
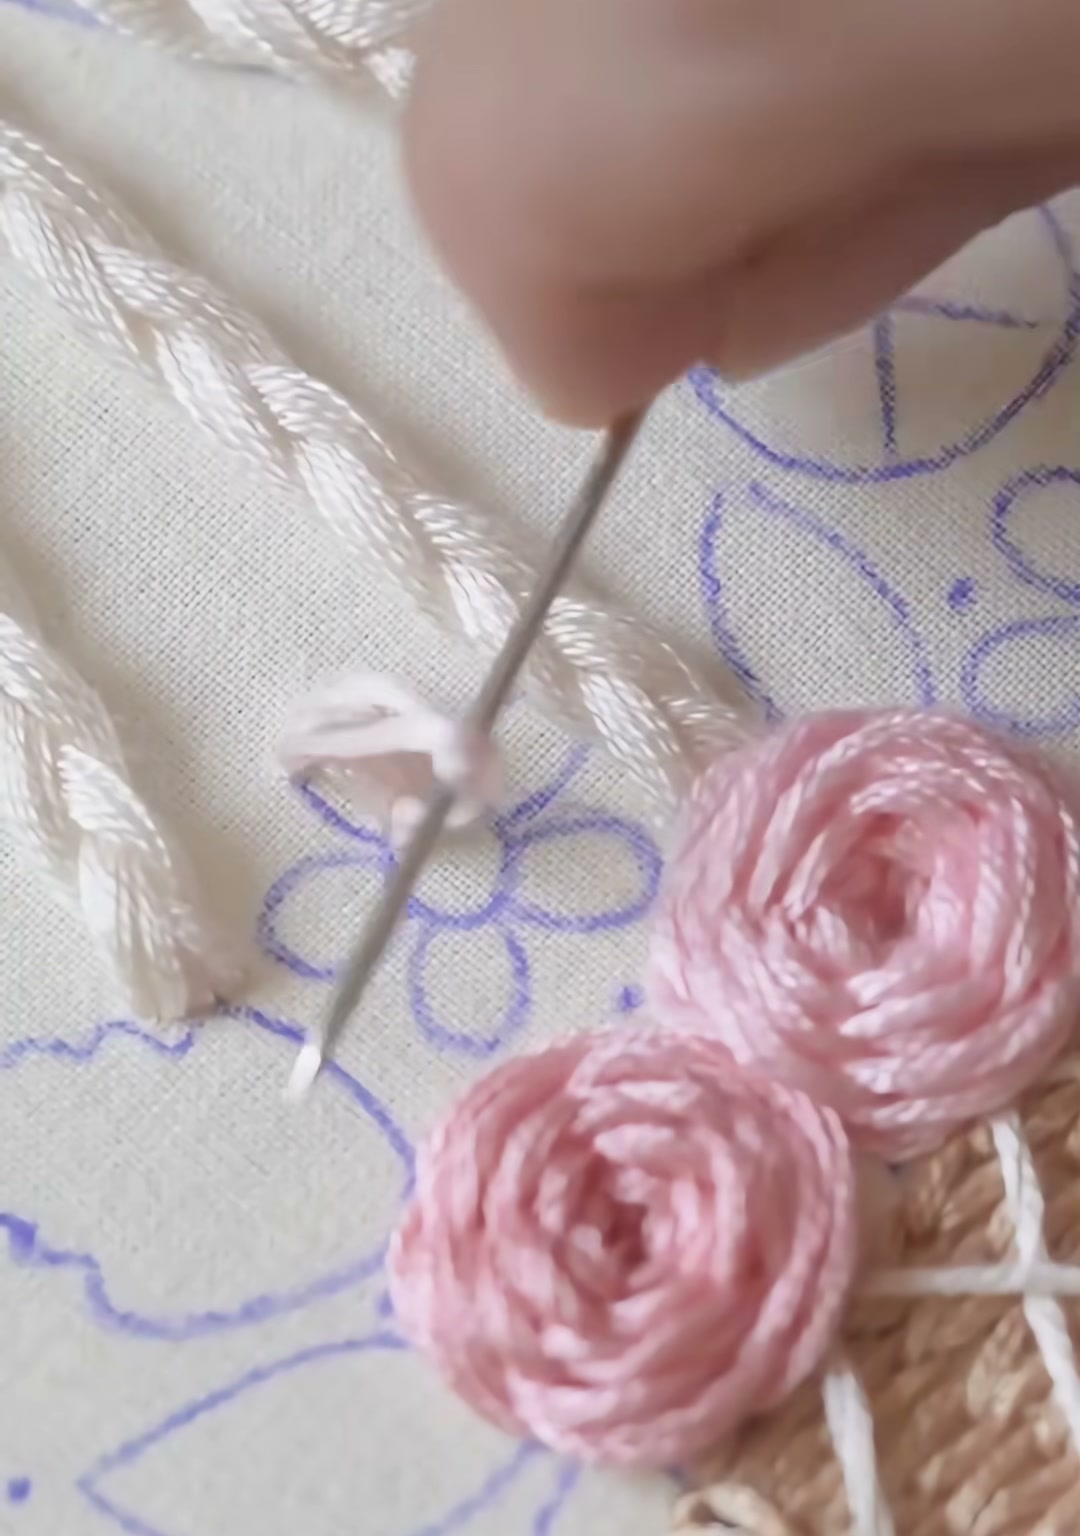
Add leaves in soft pink satin stitches, working them in pairs around the roses. The pale pink leaves keep the whole piece gentle and cohesive.
15 — Leaf Details
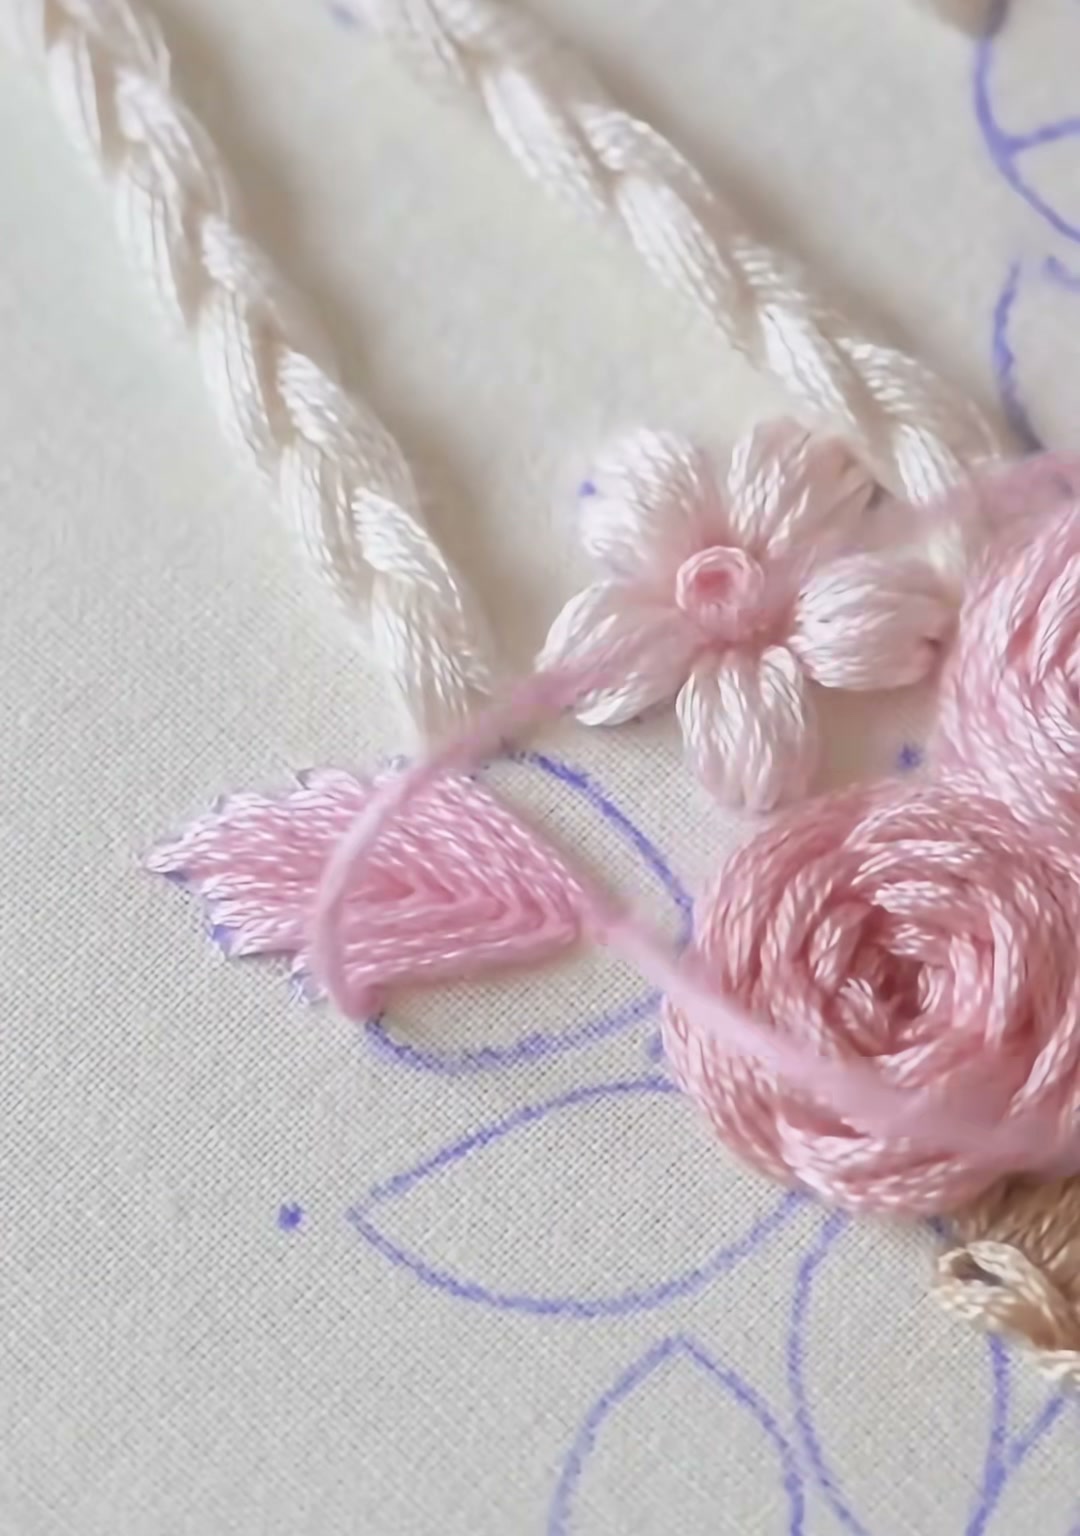
Work the final leaves with neat, slightly overlapping satin stitches. Let some leaves peek out beyond the flower cluster for a sense of abundance.
16 — The Finished Hanging Basket
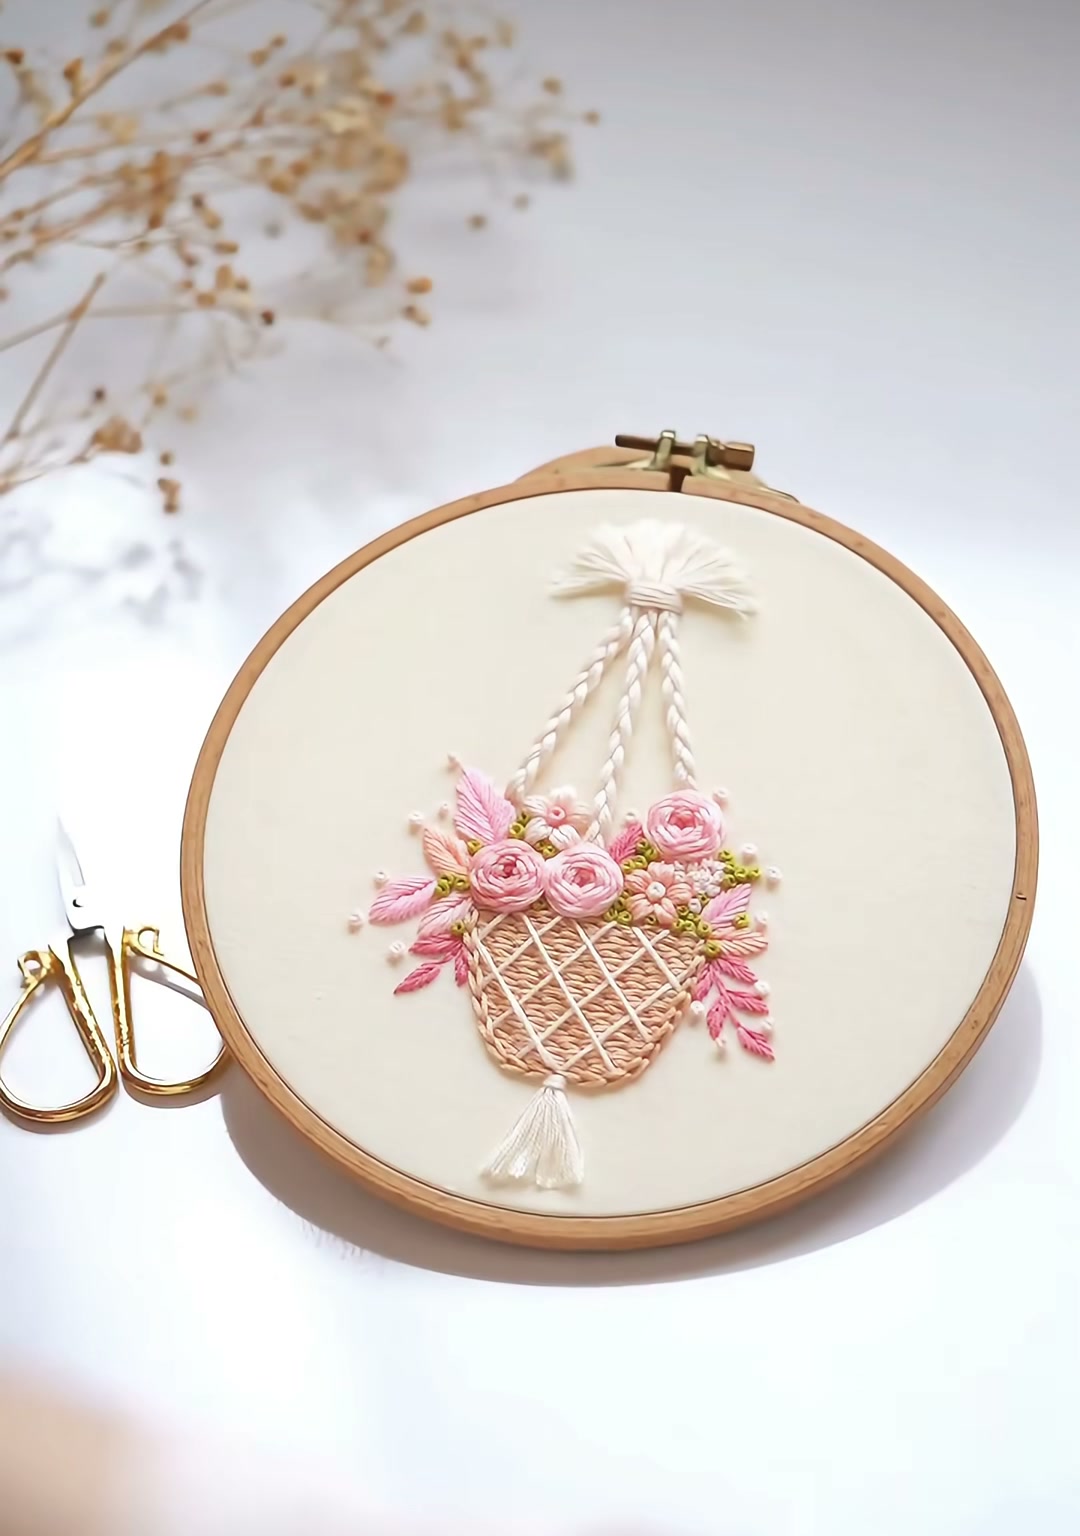
Step back and look at the whole hoop. The woven basket, the soft pink roses, the tiny white flowers, and the hanging bow come together like a small suspended garden.
- Use a water-soluble pen that disappears with a dab of water, so no blue lines remain in the final piece.
- Twist the hanging ropes while the floss is slightly damp; it holds its shape better.
- If your roses look too flat, add an extra wrap or two in the center for height.
Happy stitching — may your hoop always feel like spring.