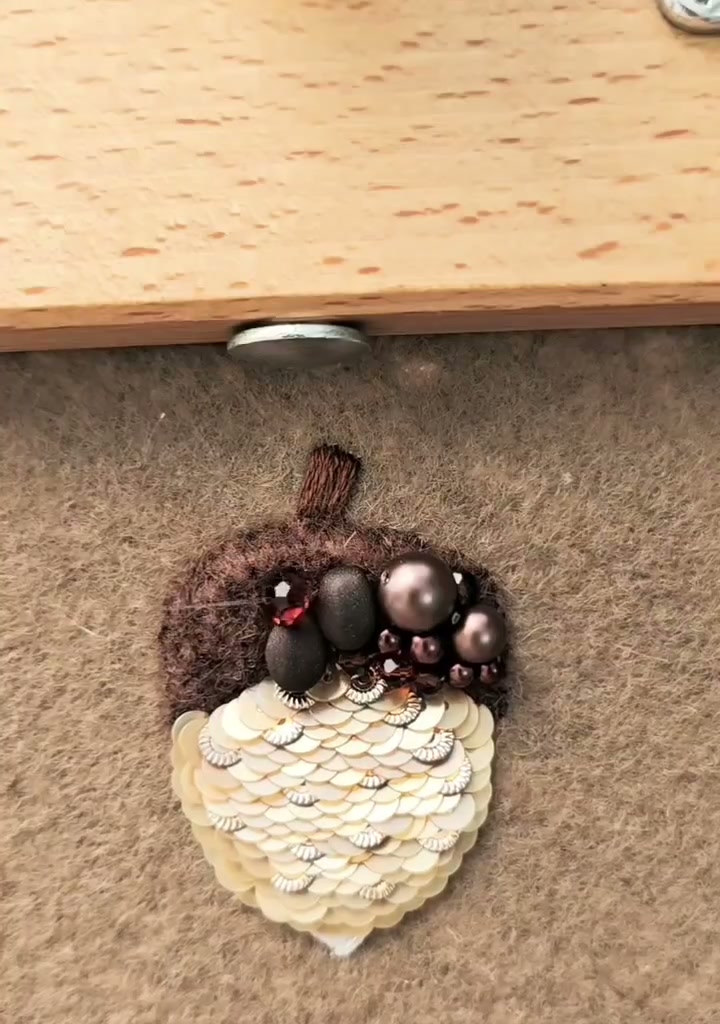
Beaded Acorn Ornament — A Little Autumn Treasure
Beaded Acorn Ornament — A Little Autumn Treasure
Autumn is the season of small treasures: fallen leaves, pinecones, and acorns. This beaded acorn captures that feeling in felt, sequins, and pearls. The cap is soft and earthy, the body shimmers like a tiny armored shell, and the whole piece hangs quietly in a dark wooden hoop.
- Round embroidery hoop with dark frame
- Brown felt (for background)
- White paper (for template)
- Pencil and scissors
- Polyester stuffing
- Embroidery floss — dark brown
- Alcohol-based brown marker
- Cream / ivory flat sequins
- Embroidery needle and matching thread
- Large dark pearls / beads
- Small dark seed beads / crystals
01 — Prepare the Hoop and Felt
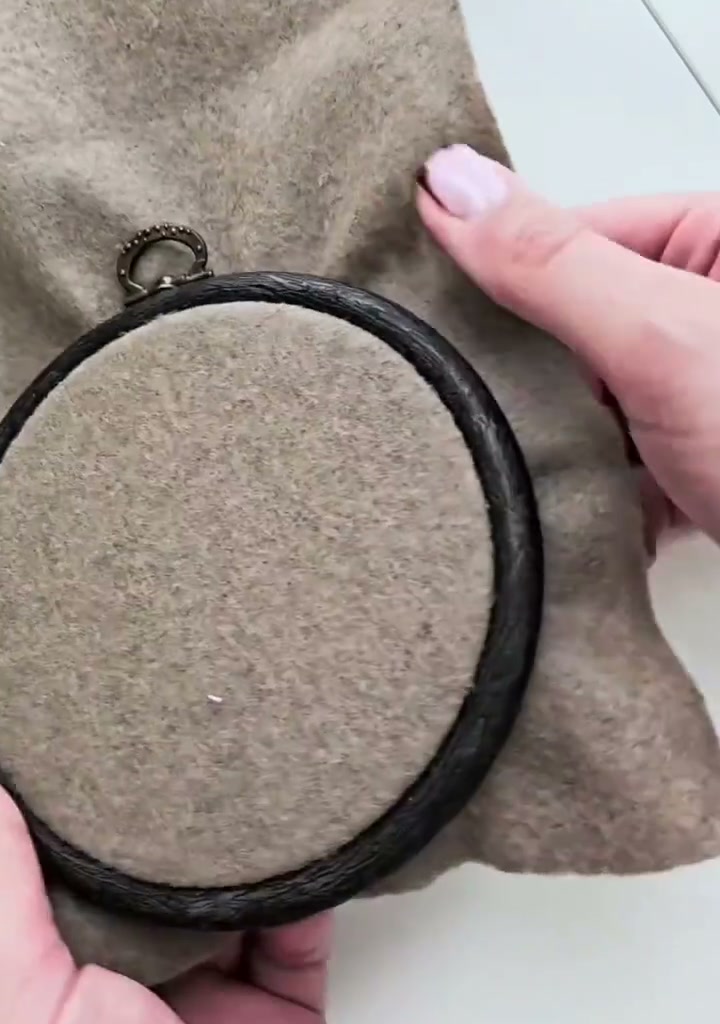
Stretch a piece of brown felt tightly inside a round embroidery hoop. The felt will be both the background and the base fabric for the acorn.
02 — Draw the Acorn Template
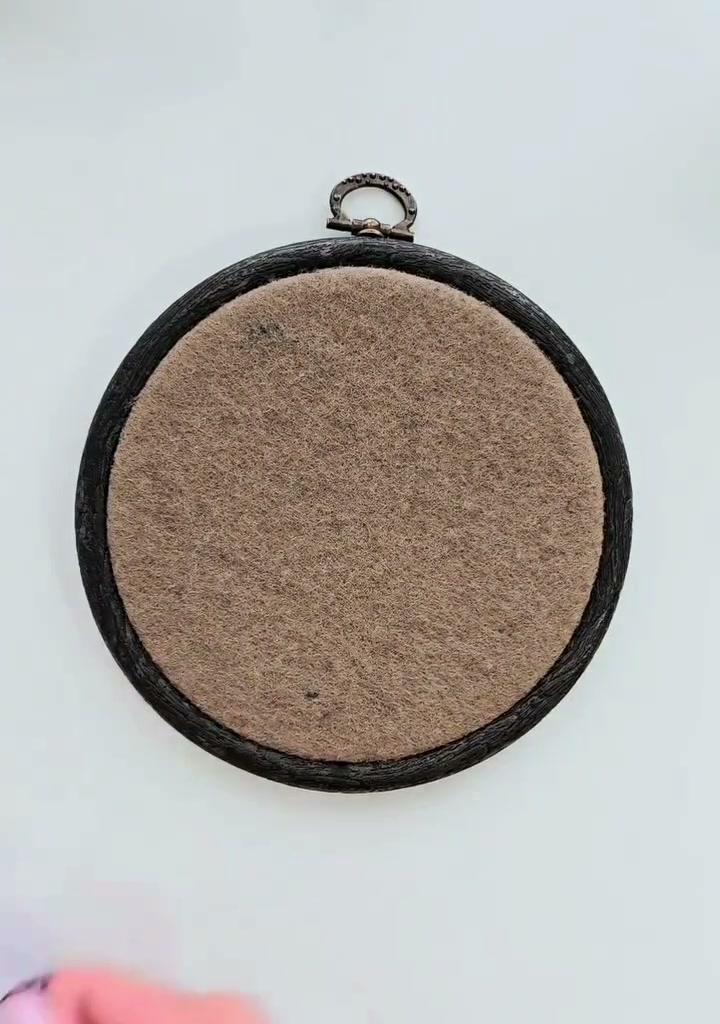
Fold a small piece of paper and draw half of an acorn shape so that when you cut it open, both sides are symmetrical.
03 — Cut the Template
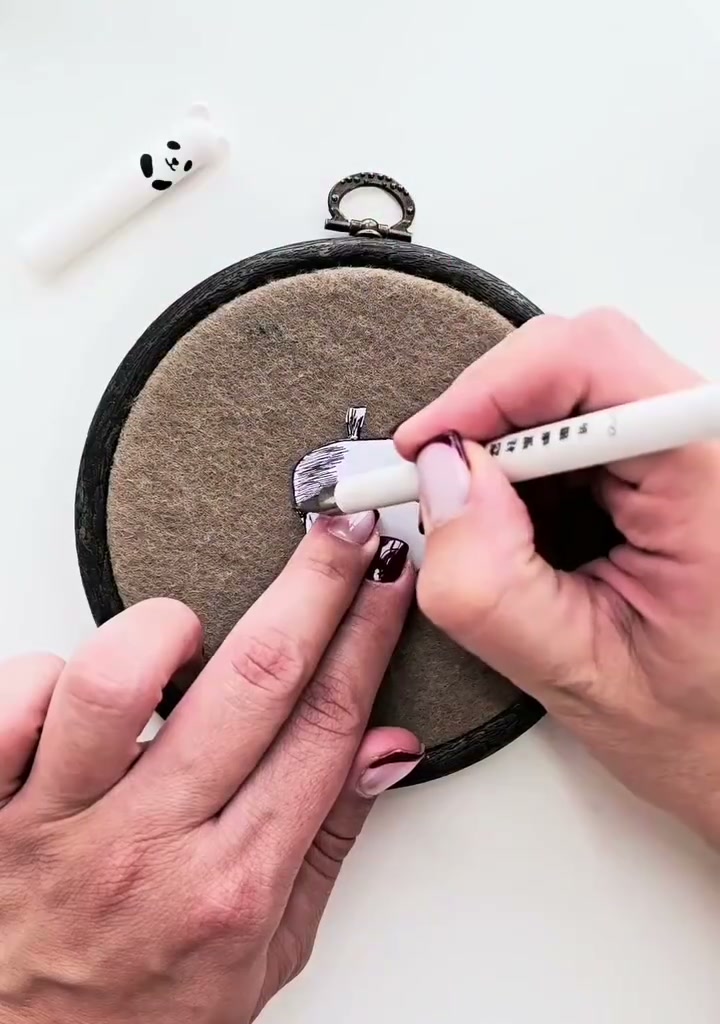
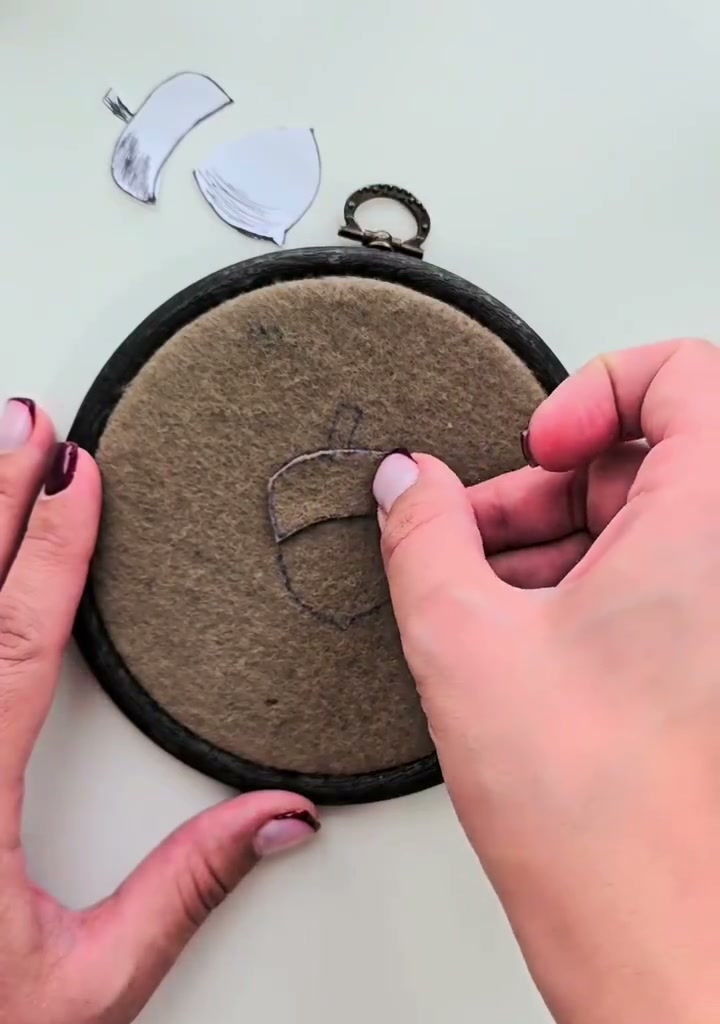
Cut carefully along the drawn line. Open the paper to reveal the full acorn template.
04 — Template Ready
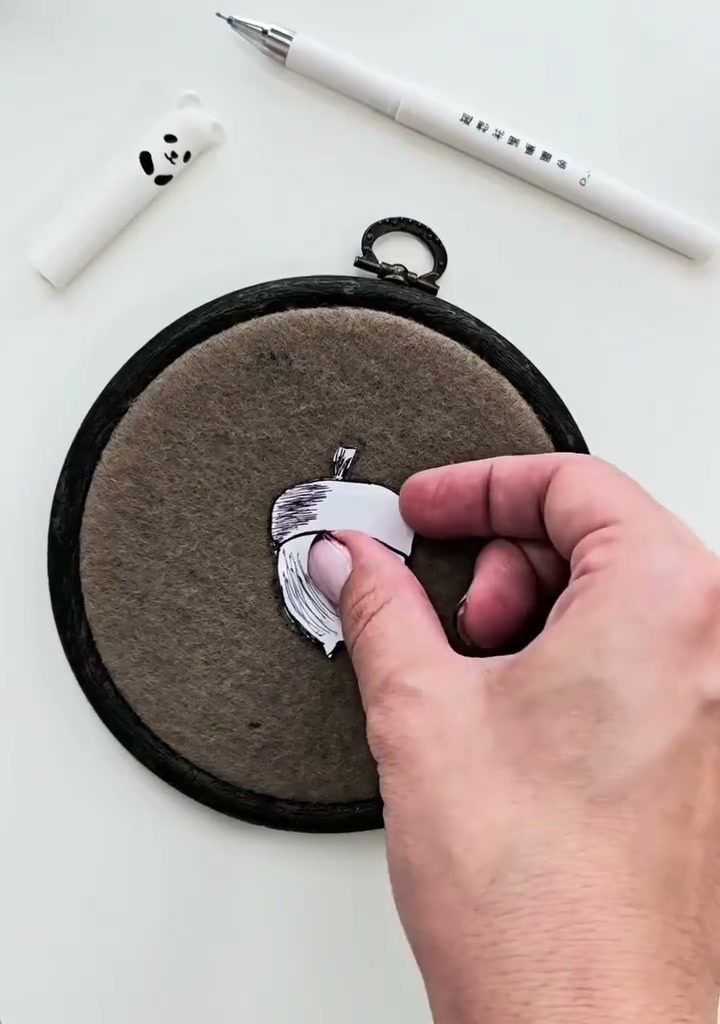
Hold the template against the felt to check the size and placement. The acorn should sit comfortably in the center of the hoop with room around it.
05 — Place the Template on the Felt
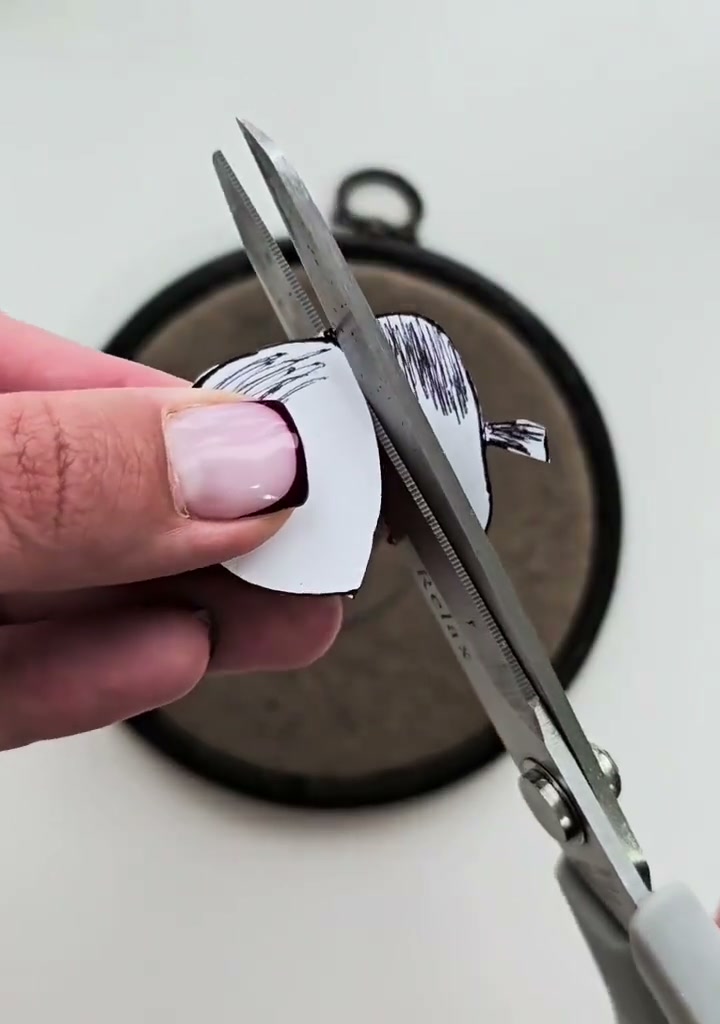
Lay the template flat on the felt. You can pin it lightly or hold it steady with your fingers.
06 — Trace the Acorn Outline
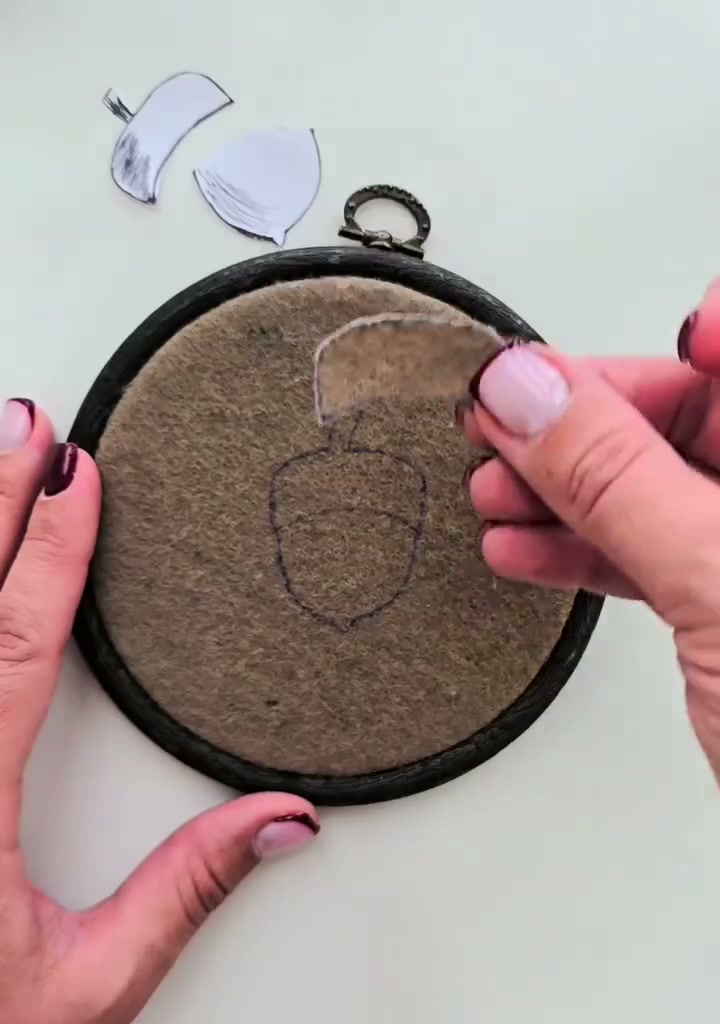
Trace the acorn shape onto the felt with a fine pen or marker. Mark a horizontal line where the cap meets the body.
07 — Prepare the Stuffing
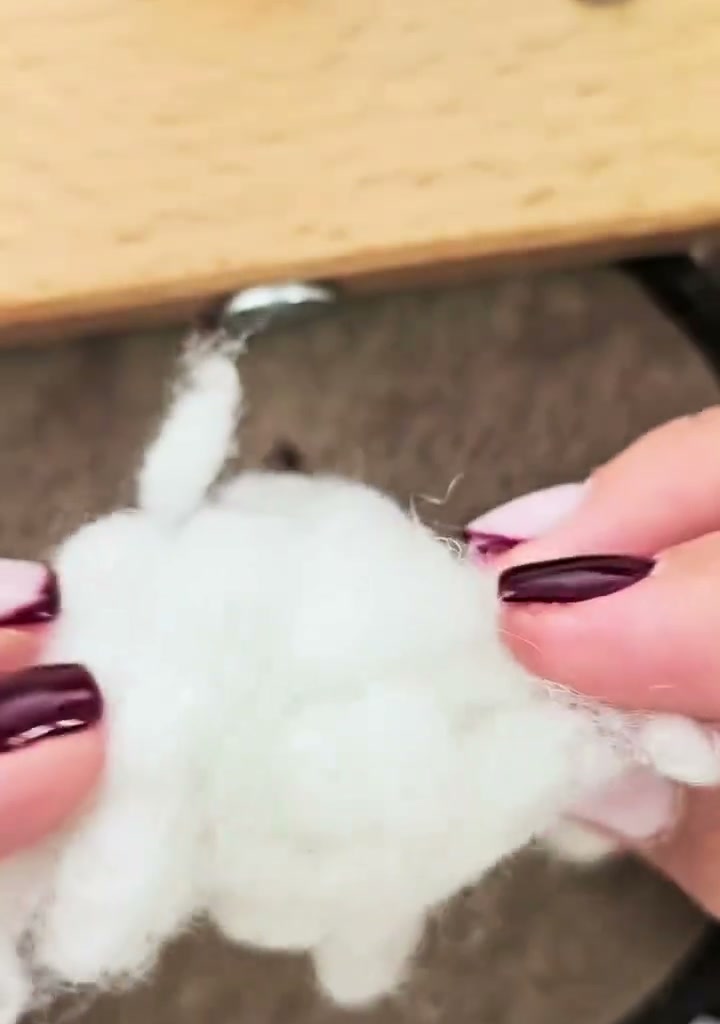
Take a small amount of polyester stuffing. You only need enough to give the acorn a gentle, rounded volume.
08 — Fill the Acorn Shape
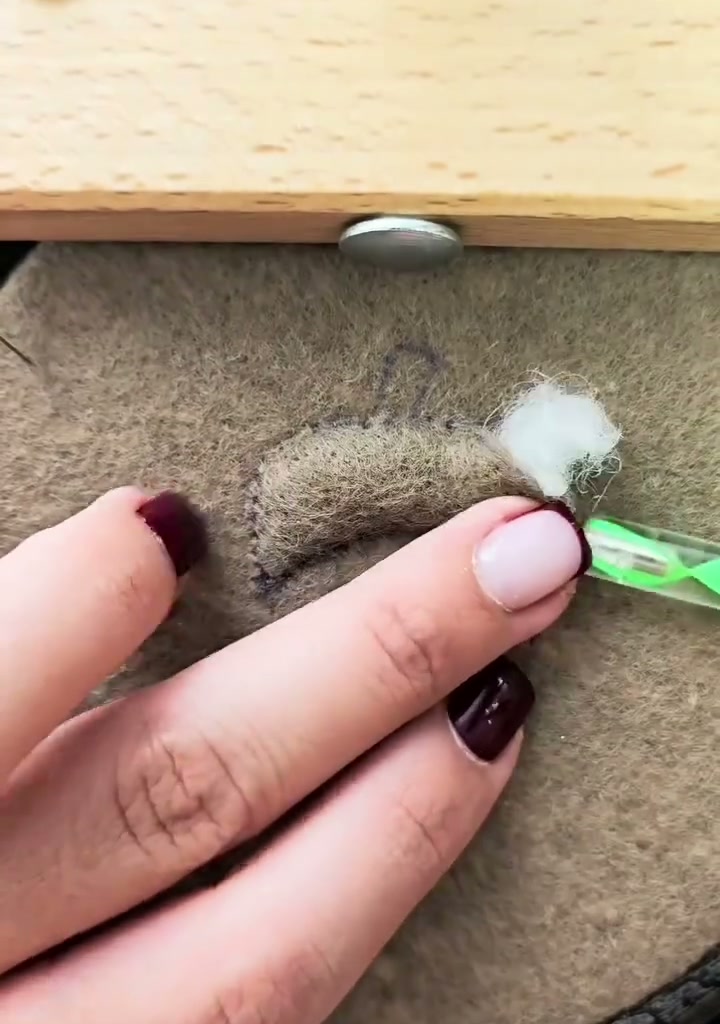
Lift the top layer of felt slightly and tuck the stuffing underneath, shaping it into the rounded acorn body. Keep the surface smooth.
09 — Stitch the Stem
Use dark brown floss to stitch a short stem at the top of the acorn. Simple straight stitches gathered together will give it a woody look.
10 — Choose a Brown Marker
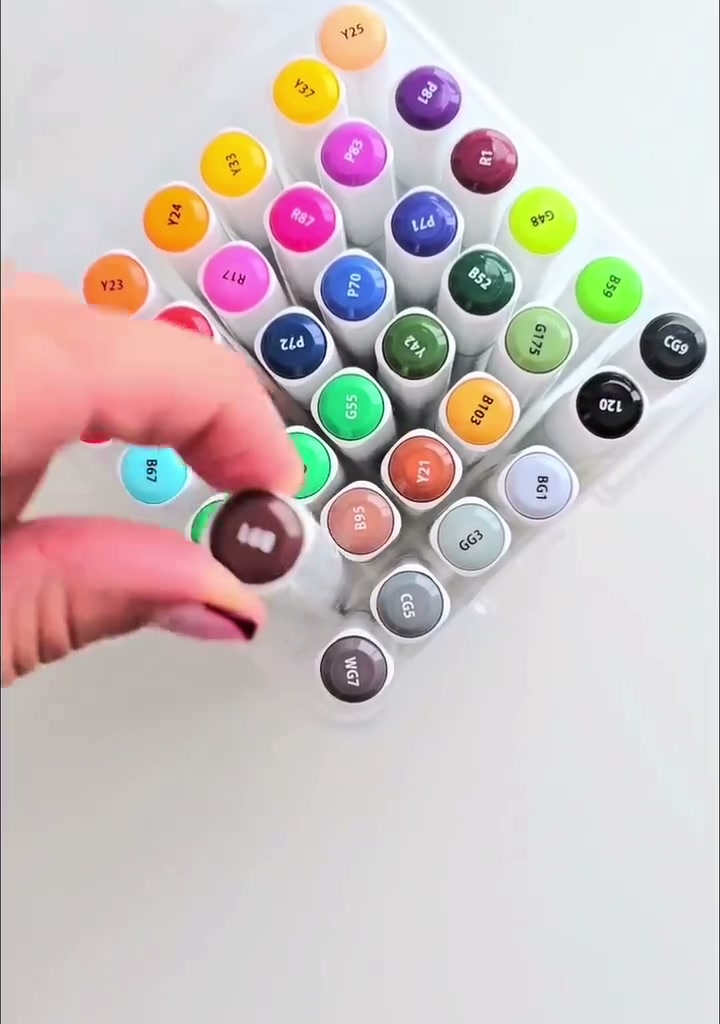
Choose a dark brown alcohol-based marker. The ink should be permanent and slightly translucent so it soaks into the felt rather than sitting on top.
11 — Color the Cap
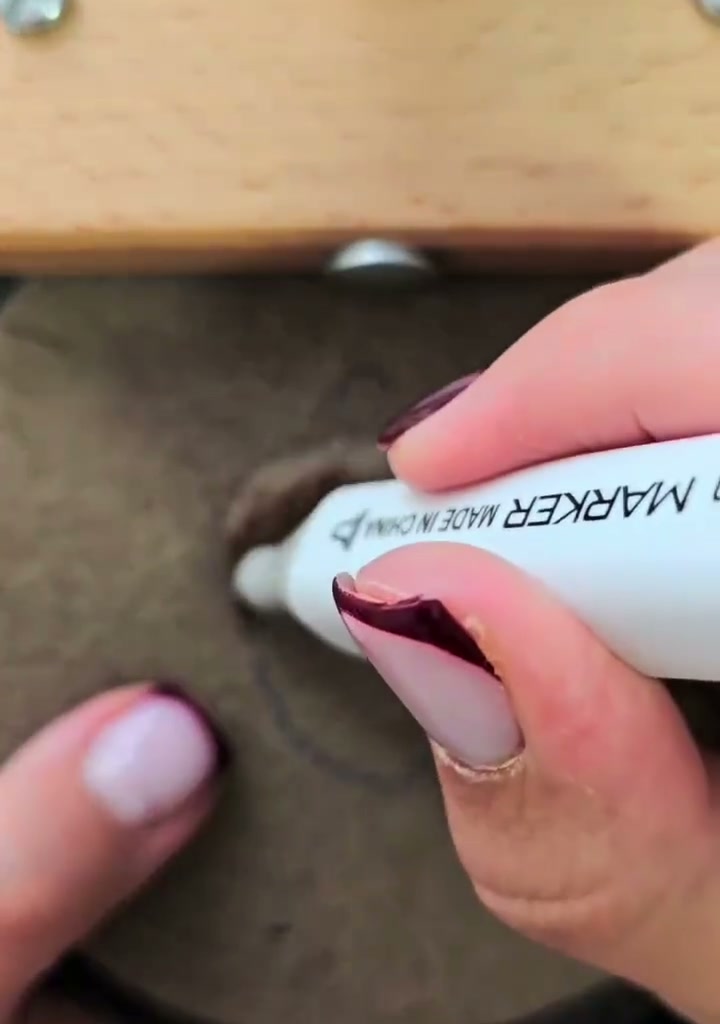
Color the cap area carefully with the brown marker. Work in small circles to build up an even, textured tone.
12 — The Colored Cap
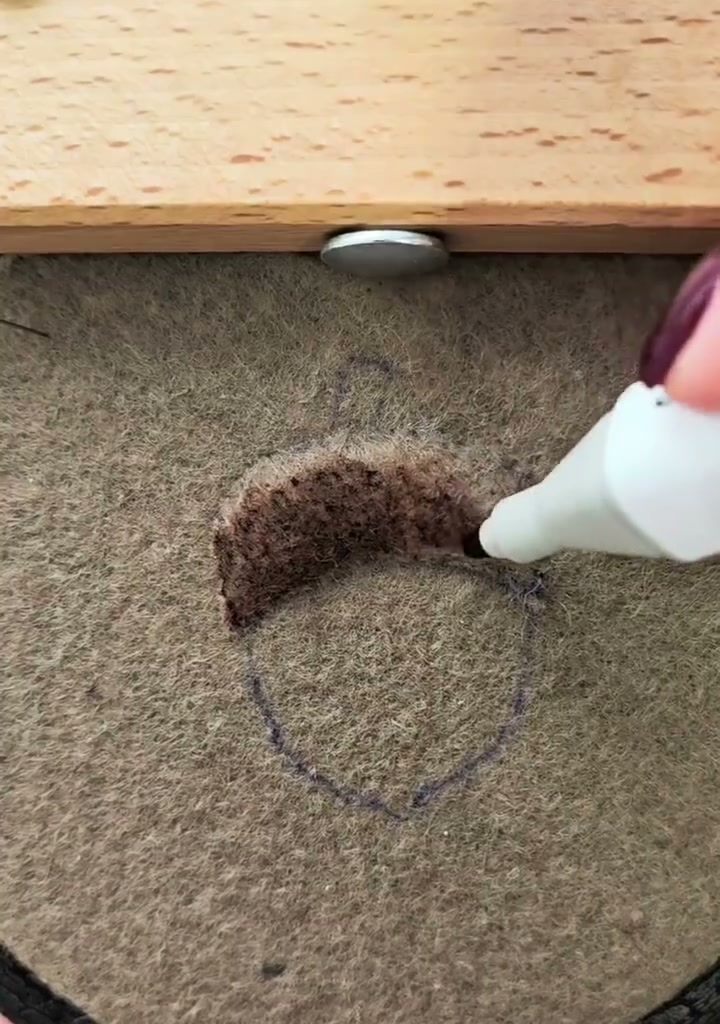
Let the ink dry completely. The cap should now look rich and earthy against the lighter felt body.
13 — Begin the Sequin Body
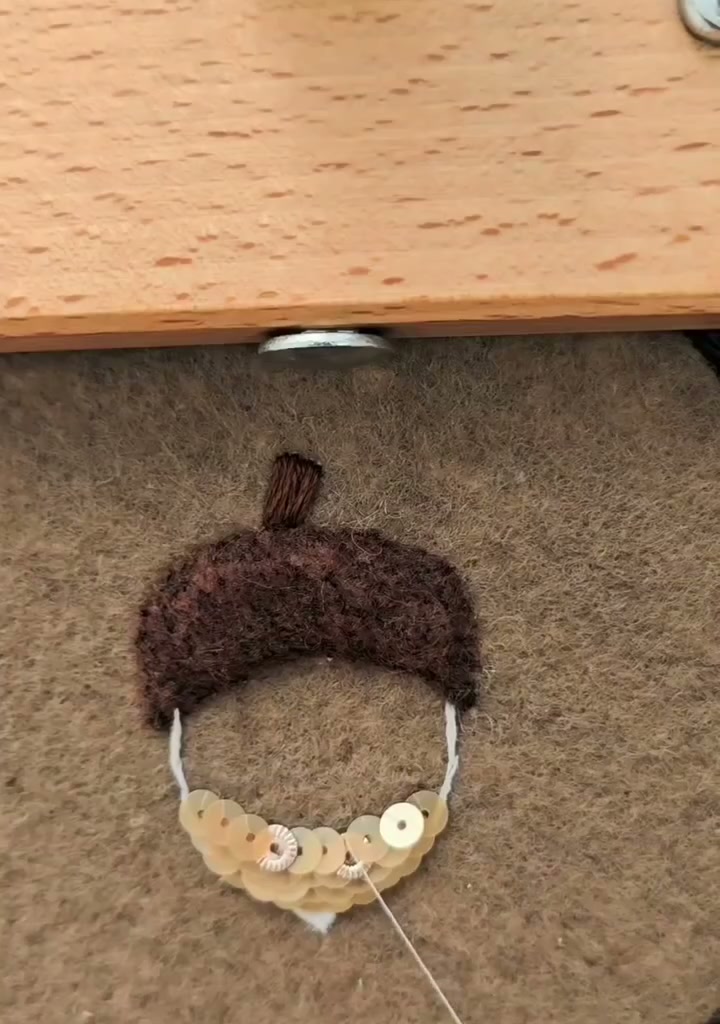
Thread a needle with fine matching thread and begin sewing cream sequins onto the body in overlapping rows, starting from the cap line and working downward.
14 — Complete the Sequin Body
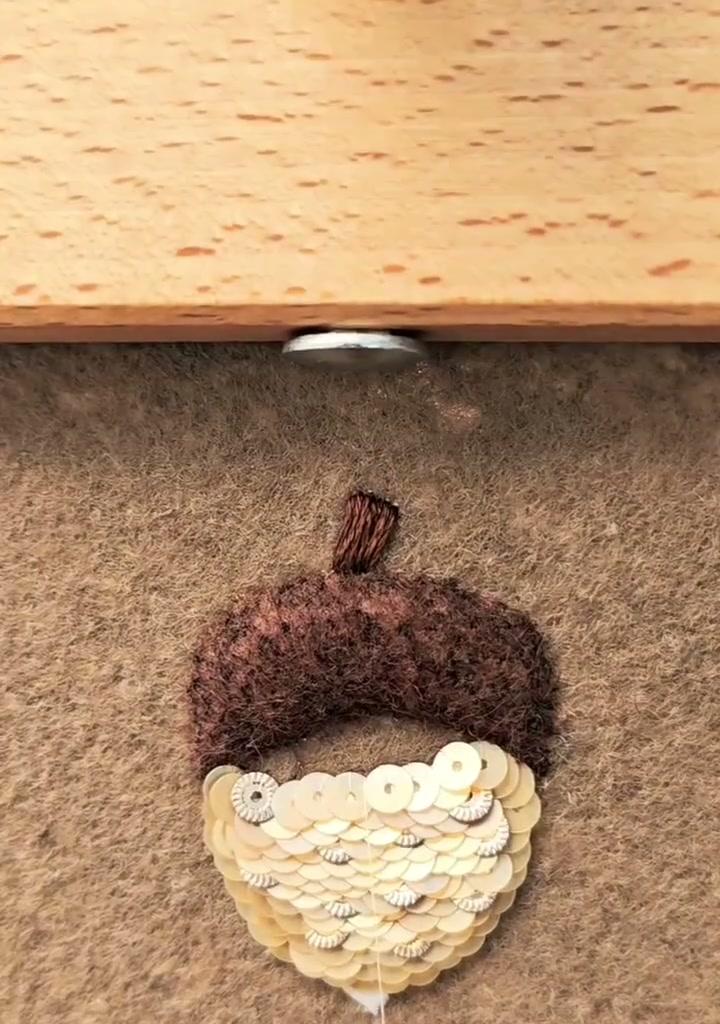
Continue until the entire body is covered. Each sequin should overlap the one below it like fish scales, creating a smooth, shimmering surface.
15 — Add Large Pearls
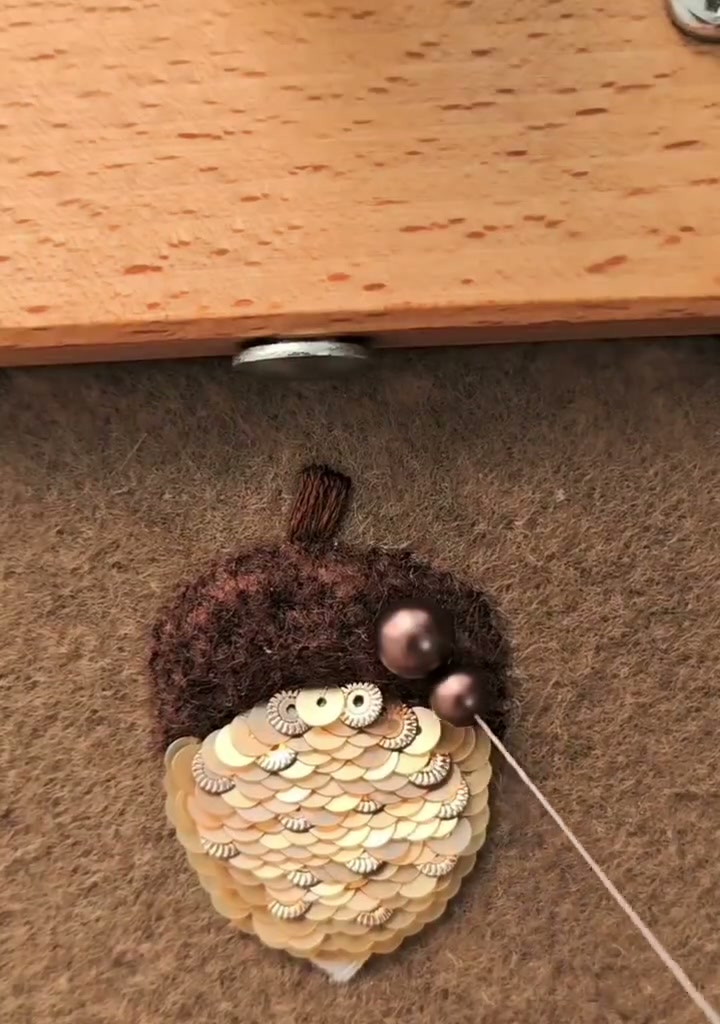
Sew a few large dark pearls along the cap line. They act as both decoration and a transition between the matte cap and shiny body.
16 — Fill In with Smaller Beads
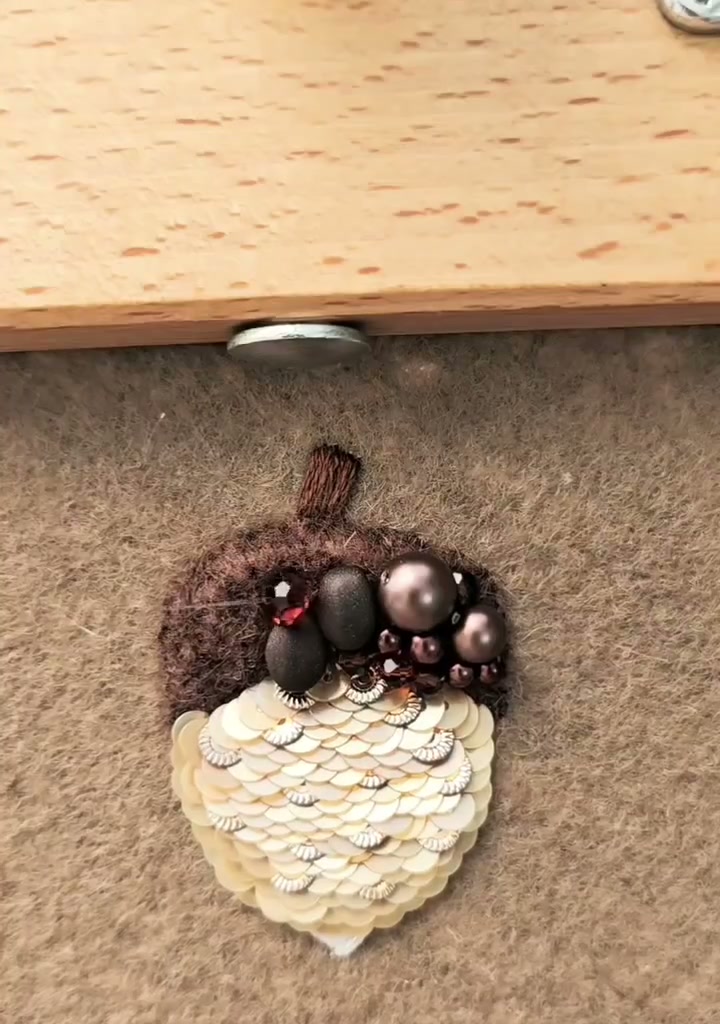
Fill the gaps around the pearls with smaller dark seed beads and crystals. The more varied the beads, the richer the cap will look.
17 — Detail View
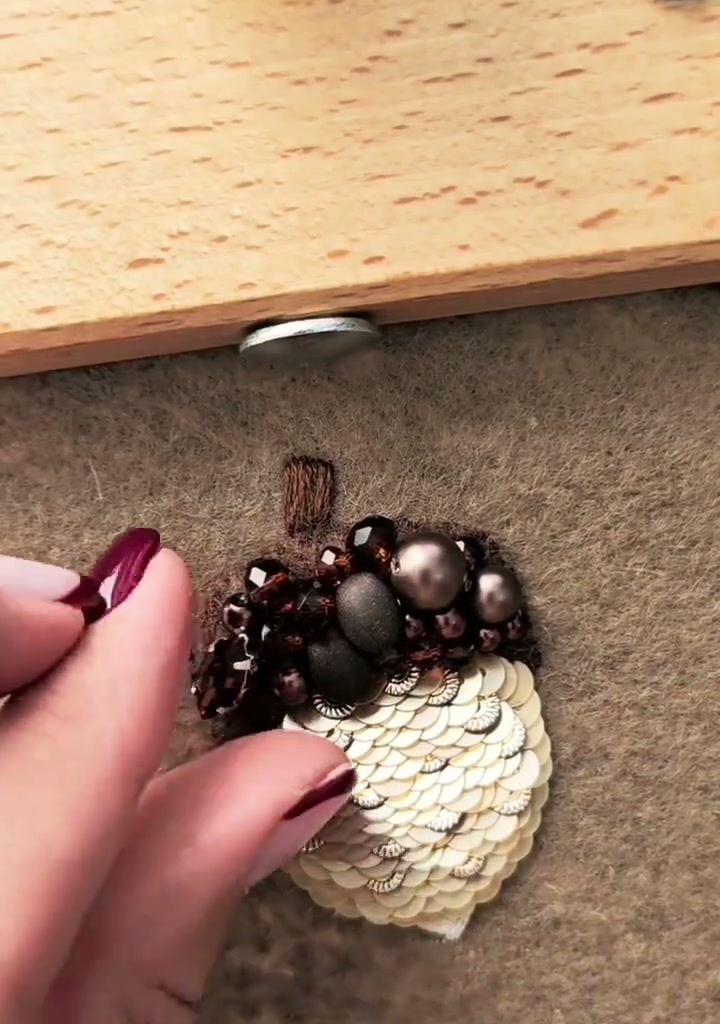
Take a moment to check all the beads are secure and the sequin rows are even. Adjust any loose threads before finishing.
18 — The Finished Acorn Ornament
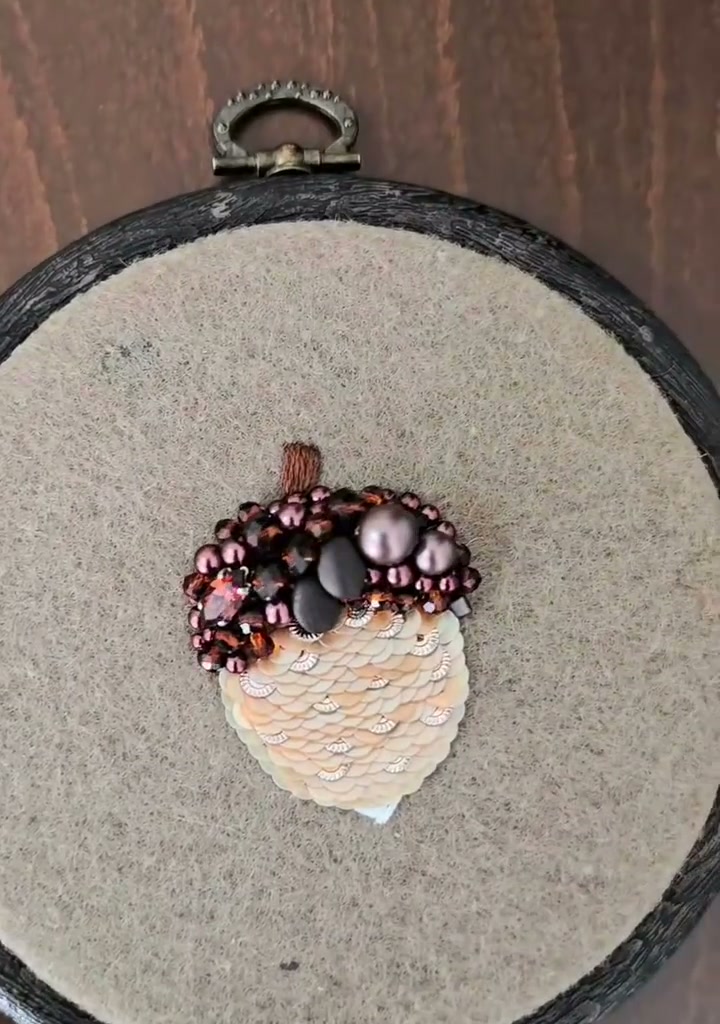
Hang the hoop or prop it on a shelf. The acorn is small, but the mix of textures — fuzzy felt, glossy beads, and satin sequins — makes it feel like a real autumn keepsake.
- If you do not have alcohol markers, fabric paint watered down slightly works too.
- Sew sequins with a tiny seed bead in the center of each one to keep them flat and aligned.
- Stuff the acorn gently; too much filling will make the shape bulge unevenly.
Happy stitching — may your autumn be full of tiny treasures.