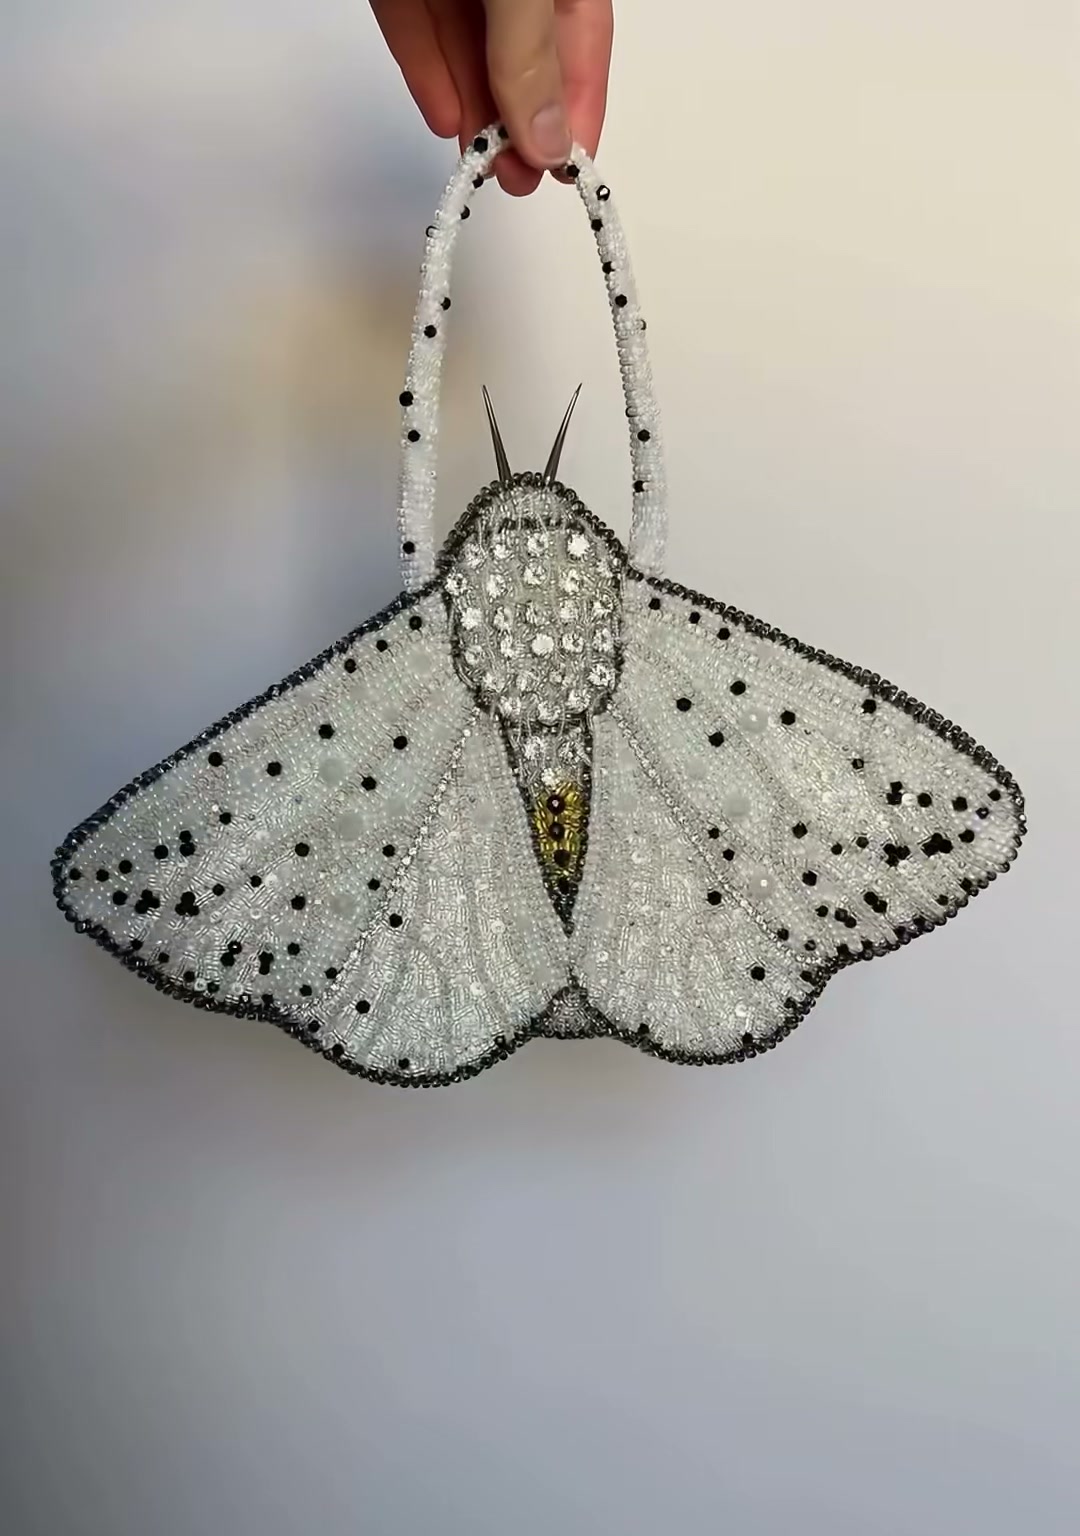
The Giant Beaded Moth Bag — A Nocturnal Creature in Silver and Onyx
The Giant Beaded Moth Bag
Moths are not butterflies in evening dress. They are their own kind of beautiful — heavier, quieter, drawn to light instead of flowers. This bag is an ode to that beauty: a nocturnal creature built bead by bead, large enough to carry your phone and your secrets to a night out.
I wanted to make something that feels like it belongs in a cabinet of curiosities: a giant, stylized moth you can actually carry. Unlike butterflies, moths rest with their wings spread flat, their bodies thick and fuzzy, their patterns meant to be read by moonlight. The color palette is silver, onyx black, and touches of antique gold — nothing bright, nothing sweet.
- Style — Gothic romance, statement evening bag, museum-piece energy
- Best for — Night events, dinners, gallery openings, winter parties
- Size — Hand-sized body, long beaded handle
- Skill level — Intermediate to advanced
- Time — 2–3 weekends
- Mood — Nocturnal, mysterious, slightly dangerous
Moths look complicated, but their materials are simple: a strong fabric base, a lot of patience, and beads that catch the light in different ways.
- Cotton canvas or heavy linen — Bag base fabric
- Embroidery hoop (large) — Work frame
- Water-soluble fabric marker — Drawing the pattern
- Silver cup-chain rhinestones — Wing outline
- Silver-lined white seed beads — Wing fill
- Black faceted crystal beads (assorted) — Wing spots, edge trim
- Clear / white rhinestones — Wing highlights, thorax
- Antique gold seed beads — Abdomen detail
- Grey bugle beads — Body segmentation
- Silver-lined crystal beads — Thorax shimmer
- Long beaded handle (or make your own) — Strap
- Lining fabric — Interior
- E6000 / fabric glue — Reinforcement
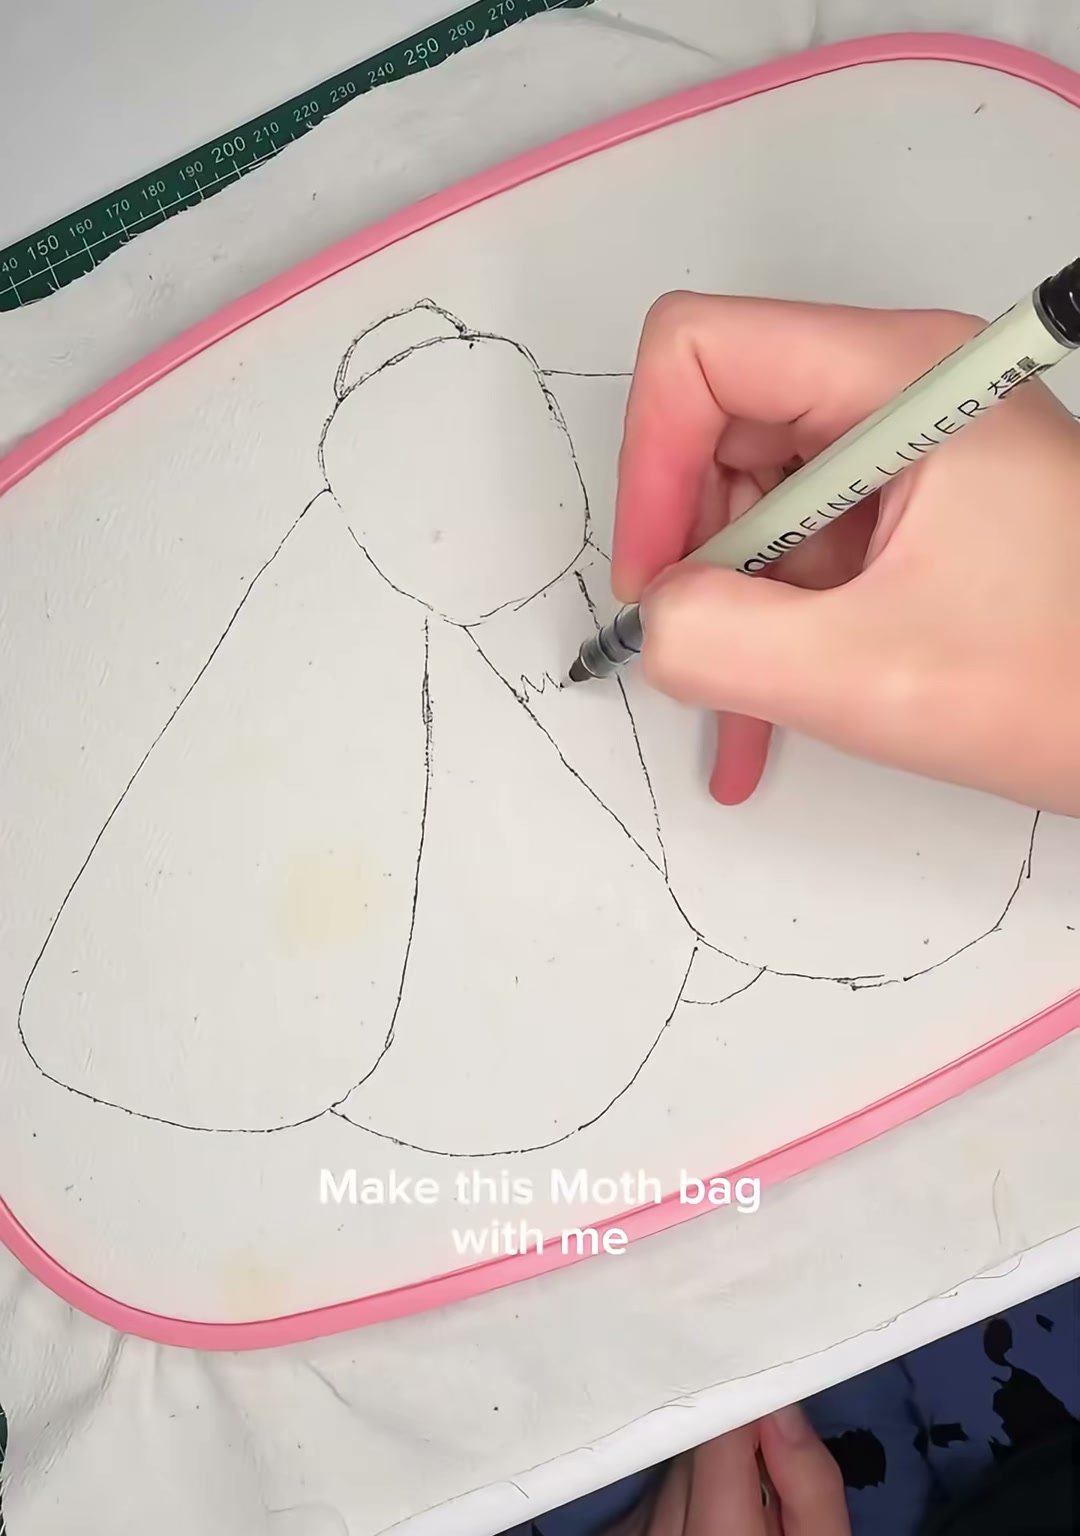
Start by drawing the moth directly onto your fabric inside a large hoop. The body sits in the center; the forewings spread upward and outward; the hindwings peek out below. Moths rest with wings flat, so keep the shape wide and low — almost triangular.
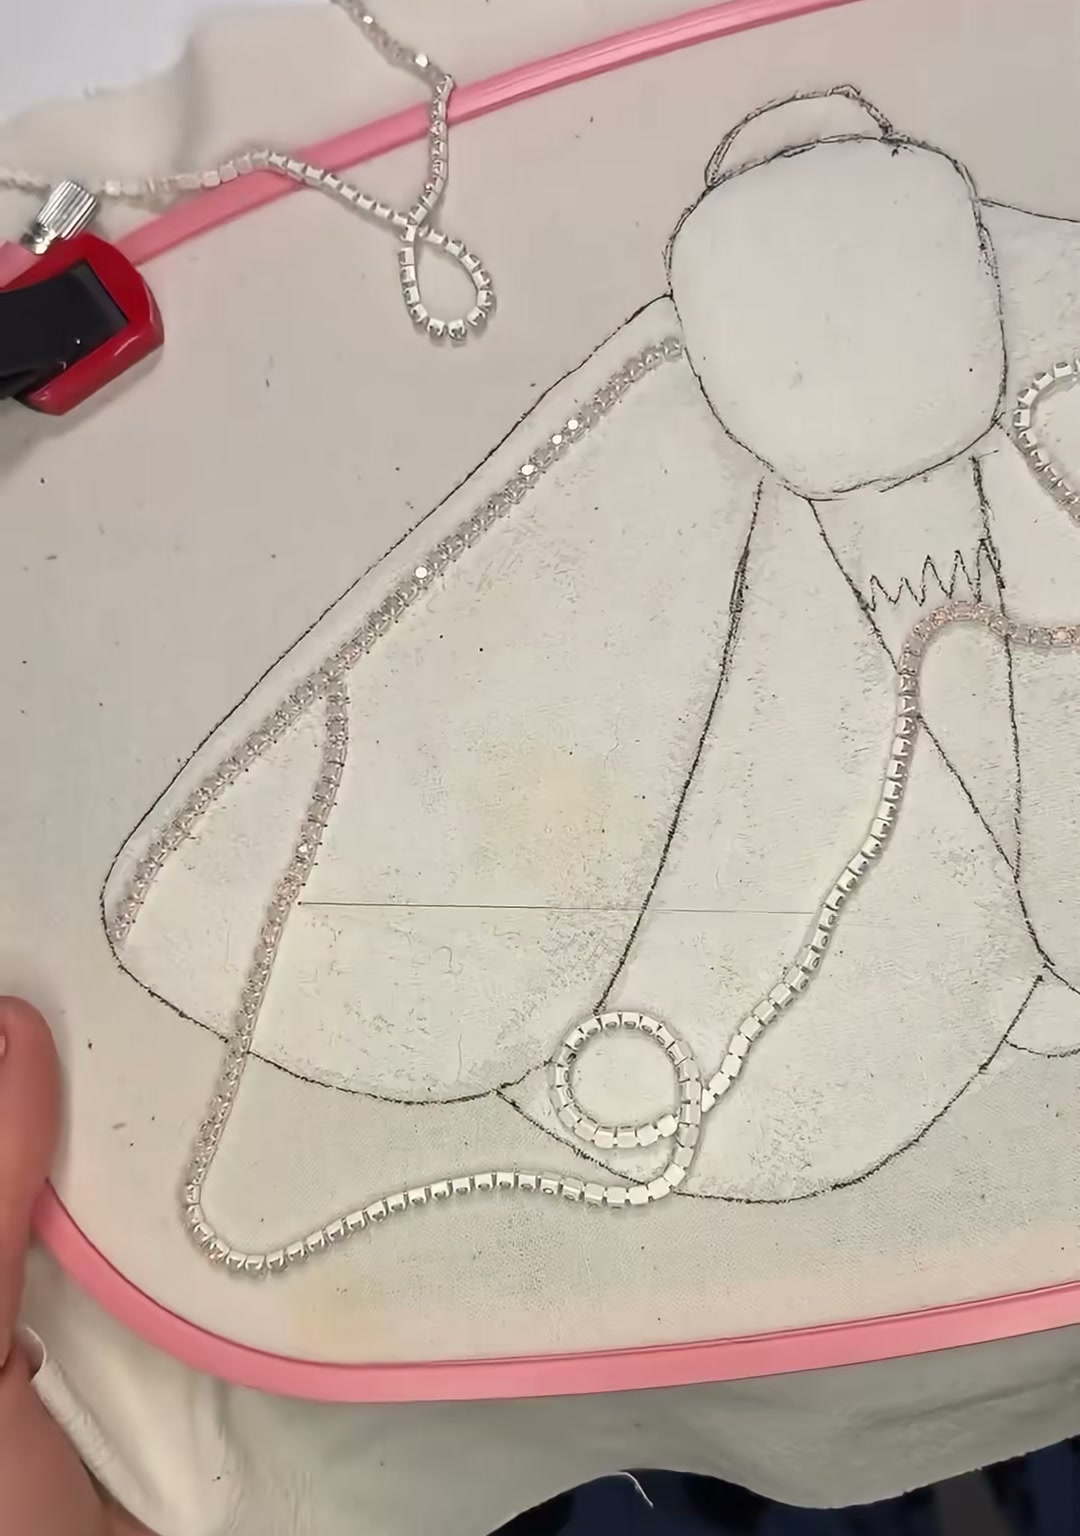
Sew a line of silver cup-chain rhinestones along every wing edge. This gives the moth its first shimmer and locks the shape down before you start filling. The chain also acts as a small wall — beads won't spill past it.
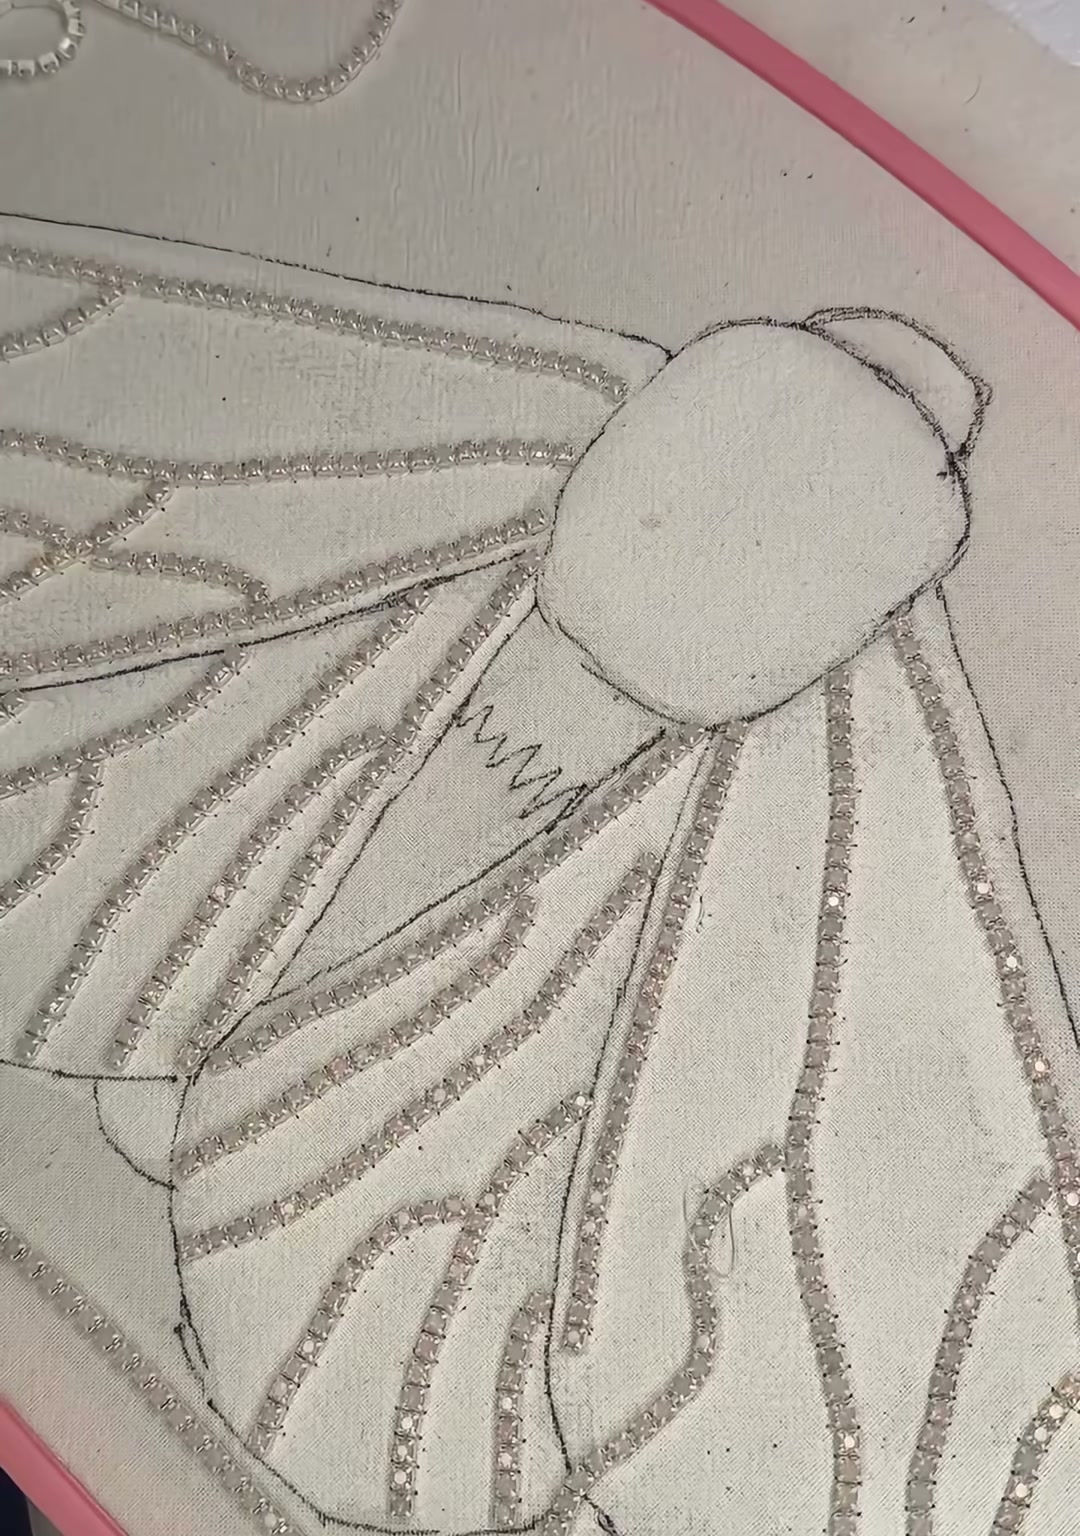
Using silver-lined white seed beads, stitch the main veins of the wings. Think of these as roads: they divide the wing into sections and give the whole piece a sense of structure. Real moth wings are all about geometry.
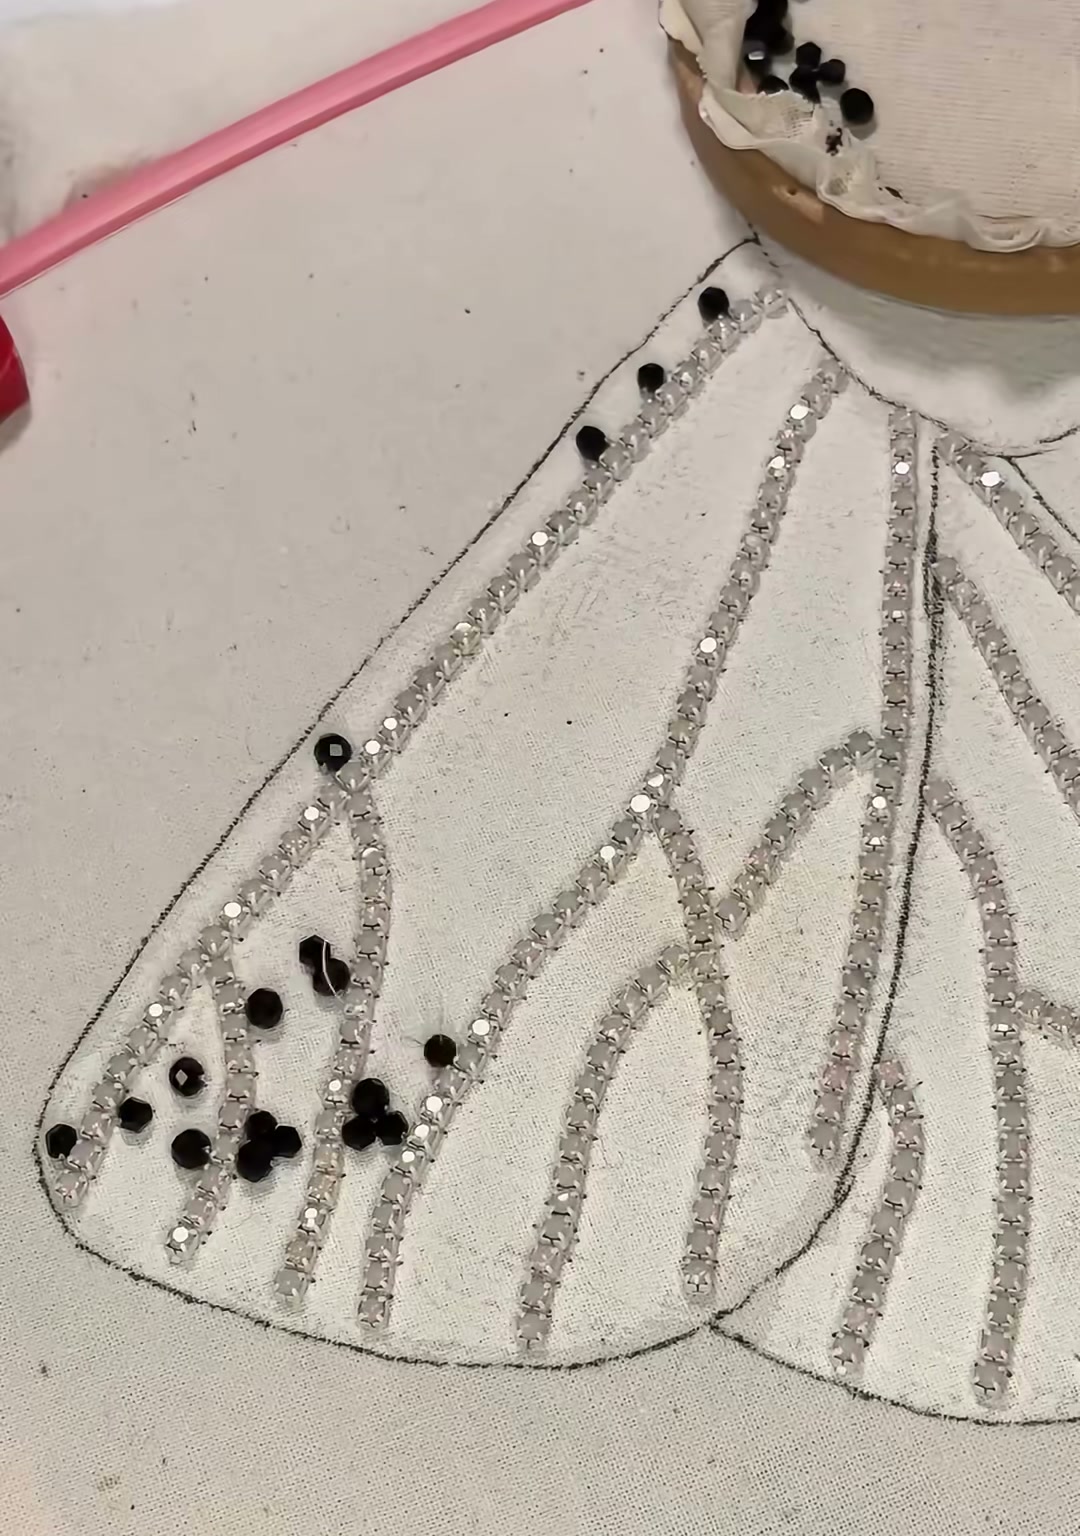
Begin adding black faceted beads at the bottom of the wings. Moths often carry their boldest markings near the wingtips — it helps them camouflage among bark and shadow. These spots will guide the rest of your color placement.
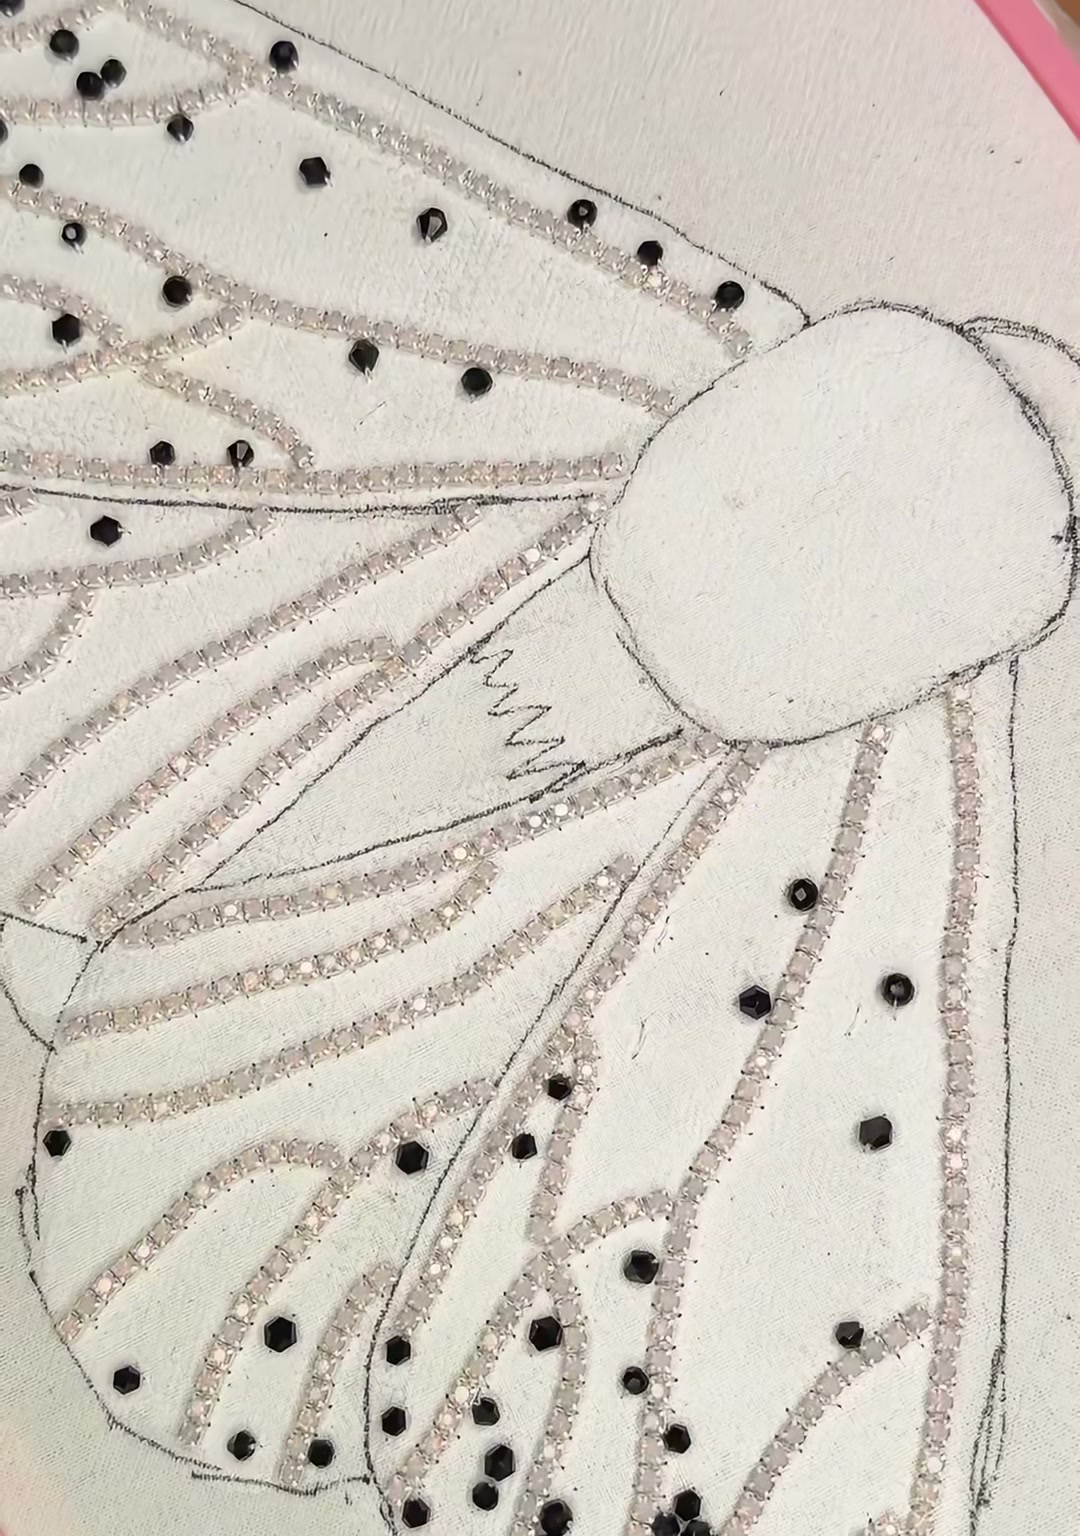
Continue scattering black beads across the wing sections. Don't make them too even — moths are irregular, organic, a little wild. Some spots cluster, some sit alone. Let your hand decide.
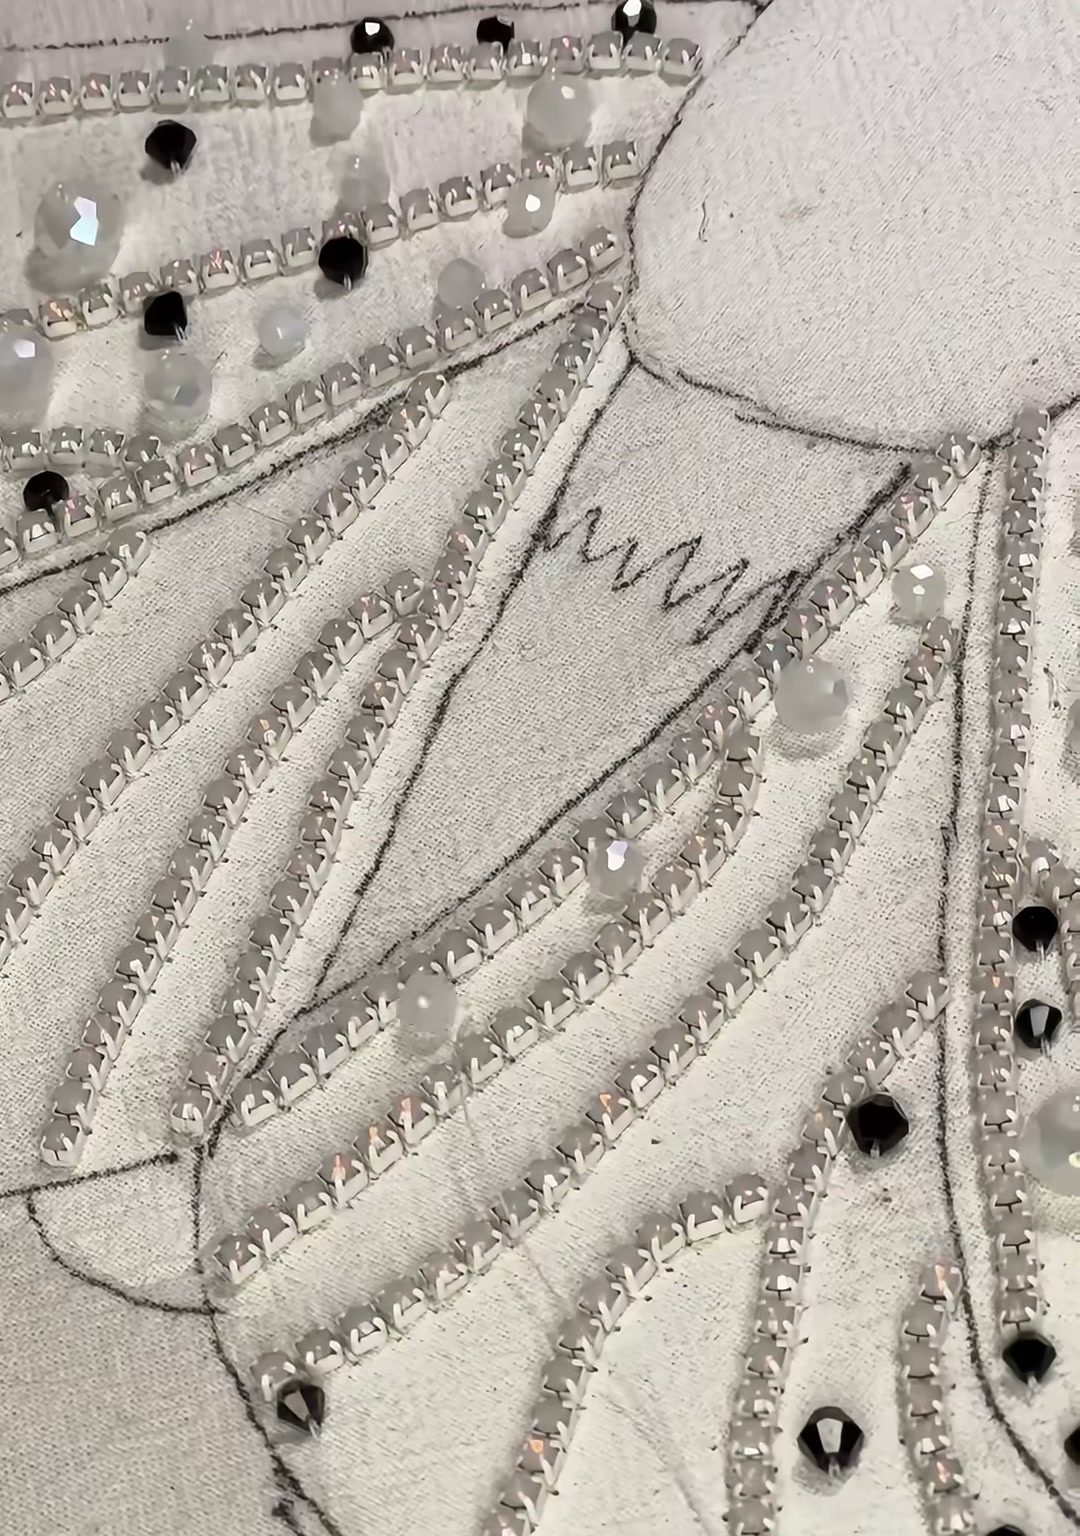
Press white and clear rhinestones into the design. These act like tiny mirrors — they catch candlelight, streetlight, camera flash. A moth's wings are never truly matte; they always hold some secret shine.
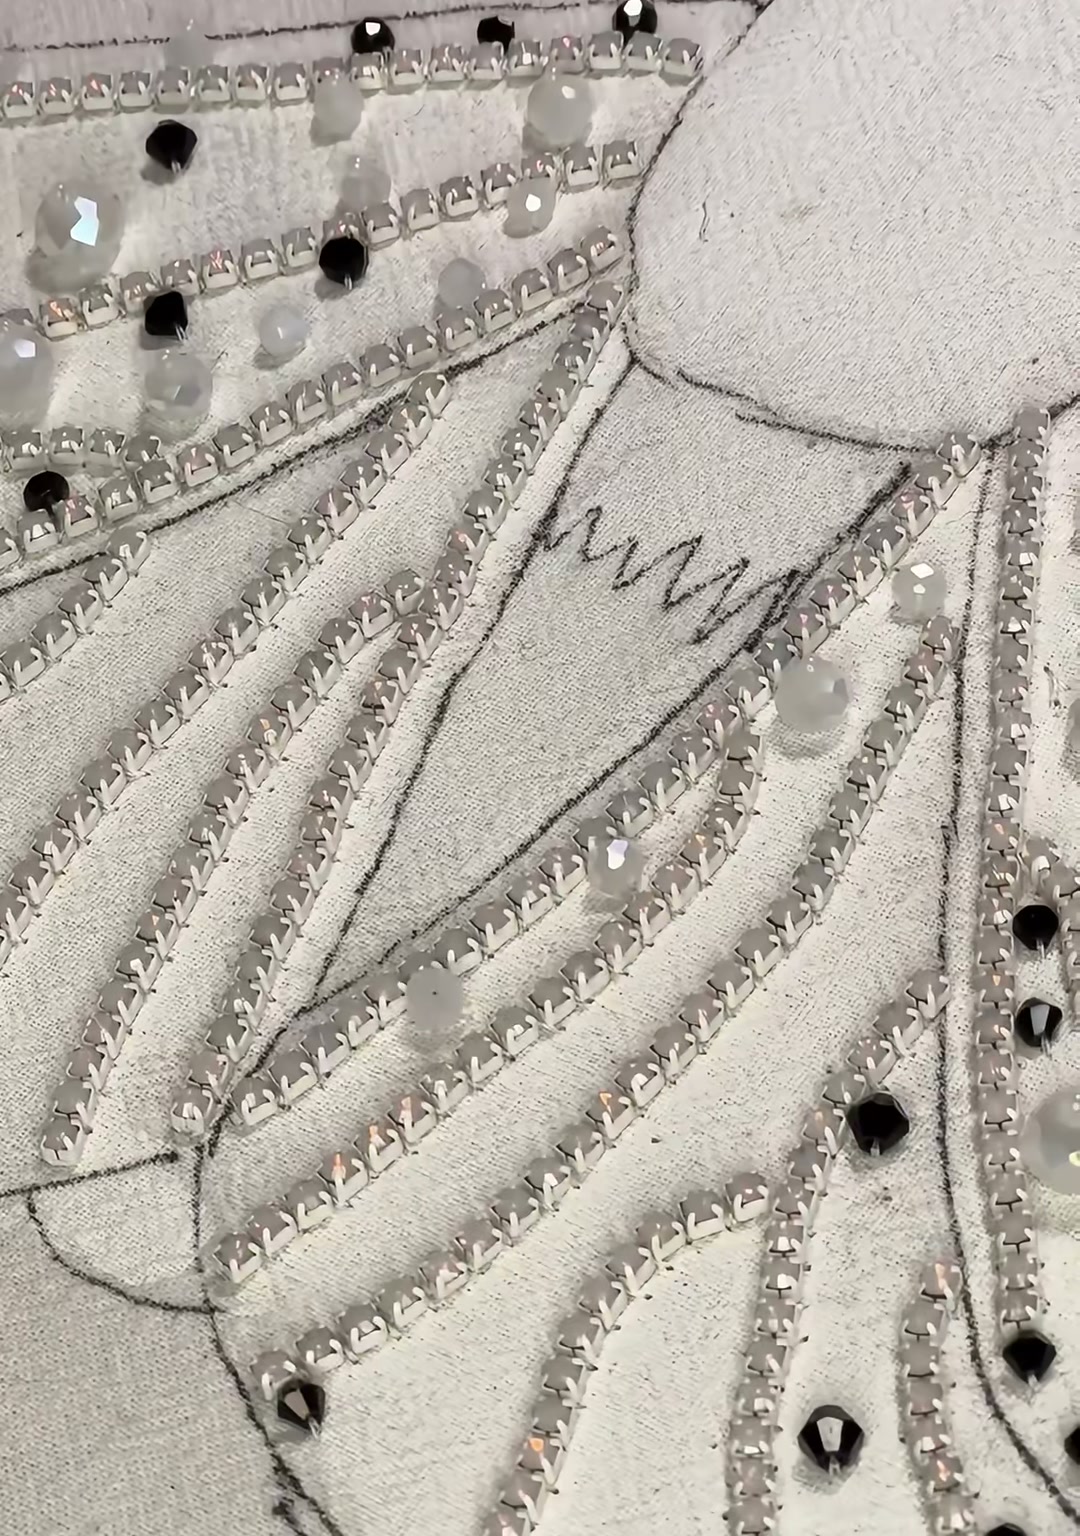
Layer clear crystal beads over the filled sections. This builds depth: from a distance the wings read as silvery white, but up close you see layers of glass, rhinestone, and bead catching light at different angles.
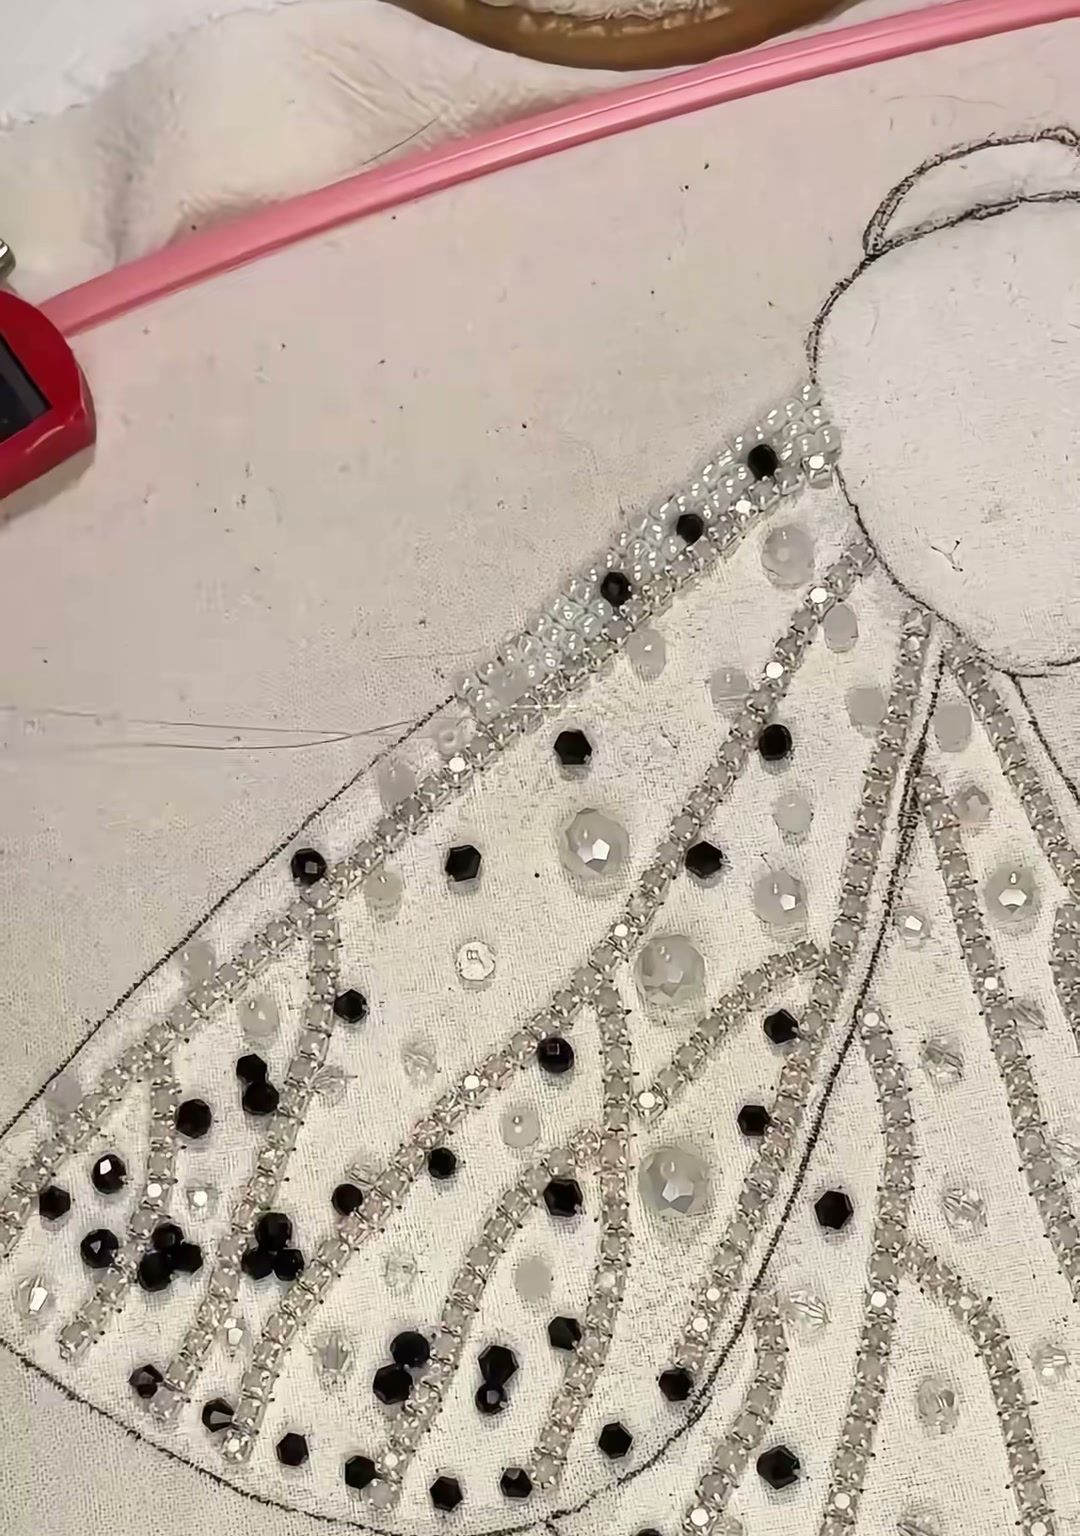
Now fill every remaining space with silver seed beads. Use a simple brick or seed-bead stitch, working row by row. This is slow work, but it's where the bag transforms from a sketch into a shimmering surface.
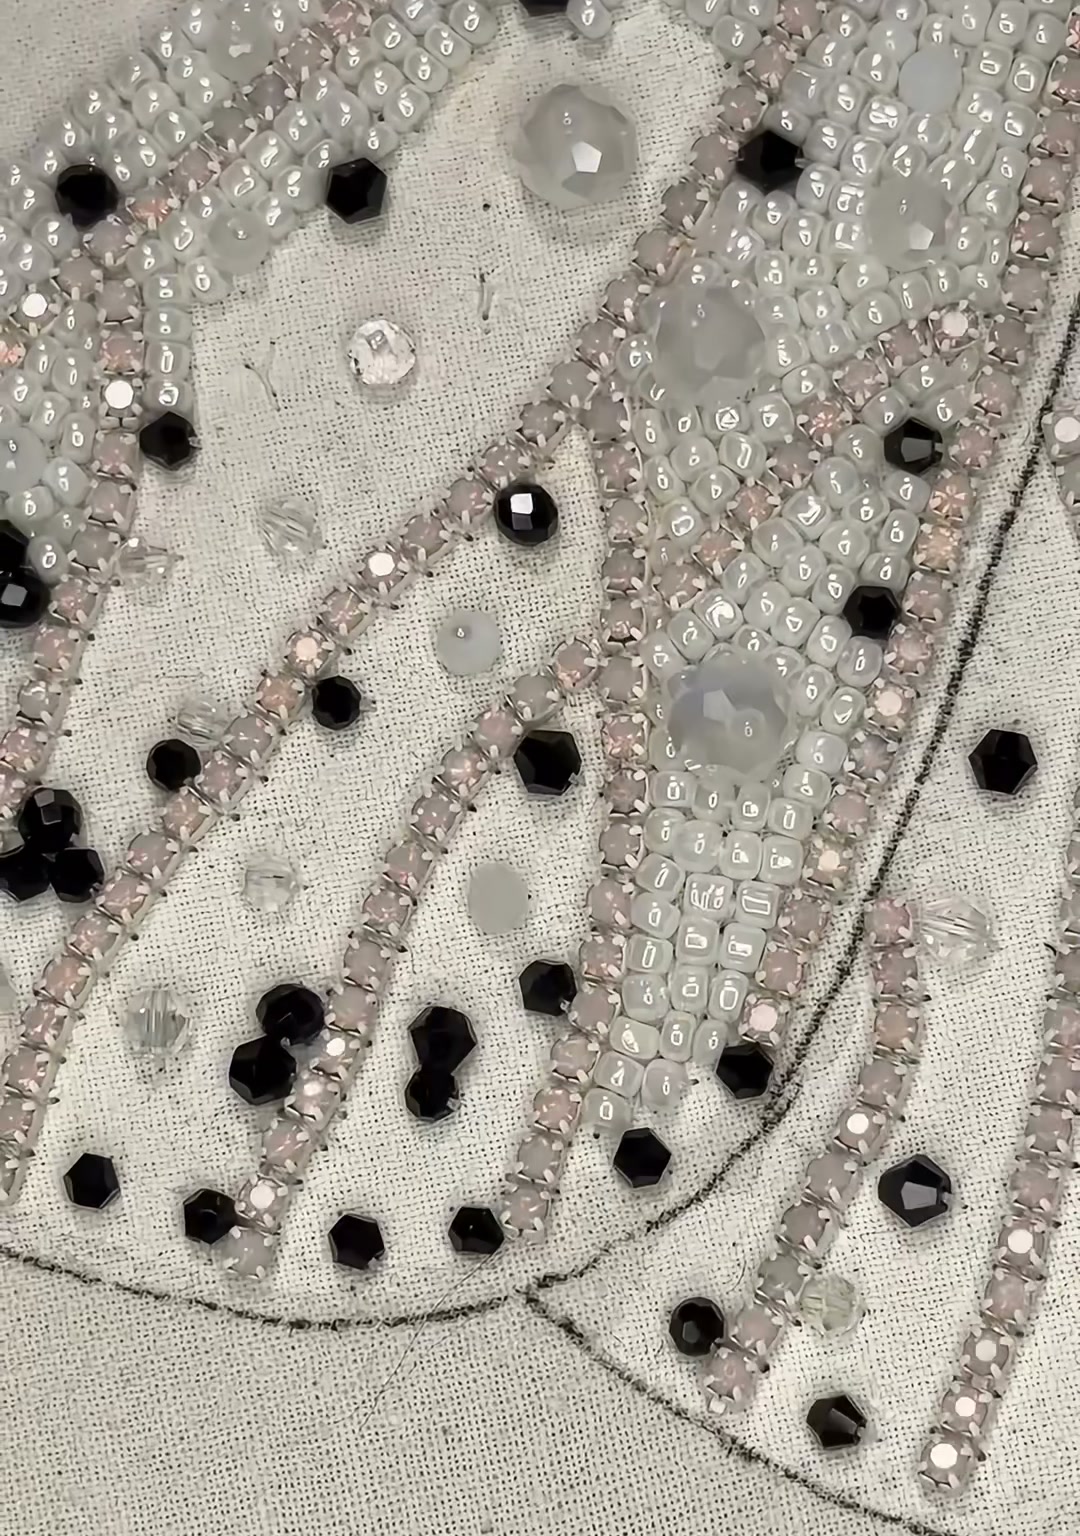
Stand back. Both wings should now read as one continuous silver surface, interrupted by black spots and tiny flashes of crystal. The moth is starting to look like it could fly — or at least glide through a dark room.
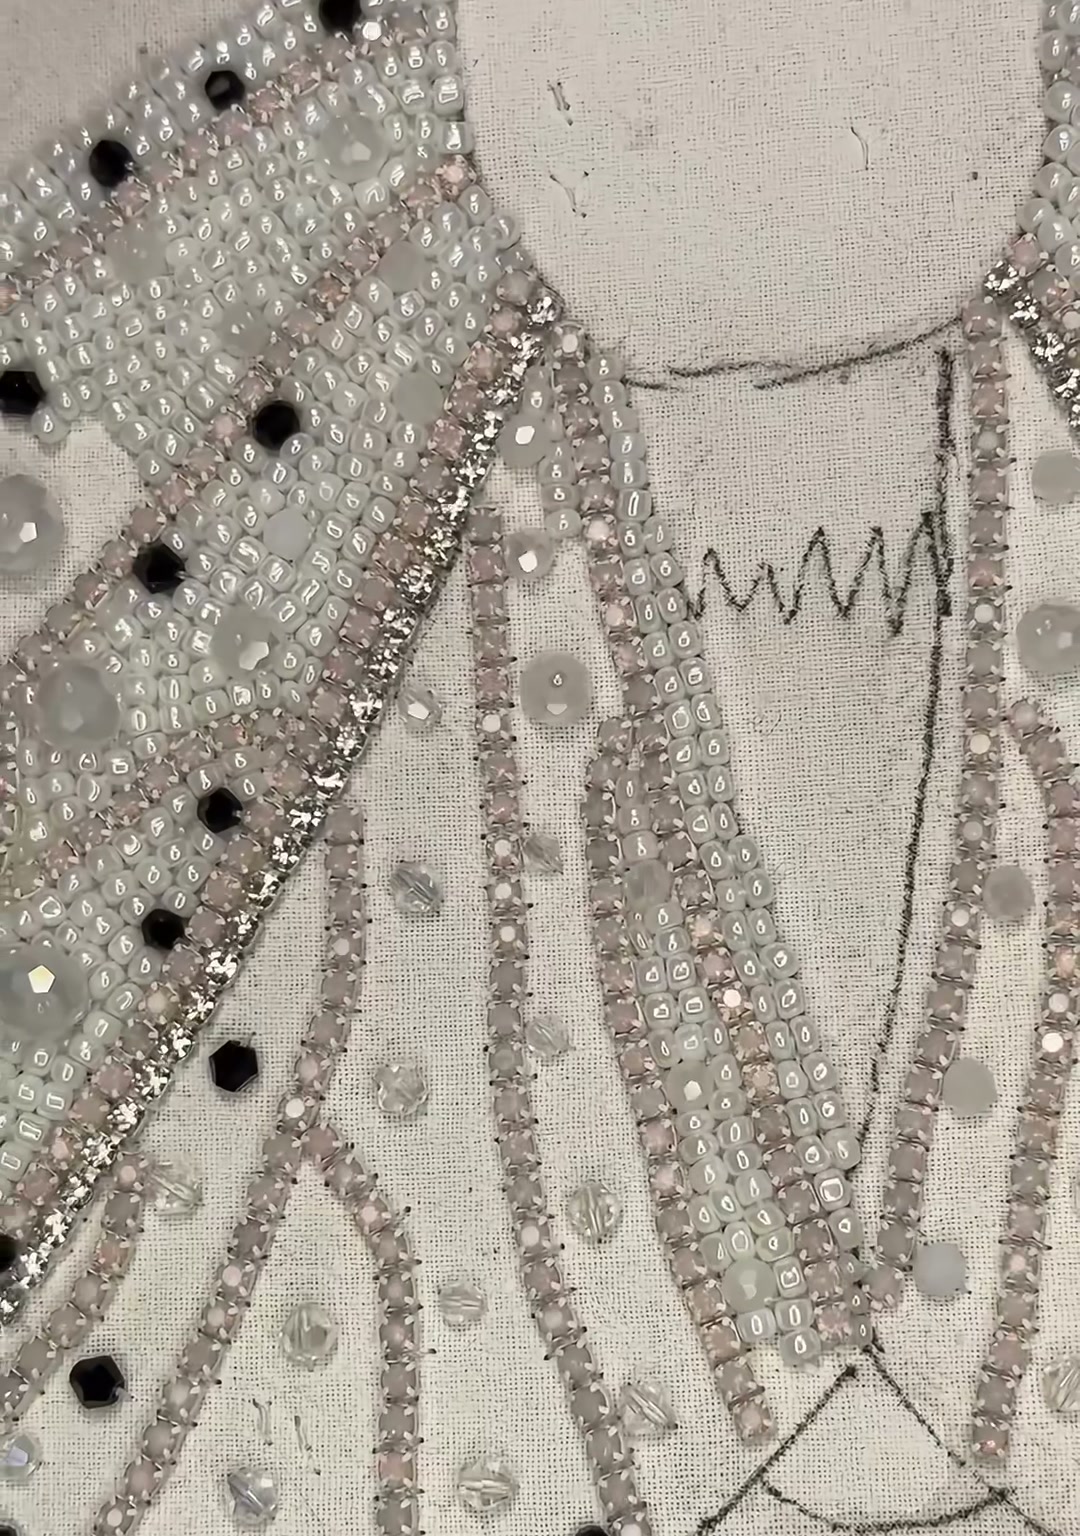
Look at the texture up close: silver beads form the ground, black crystals mark the pattern, and clear rhinestones sit like tiny windows. This is the level of detail that makes the bag feel expensive — even though the materials are simple.
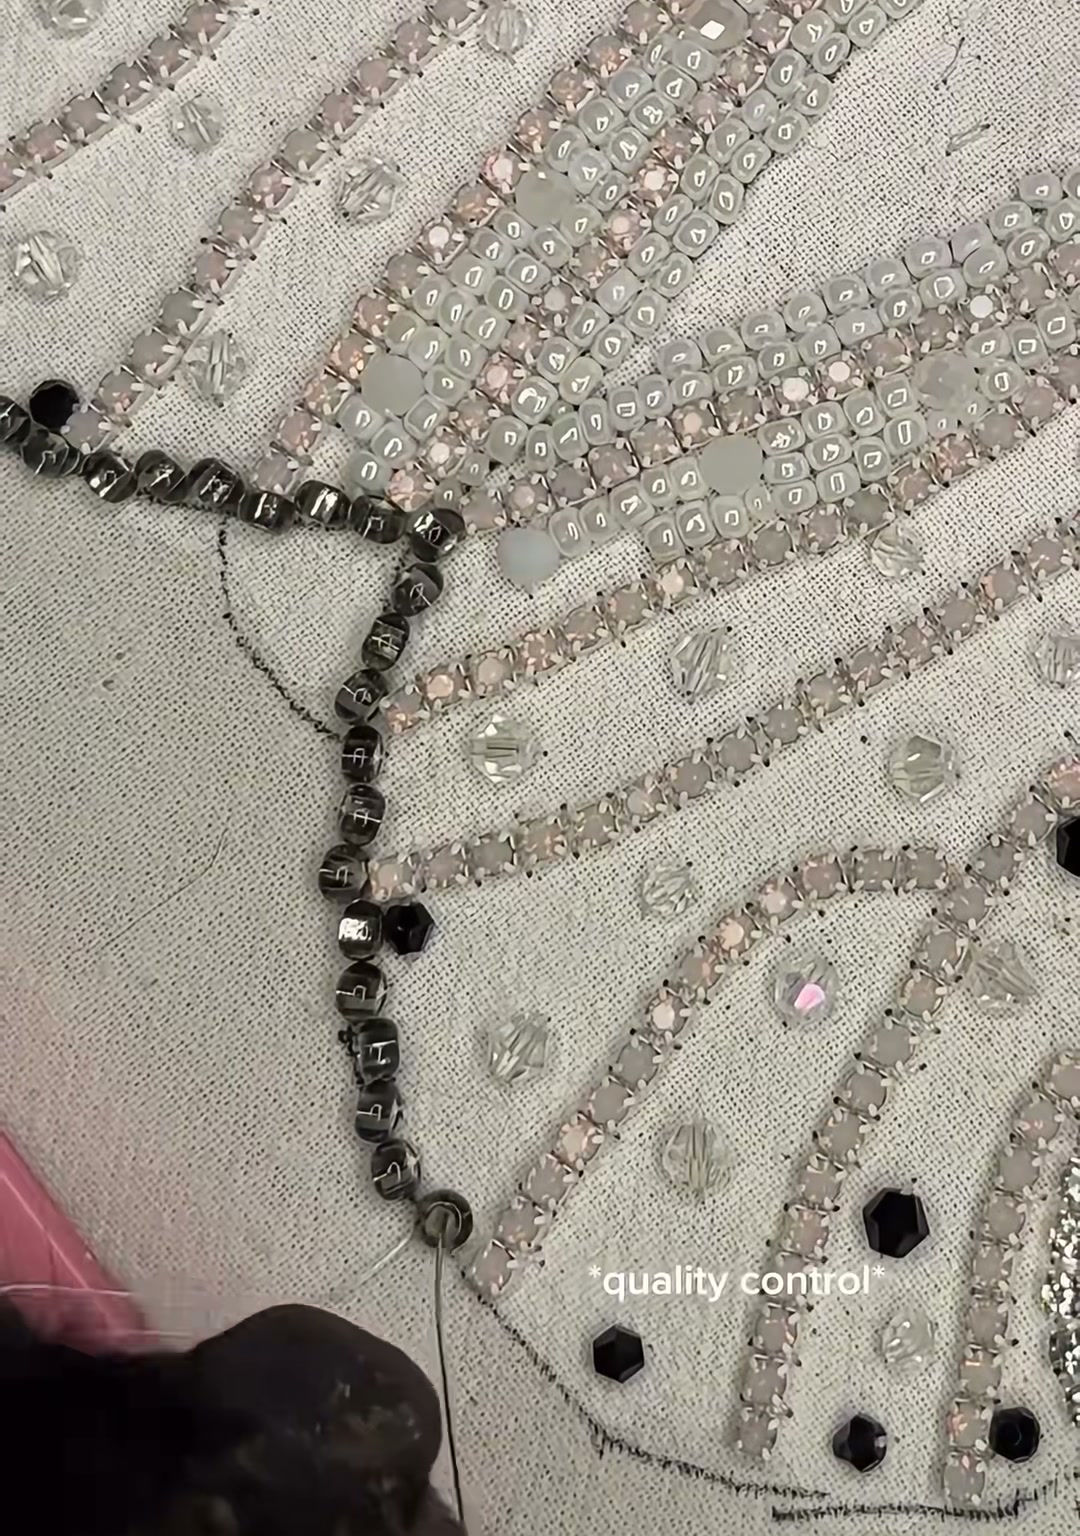
Stitch a neat line of dark beads around the entire wing edge. This is your quality-control step: it hides any irregularities, protects the edge beads, and gives the wings a clean, finished border.
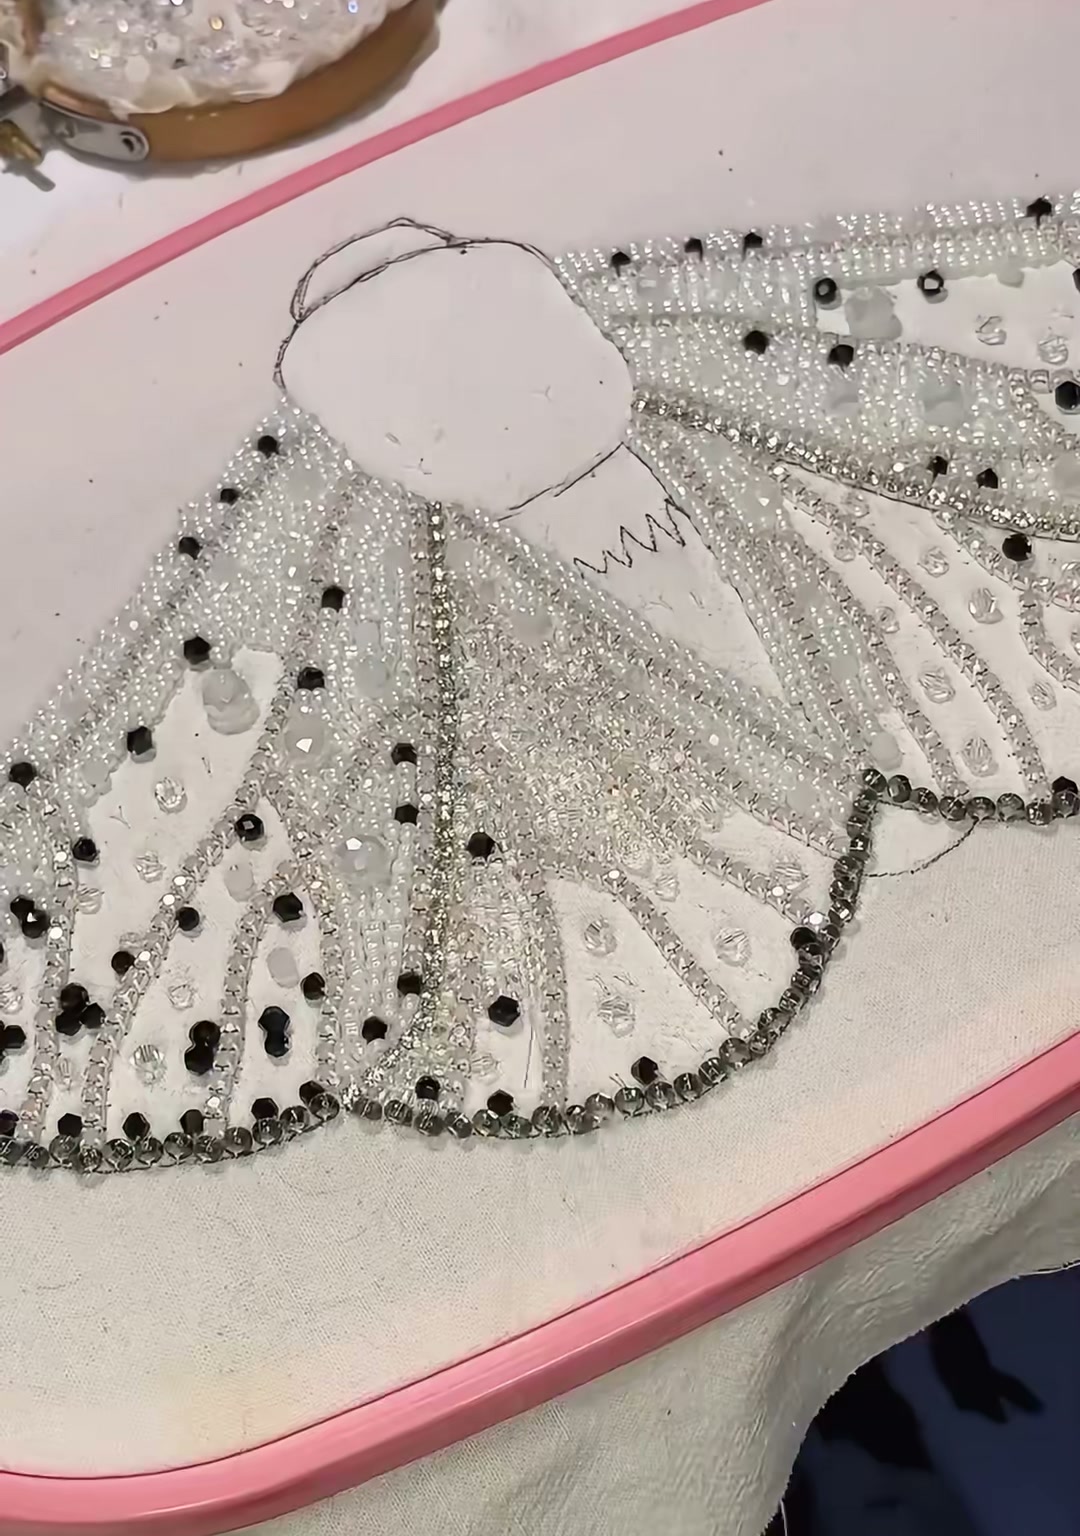
With the wings finished, turn your attention to the body. Outline the head and thorax in silver beads and small rhinestones. The thorax of a moth is thick and fuzzy — we will suggest that texture with dense beadwork rather than real fur.
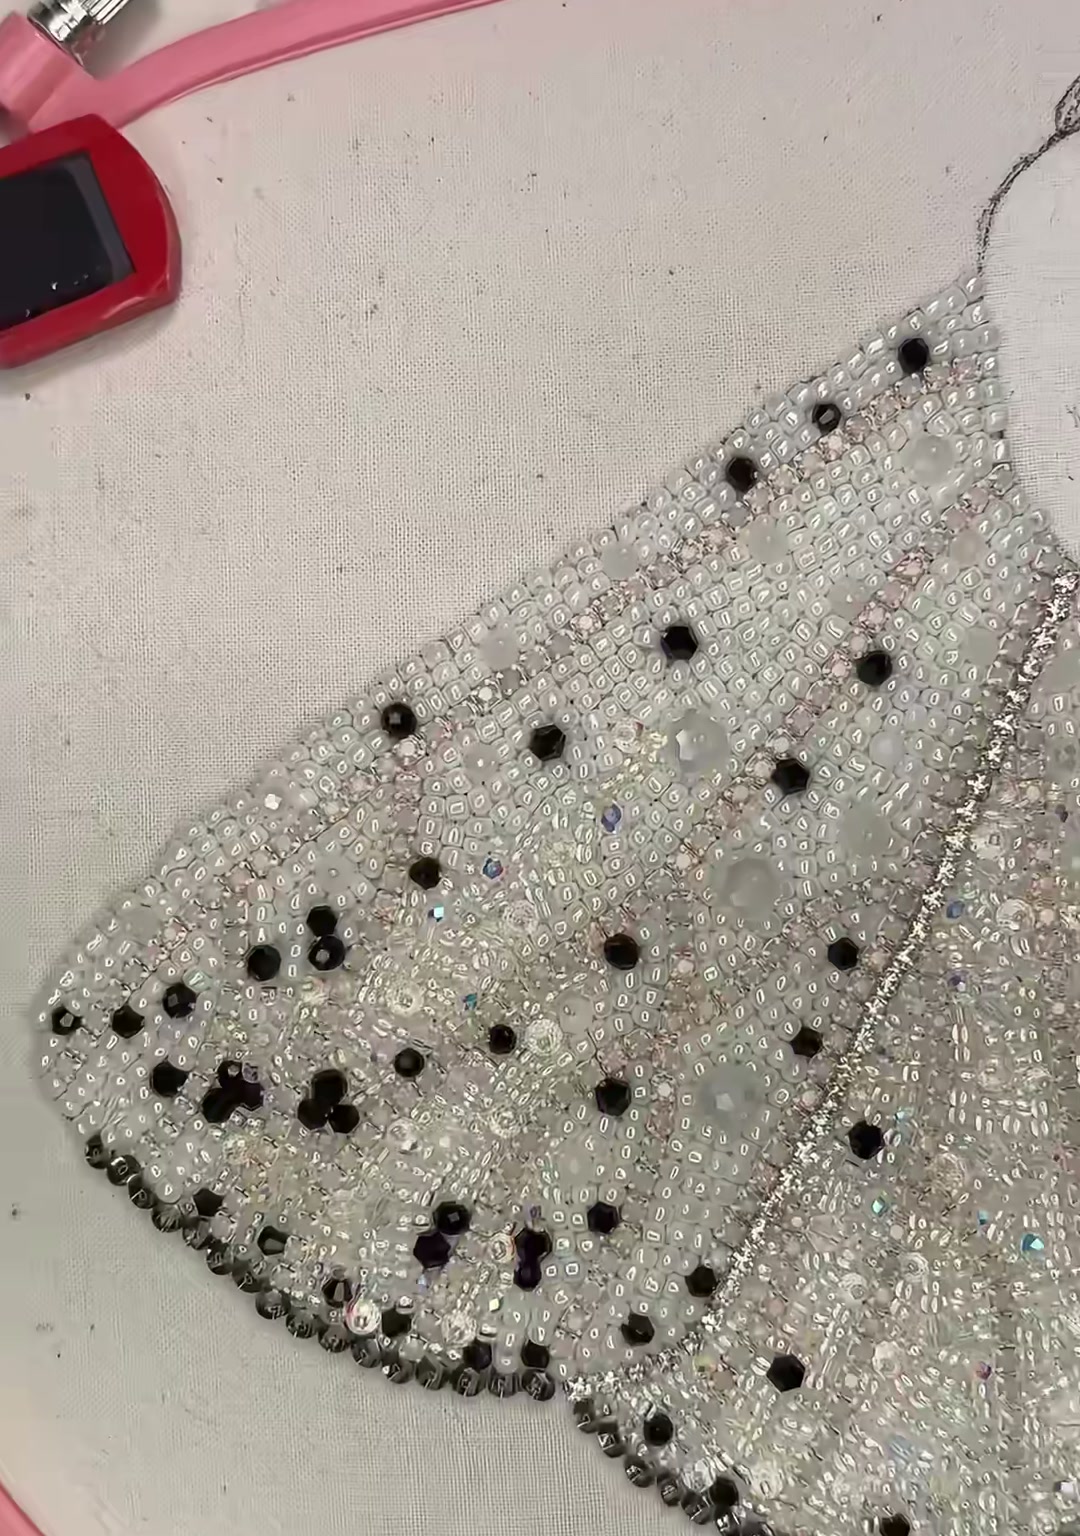
Study the finished wing texture. The silver beads create a soft, scaly surface — exactly like real moth wings under magnification. The black spots break up the shimmer and give the bag its personality.
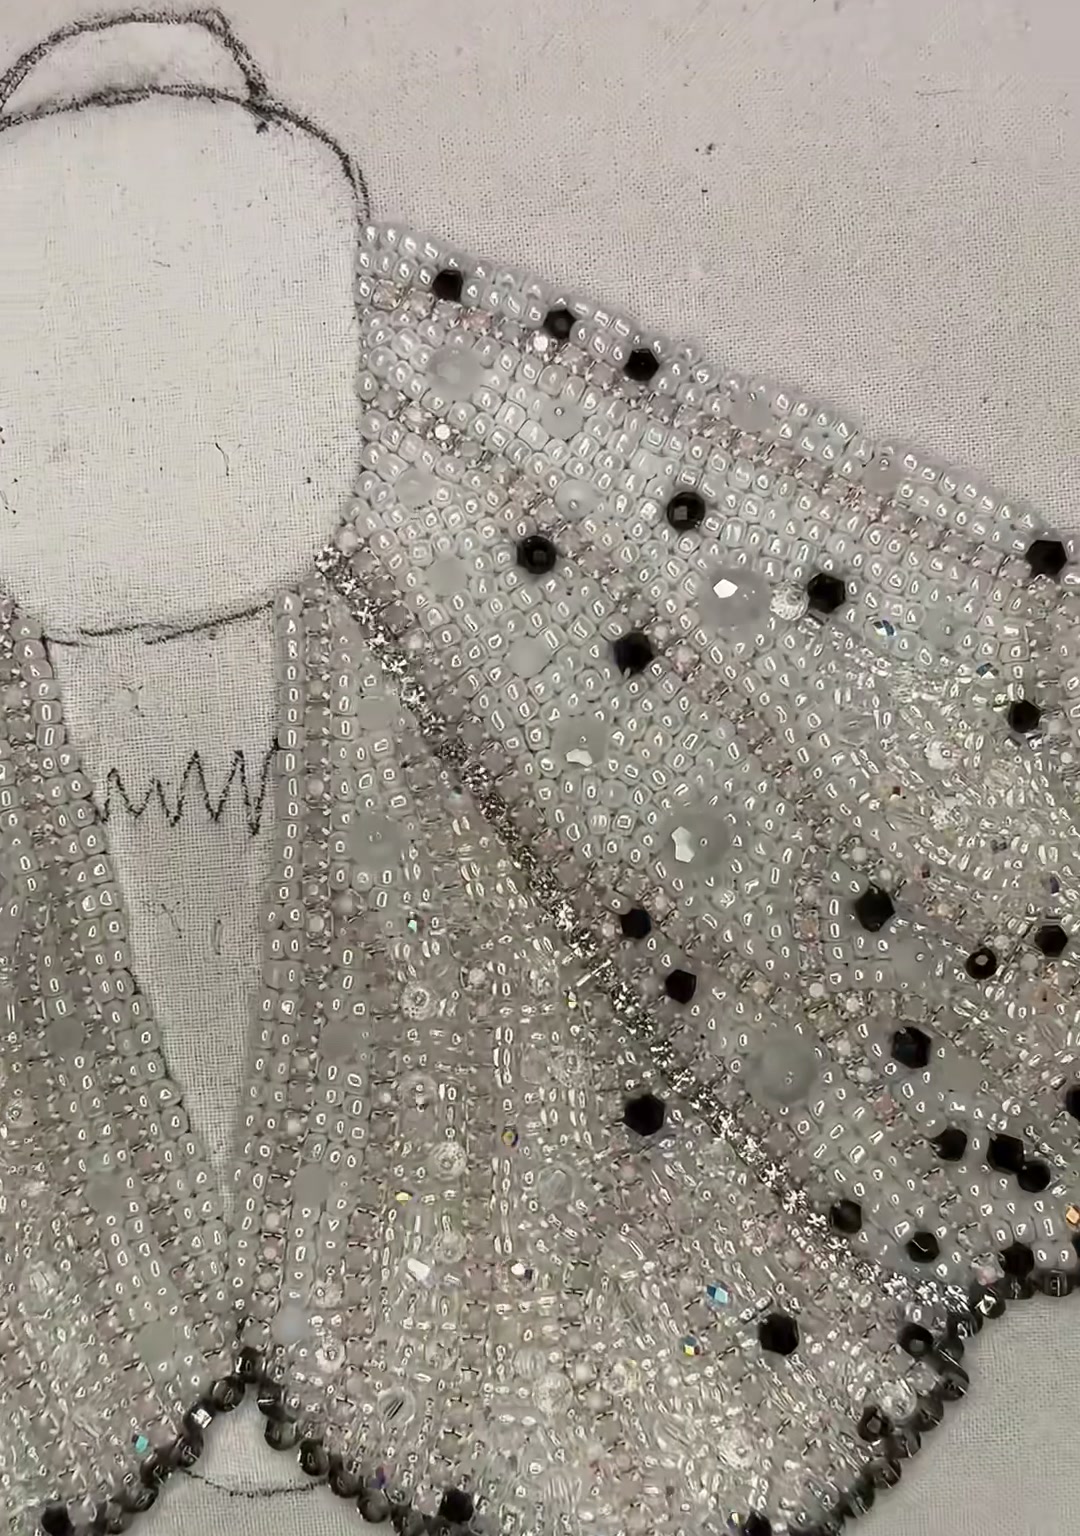
Cover the thorax with clear rhinestones and silver beads. This is the heart of the moth — the part that holds the wings. Make it dense, make it glitter, make it the first thing people notice when the bag catches the light.
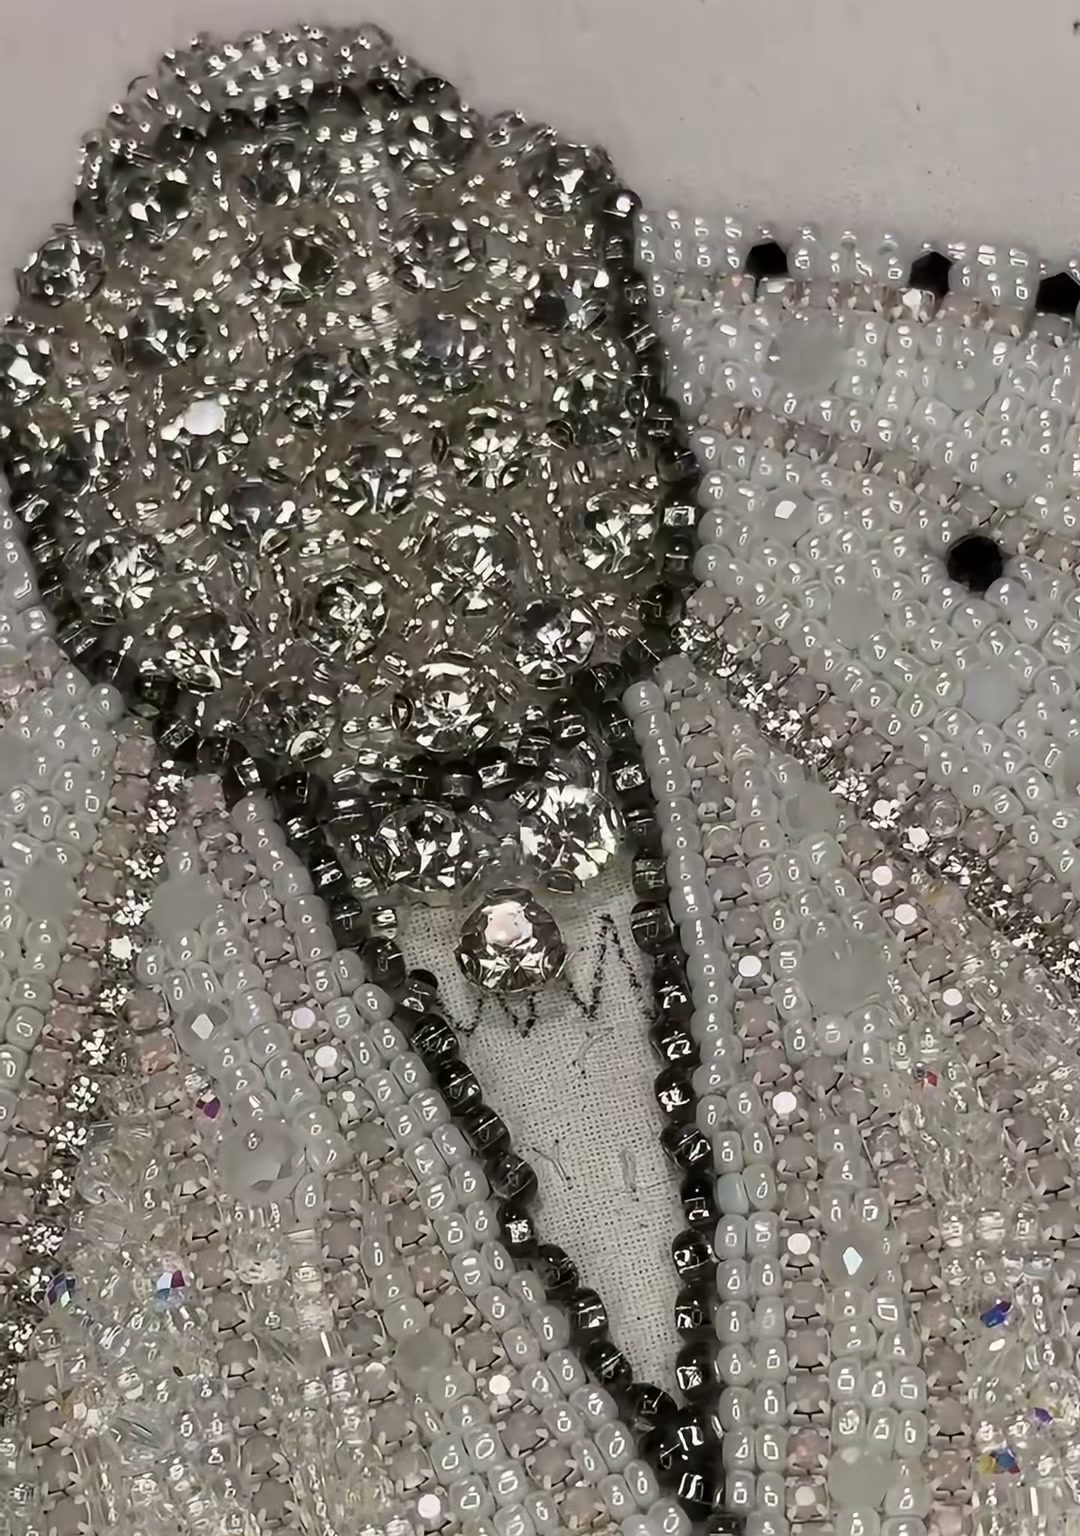
From the side, you can see how the body rises above the wings. Add layers of silver and antique gold beads along the abdomen, building a gentle curve. A moth's body should feel rounded, almost armored.
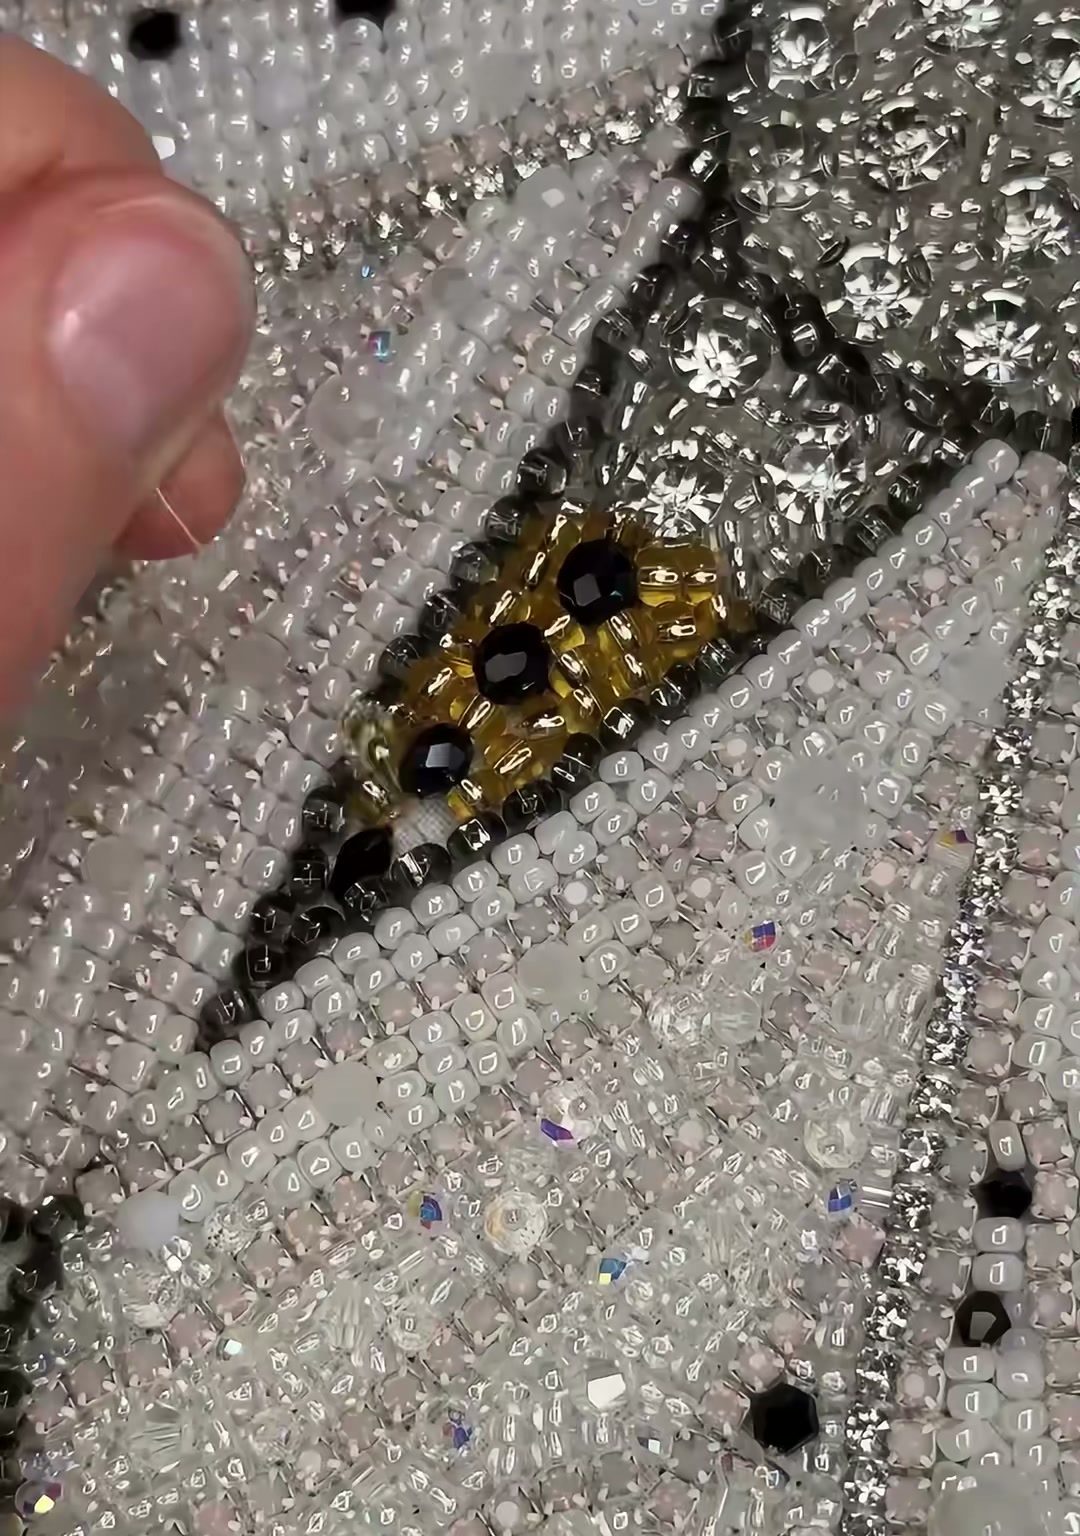
Fill the abdomen with antique gold seed beads and black accents. The gold warms the whole piece — without it, the bag would feel too cold. Moths often carry surprising colors in their underbellies; this is yours.
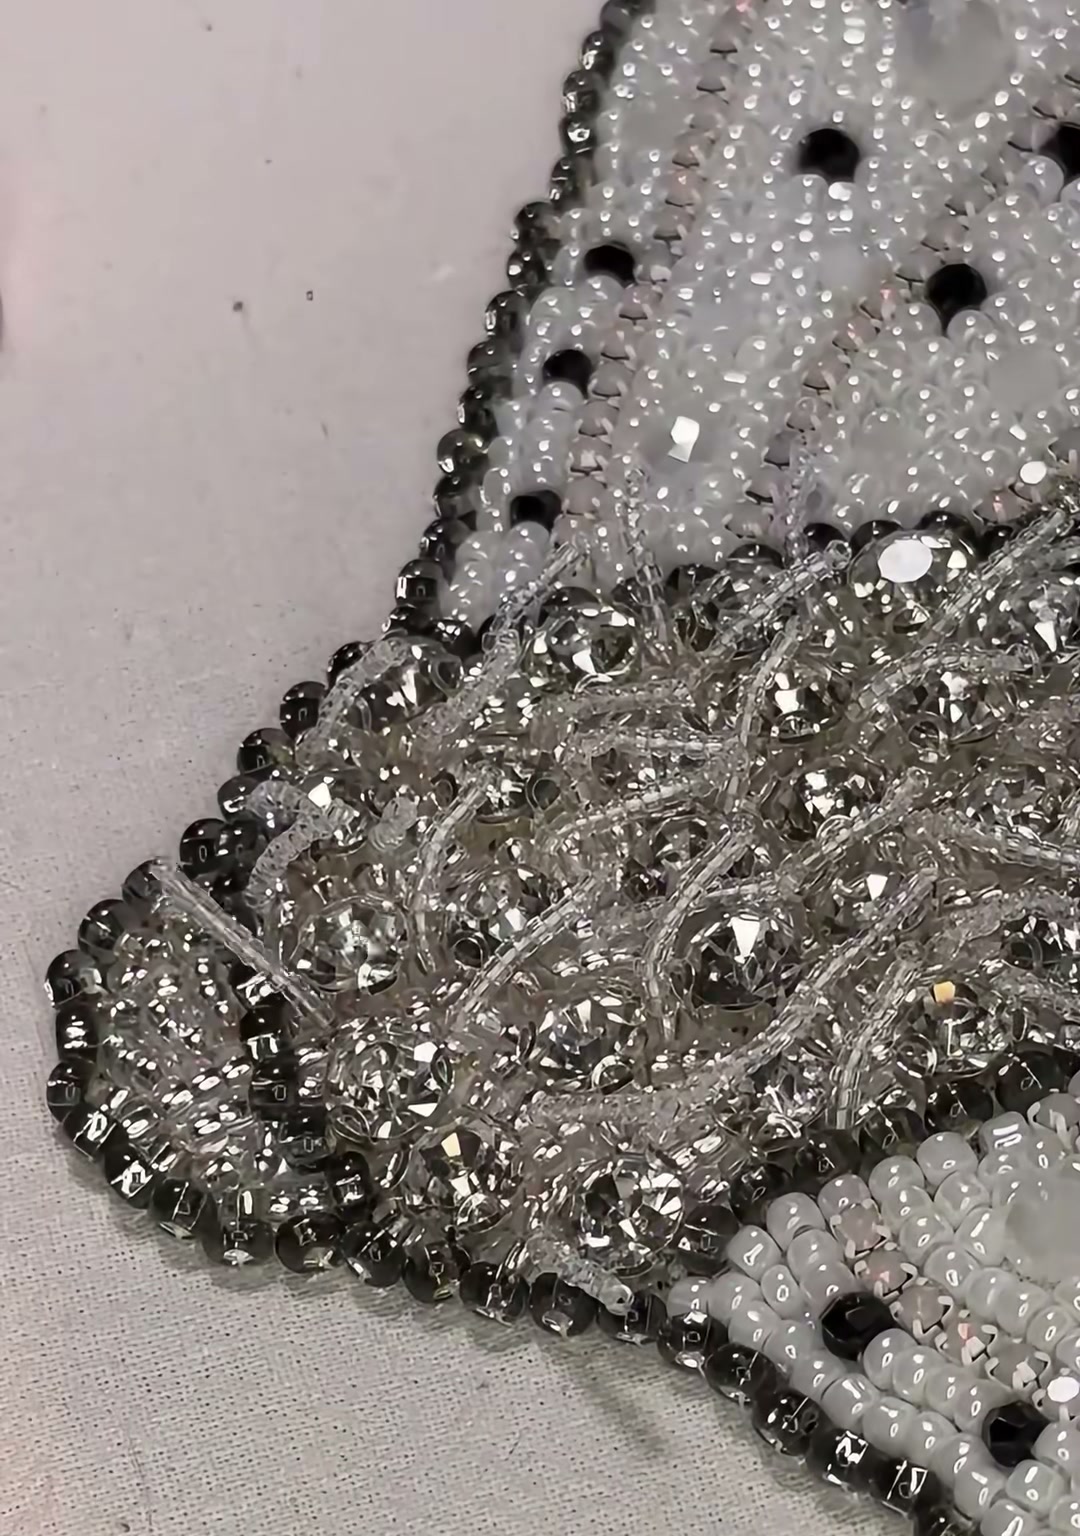
Add grey bugle beads and small crystals to segment the abdomen. These tiny lines make the body look articulated, as if it could curl and uncurl like a real insect. The detail is small, but it sells the illusion.
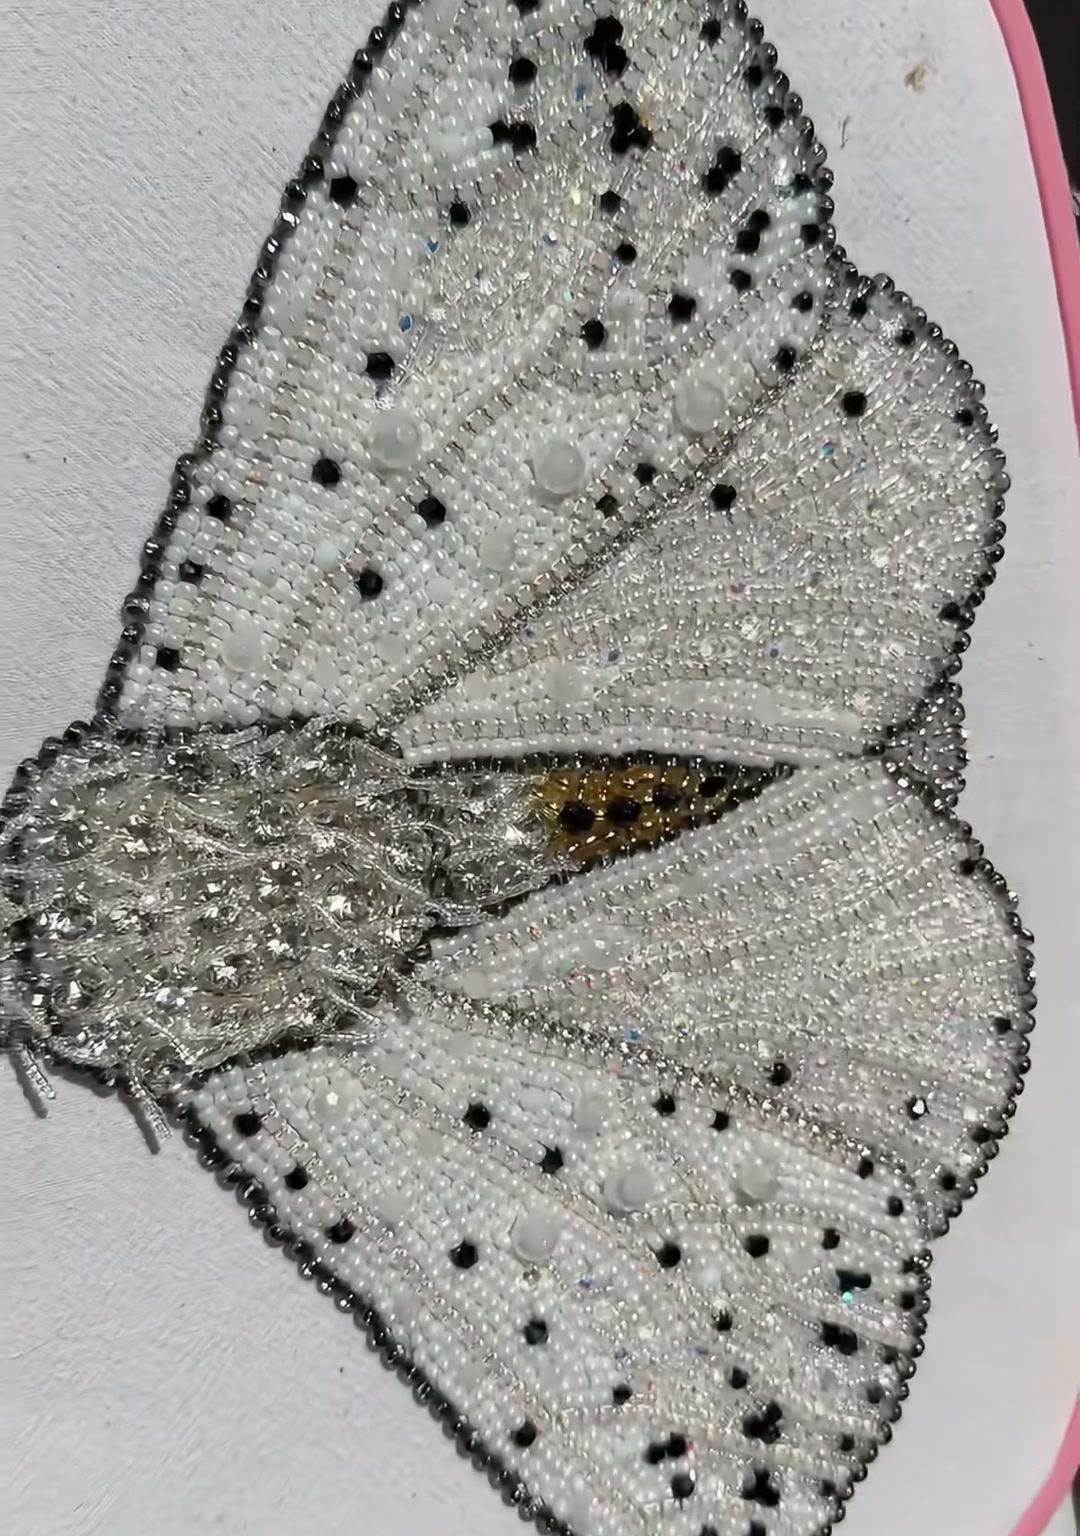
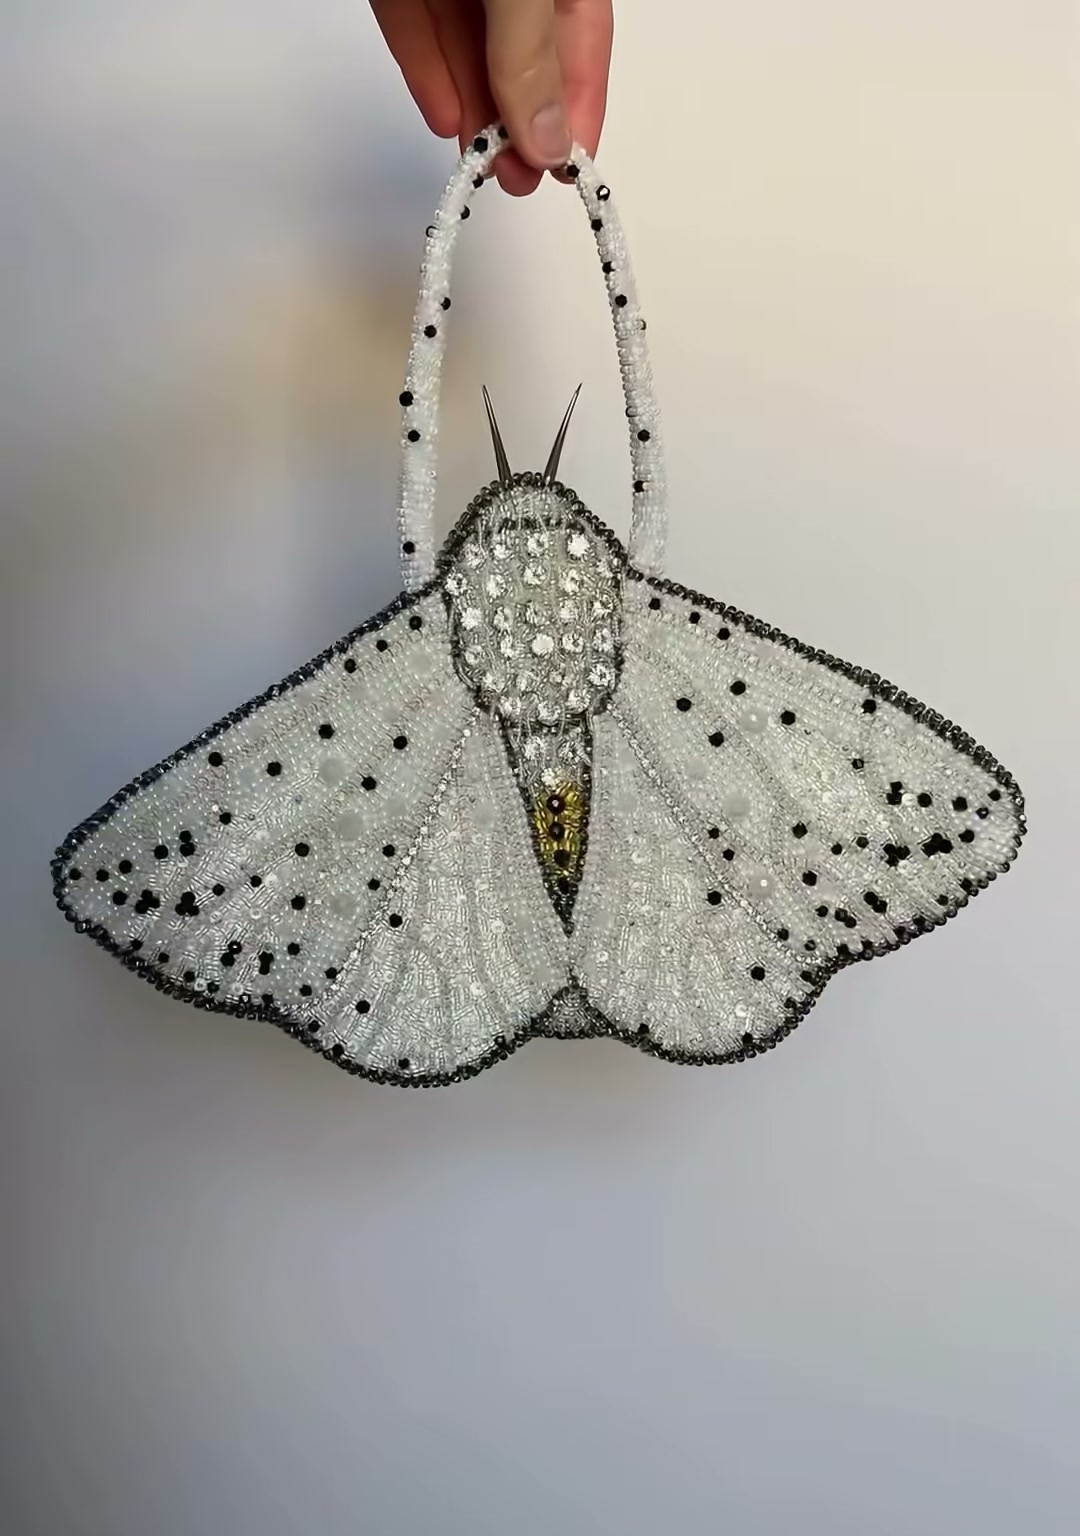
Lay the finished bag flat and look at the whole shape. The wingspan is wide, the body is centered, the handle arches over the top like a pair of antennae. It is unmistakably a moth — and unmistakably a bag.
Pick it up by the handle. The bag is light but looks heavy with beadwork. It wants candlelight, city streets, a coat with a deep collar. This is not a bag for daylight errands. This is a bag for the hours when moths come alive.
There is a reason moths have fascinated artists for centuries: they are drawn to what burns them. They are fragile and fearless at the same time. Making this bag took patience — thousands of beads, dozens of hours — but every stitch felt like adding another layer to that old story: beauty that moves toward the light, even when the light is dangerous.
Carry it somewhere worth the risk.
Happy beading — fly at night.