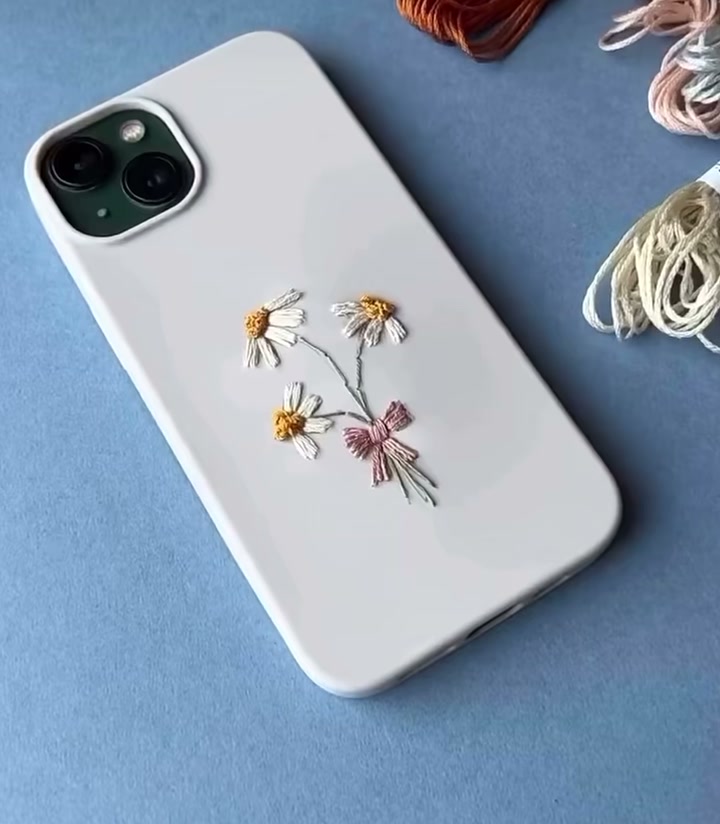
Embroidered Daisy Bouquet Phone Case — A Tiny Garden in Your Pocket
Embroidered Daisy Bouquet Phone Case — A Tiny Garden in Your Pocket
Some projects turn an everyday object into something you want to keep looking at. This plain white phone case becomes a tiny garden: three white daisies with yellow centers, pale green stems, and a soft pink bow. It is embroidery on a small scale, but the charm is enormous.
- Plain white silicone phone case
- Water-soluble fabric marker
- Embroidery needle
- Embroidery floss — white
- Embroidery floss — golden yellow
- Embroidery floss — pale green
- Embroidery floss — soft pink
- Small scissors
- Small pearl or bead (optional)
01 — Sketch the Bouquet and Start the First Petals
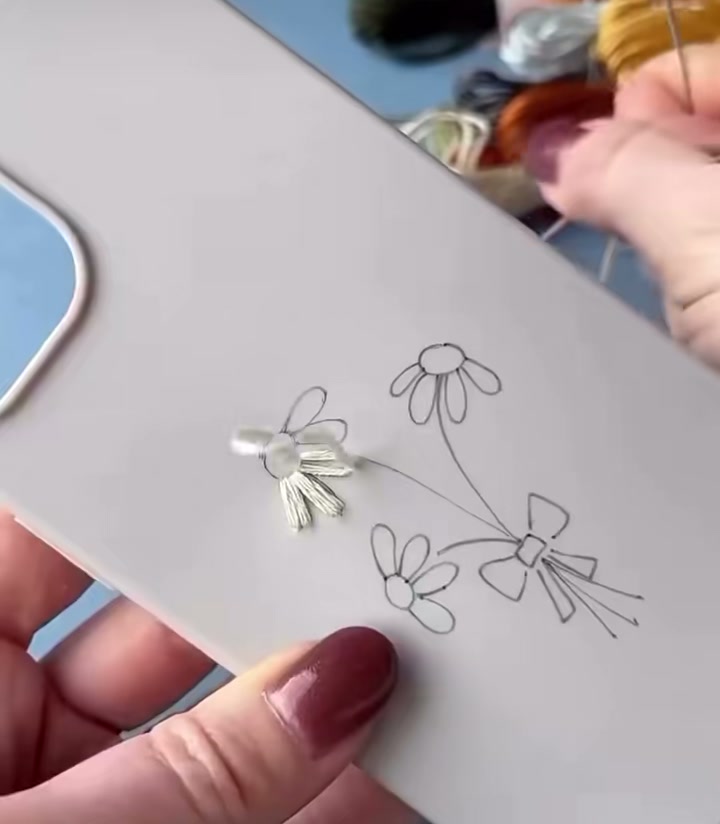
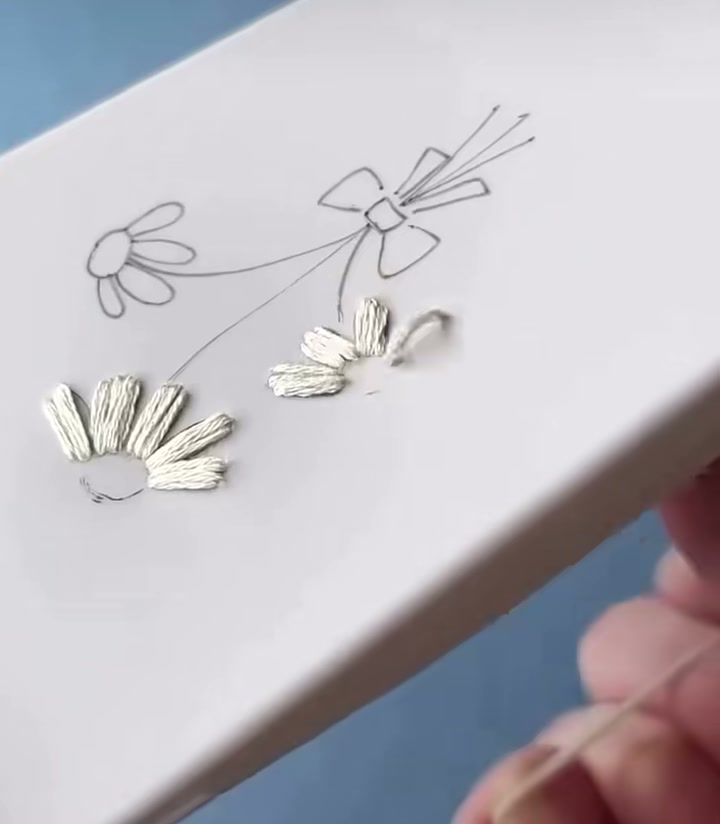
Use a water-soluble fabric marker to draw the bouquet directly onto the phone case: three daisies on curved stems, tied together with a small bow at the bottom. Keep the lines light so they disappear later. Thread your needle with white floss and begin the first flower, working each petal as a short straight satin stitch radiating from the center.
02 — Build the First Daisy
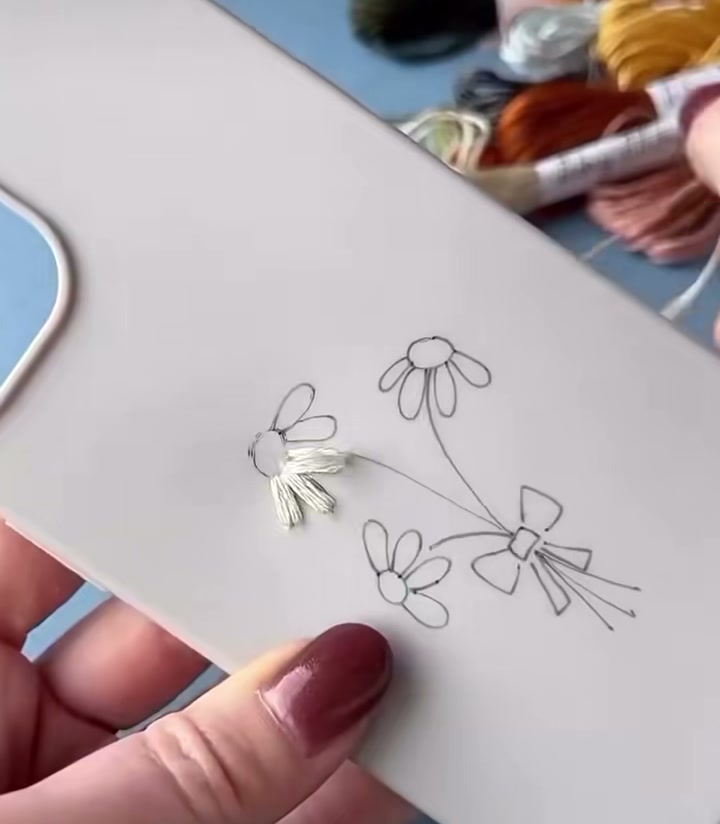
Continue adding white petals around the first flower center. Overlap them slightly so the flower looks full rather than sparse. Keep the stitches close together and all pointing outward — this gives the petals their soft, natural curve.
03 — Start the Second Flower
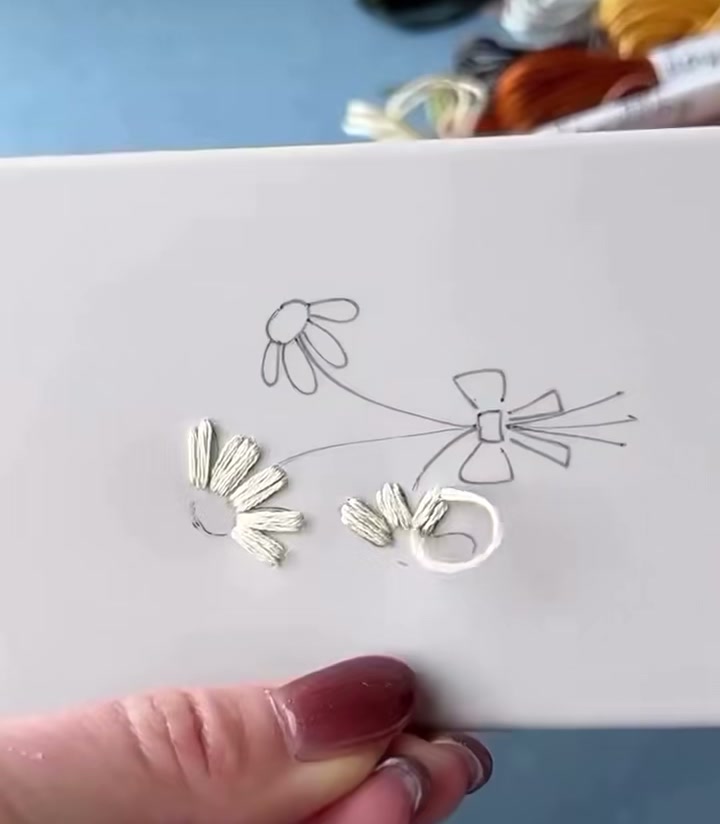
Move to the second flower and repeat the same petal stitches. Work one petal at a time, following your drawn outline. The two flowers should feel like a conversation — close enough to look like a bouquet, but each kept distinct and round.
04 — Add the Yellow Centers
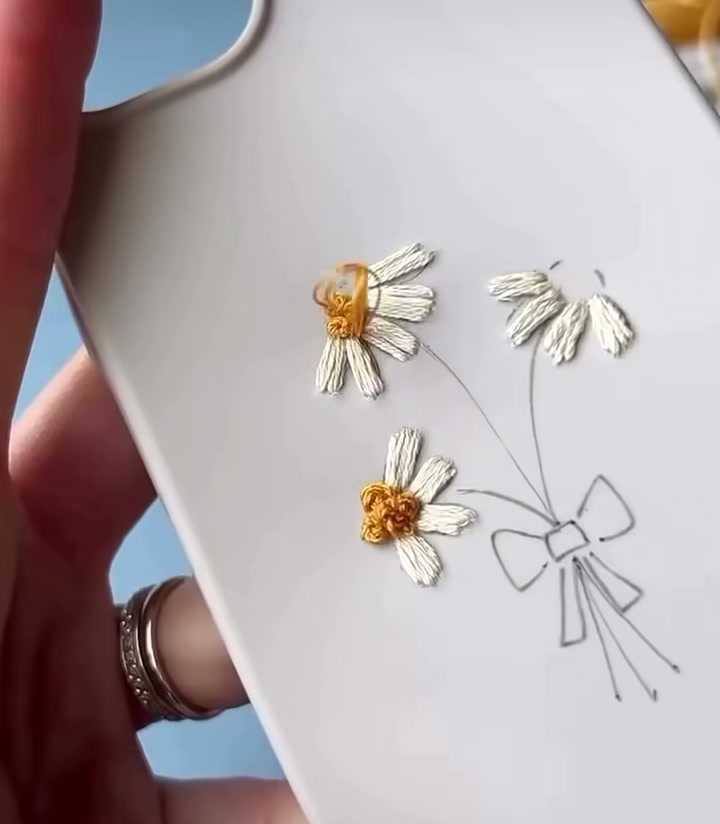
Switch to golden yellow floss and fill each flower center with French knots. Work the knots close together so the center looks textured and raised, like a real daisy's disc florets. The yellow against the white petals is what makes the whole design pop.
05 — Two Daisies Complete
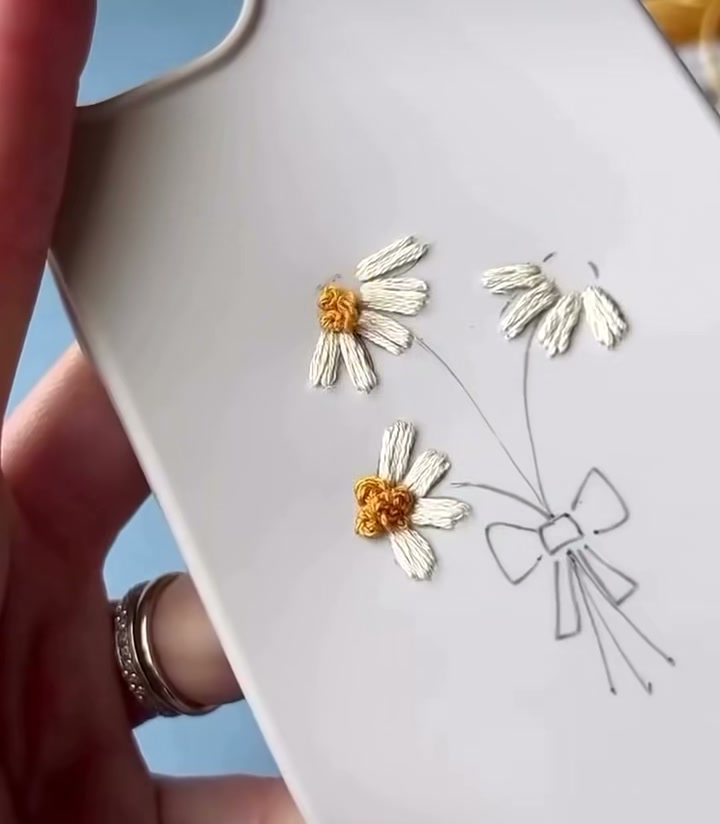
Step back and look at the first two flowers. The white petals should be even, the yellow centers rounded, and the overall shape balanced. If any petal looks out of place, now is the time to gently tug the thread or add a small compensating stitch.
06 — Add a Pearl Accent
Before stitching the third flower, place a small pearl or bead at its center position. This tiny accent adds a gentle highlight and gives the bouquet a bit of dimension. Secure it with a few hidden stitches from the back, or leave it in place as a guide for the final flower.
07 — Complete the Third Daisy
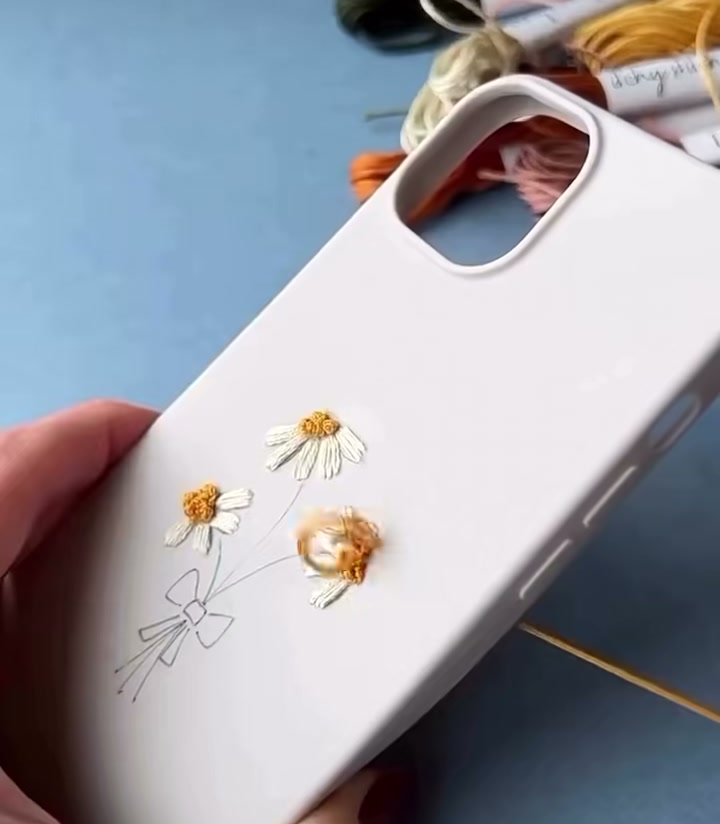
Stitch the third daisy's white petals around the pearl center. Because the pearl takes up the middle, you only need to add petals radiating outward. This creates a slightly different texture from the first two flowers and keeps the bouquet visually interesting.
08 — Add the Green Stems
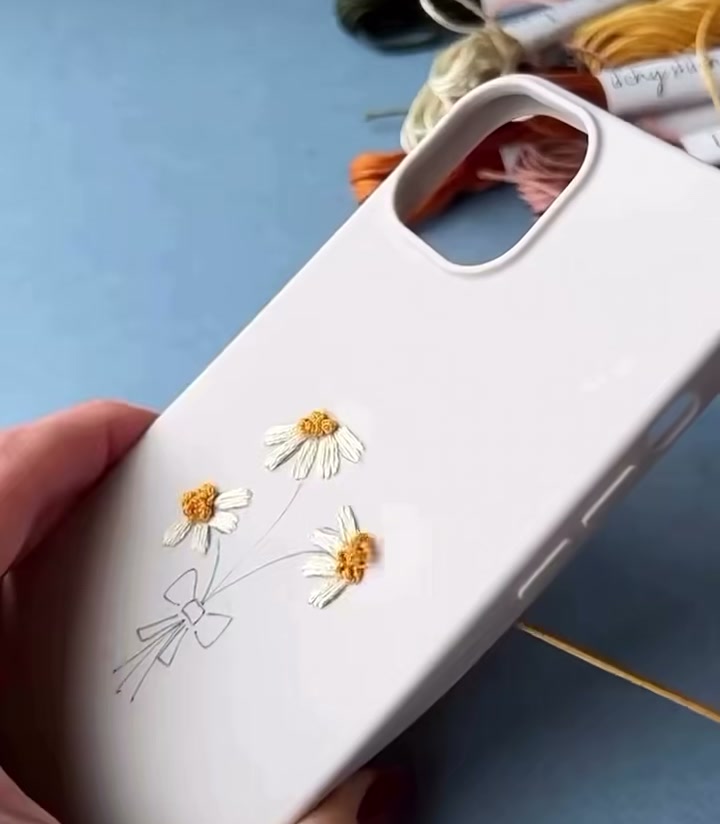
Switch to pale green floss and stitch the three stems. Use a simple backstitch, following the curved lines you drew earlier. Keep the tension even so the stems lie smoothly against the phone case. The stems should meet at the bow, giving the bouquet its gathered look.
09 — Stitch the Pink Bow
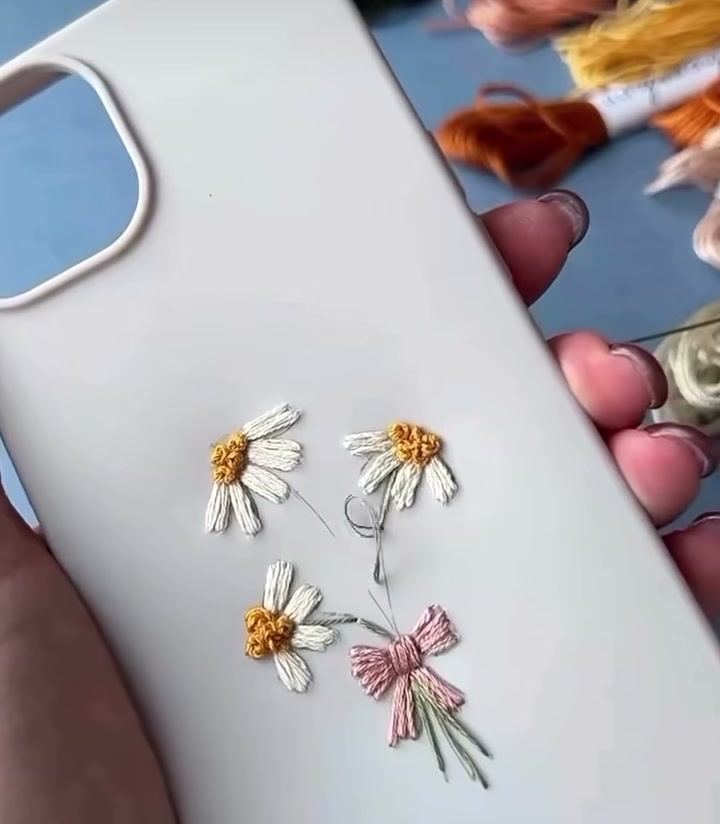
Using soft pink floss, fill in the bow with satin stitches. Work the two loops first, then the small knot in the center, and finally the two ribbon tails hanging down. The pink bow is the finishing touch that turns three separate flowers into one sweet bouquet.
10 — The Finished Case
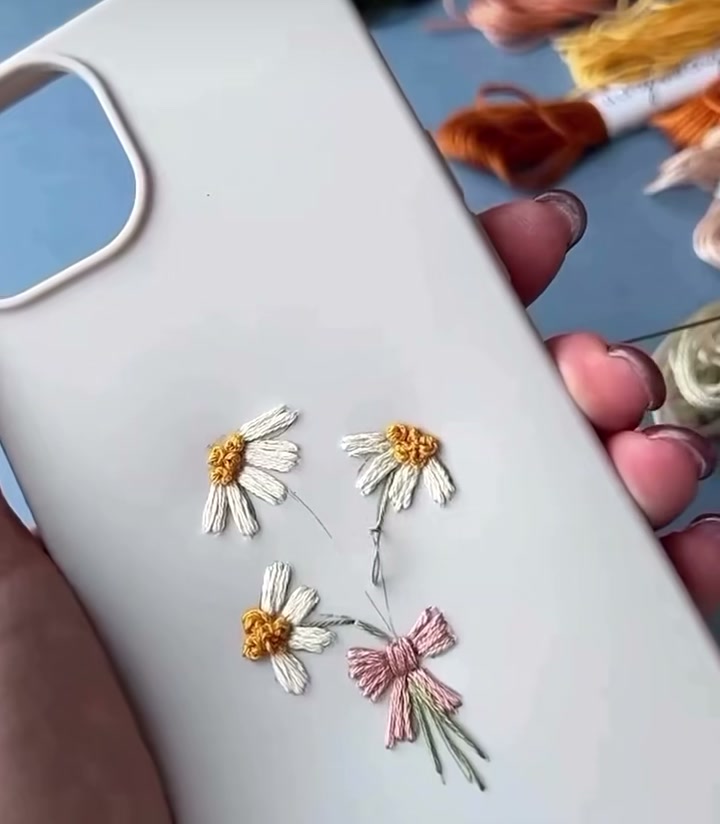
All three daisies, the green stems, and the pink bow are now in place. Take a moment to check the back of the case for loose threads and trim them neatly. The front should look clean and intentional — a small hand-stitched garden you carry with you.
11 — Another Angle
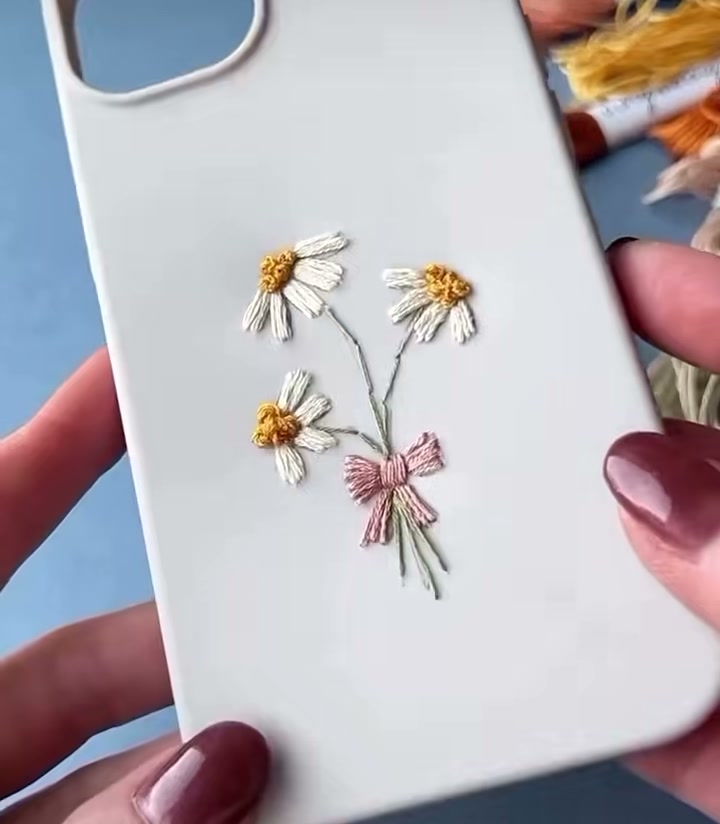
Hold the case at an angle to see how the stitches catch the light. The slight texture of the embroidery catches shadows beautifully, making the daisies look almost three-dimensional against the smooth white surface.
12 — Close-Up Detail
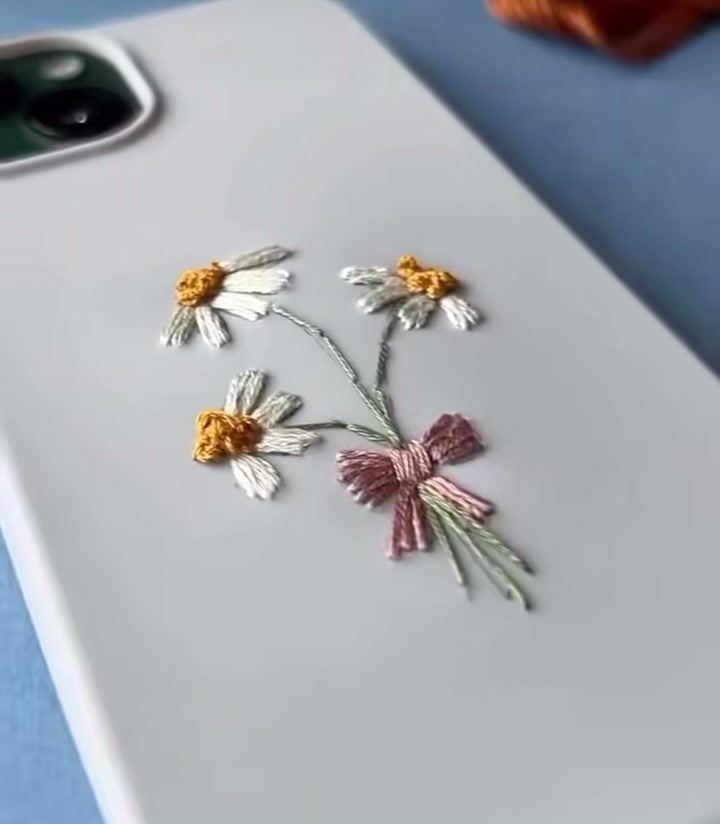
A close-up reveals the real charm: tiny satin stitches, tight French knots, and the soft sheen of the floss. Imperfections are part of the handmade appeal — no machine could replicate the slight variation in each petal.
This phone case is proof that you don't need a lot of time or expensive materials to make something lovely. A plain case, a few colors of floss, and a quiet afternoon are enough. Every time you pick up your phone, you will see a little garden that you grew yourself.
Happy stitching — one petal at a time.