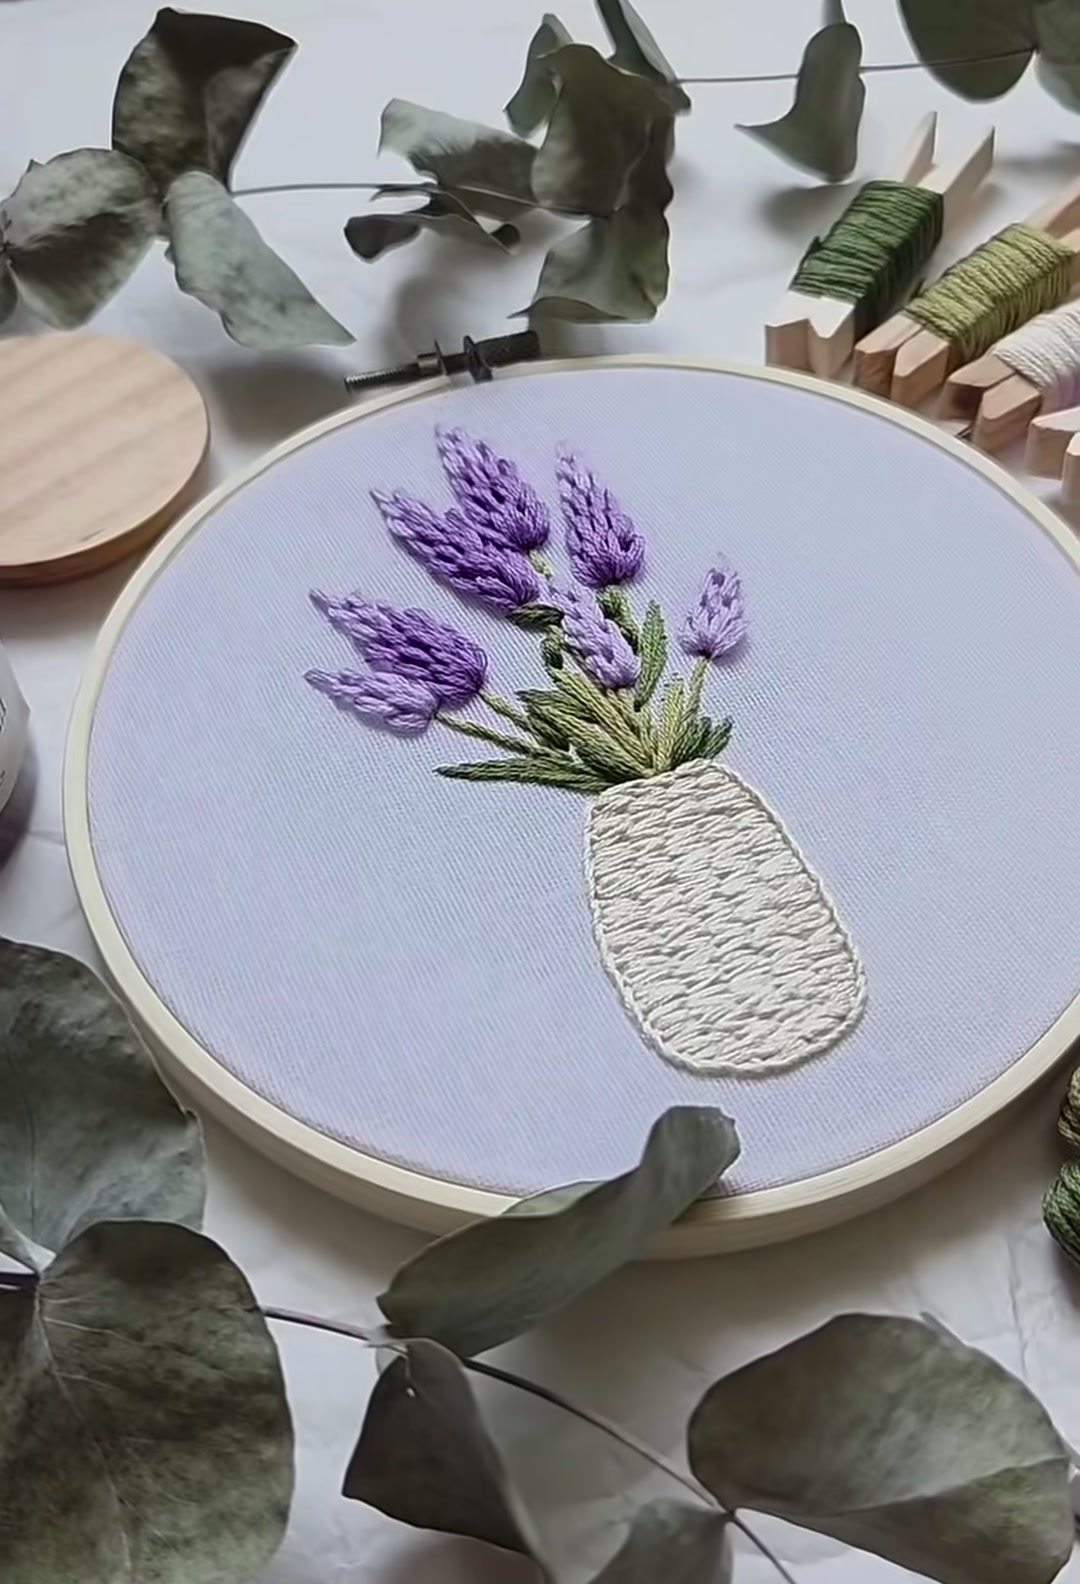
Lavender Bouquet in a Vase — Hand Embroidery Tutorial
Lavender Bouquet in a Vase — Hand Embroidery Tutorial
There is a quiet kind of magic in stitching lavender. Each tiny petal is built from straight stitches and woven threads, layer upon layer, until a flat piece of fabric suddenly holds a whole bouquet.
- Wooden embroidery hoop (about 15–18 cm)
- Linen or cotton fabric, light-colored
- Embroidery floss in lavender, deep purple, pale purple
- Embroidery floss in olive green and moss green
- Embroidery floss in cream or off-white
- Embroidery needle
- Water-soluble fabric marker
- Small scissors
1 — Sketch the Bouquet
Transfer a simple outline onto your fabric: a rounded vase at the bottom, a few stems rising upward, and teardrop-shaped flower heads at the top. Add a small grid of guide stitches inside each flower head to anchor the woven texture later.
2 — First Lavender Bloom
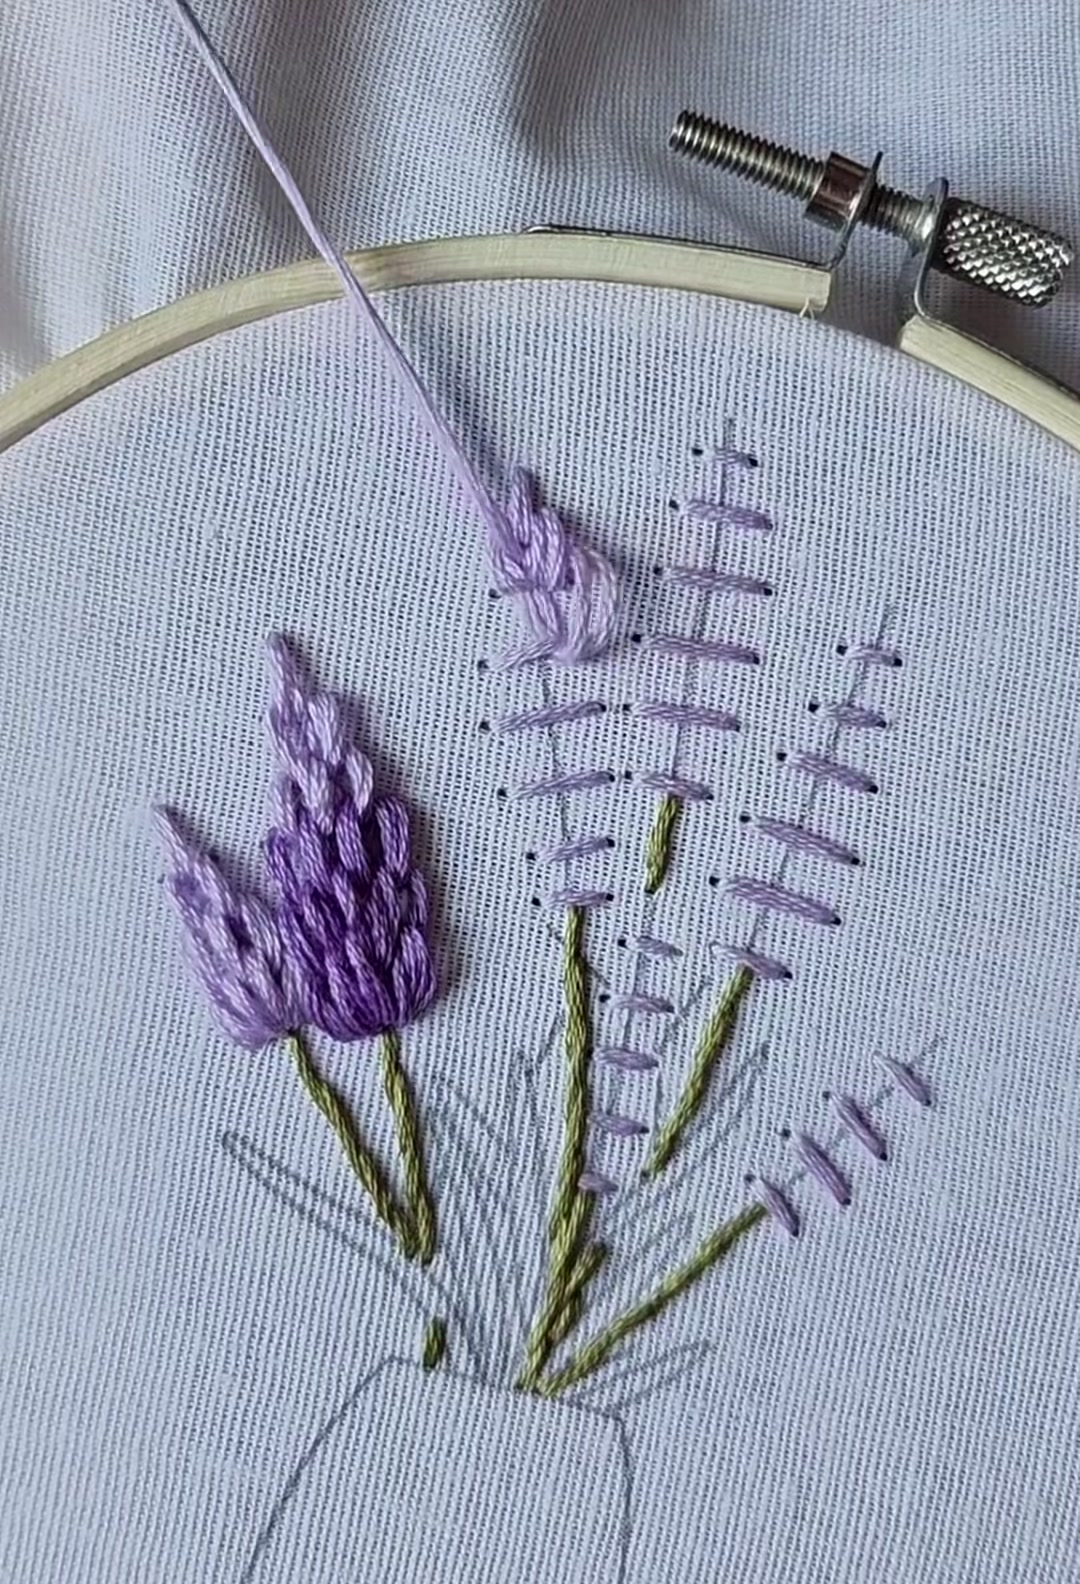
Start the first flower head with a series of short straight stitches radiating from the center. Use a medium lavender shade. Keep the stitches close together at the base and let them fan slightly at the tip.
3 — Second Bloom
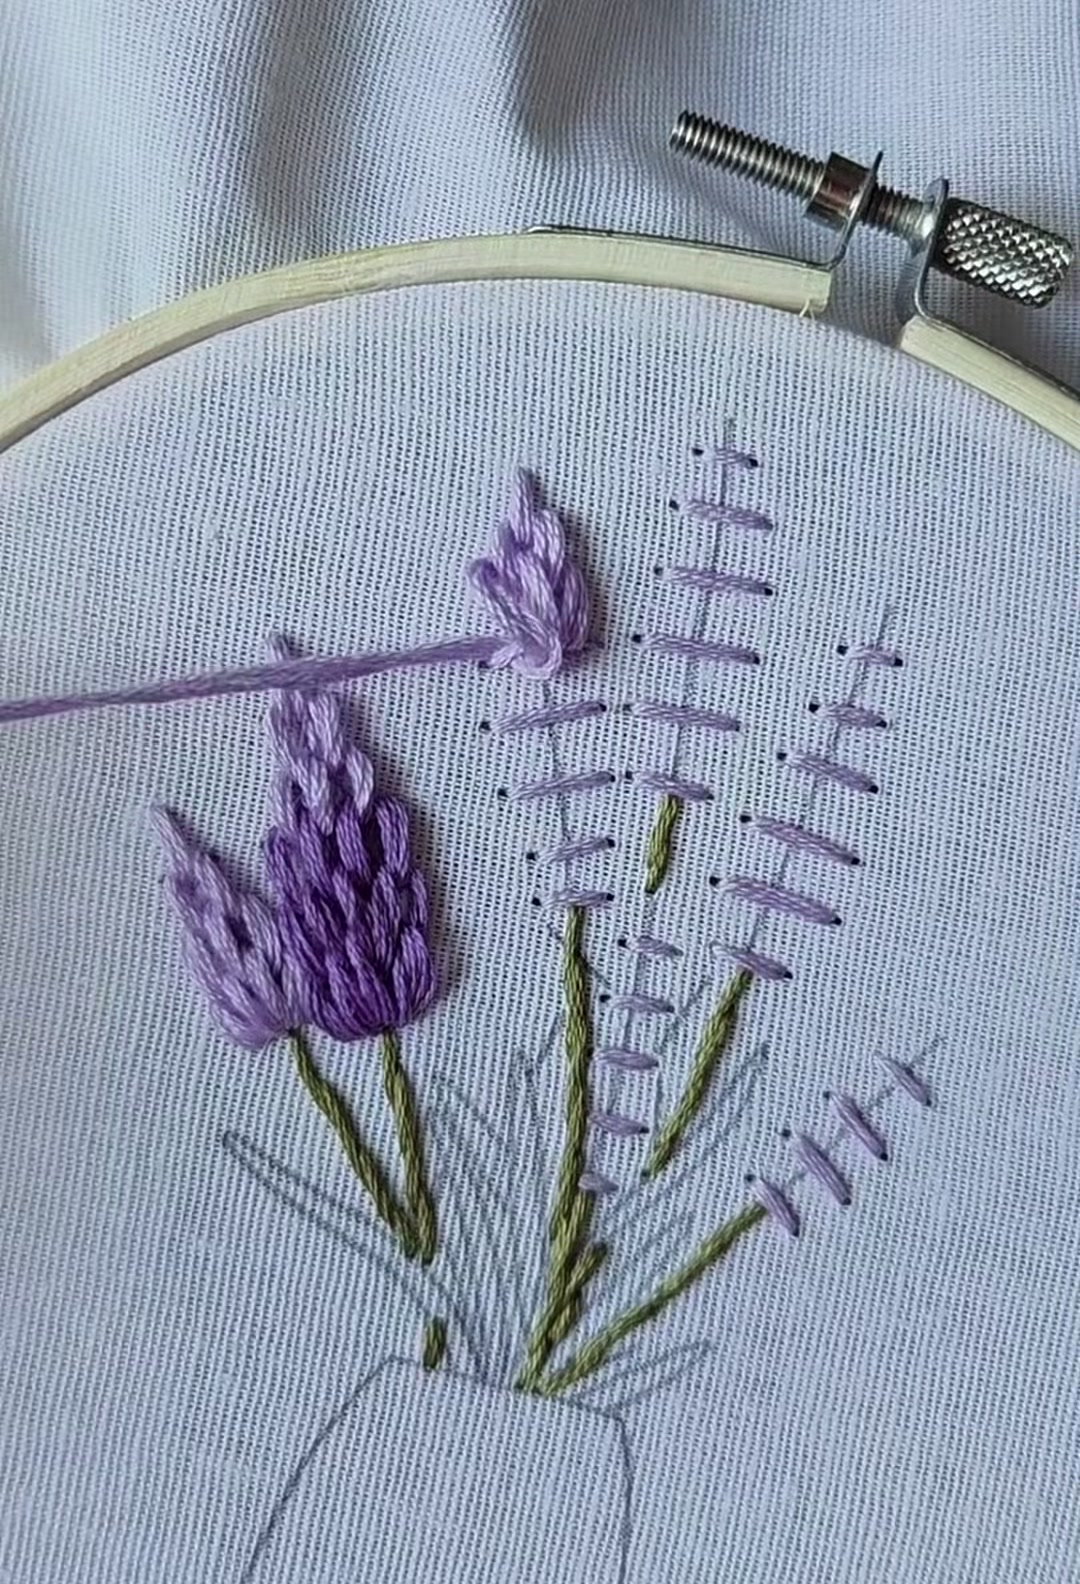
Add a second flower head beside the first, using the same stitch direction. The two blooms should lean slightly toward each other, as if they are growing from the same stem.
4 — Third Bloom
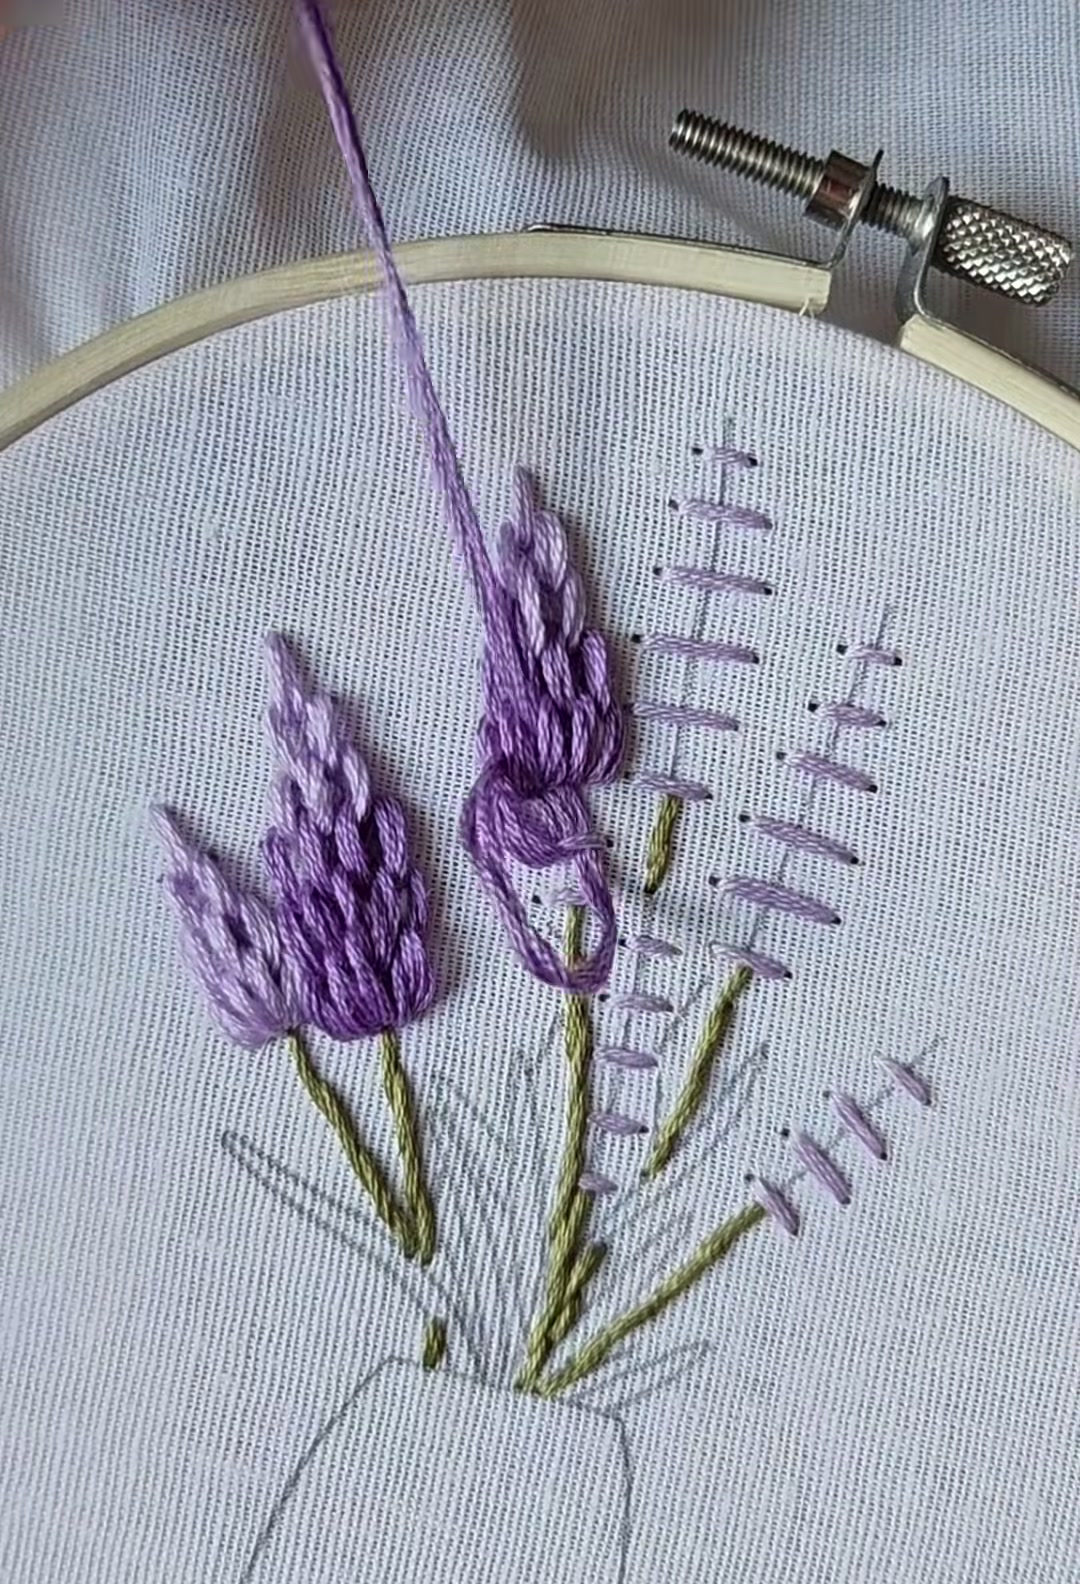
Continue building the bouquet. Introduce a lighter lavender shade for the third bloom to create depth. The pale stitches sit on top of the darker base and give the flower a soft, fuzzy look.
5 — Fourth Bloom
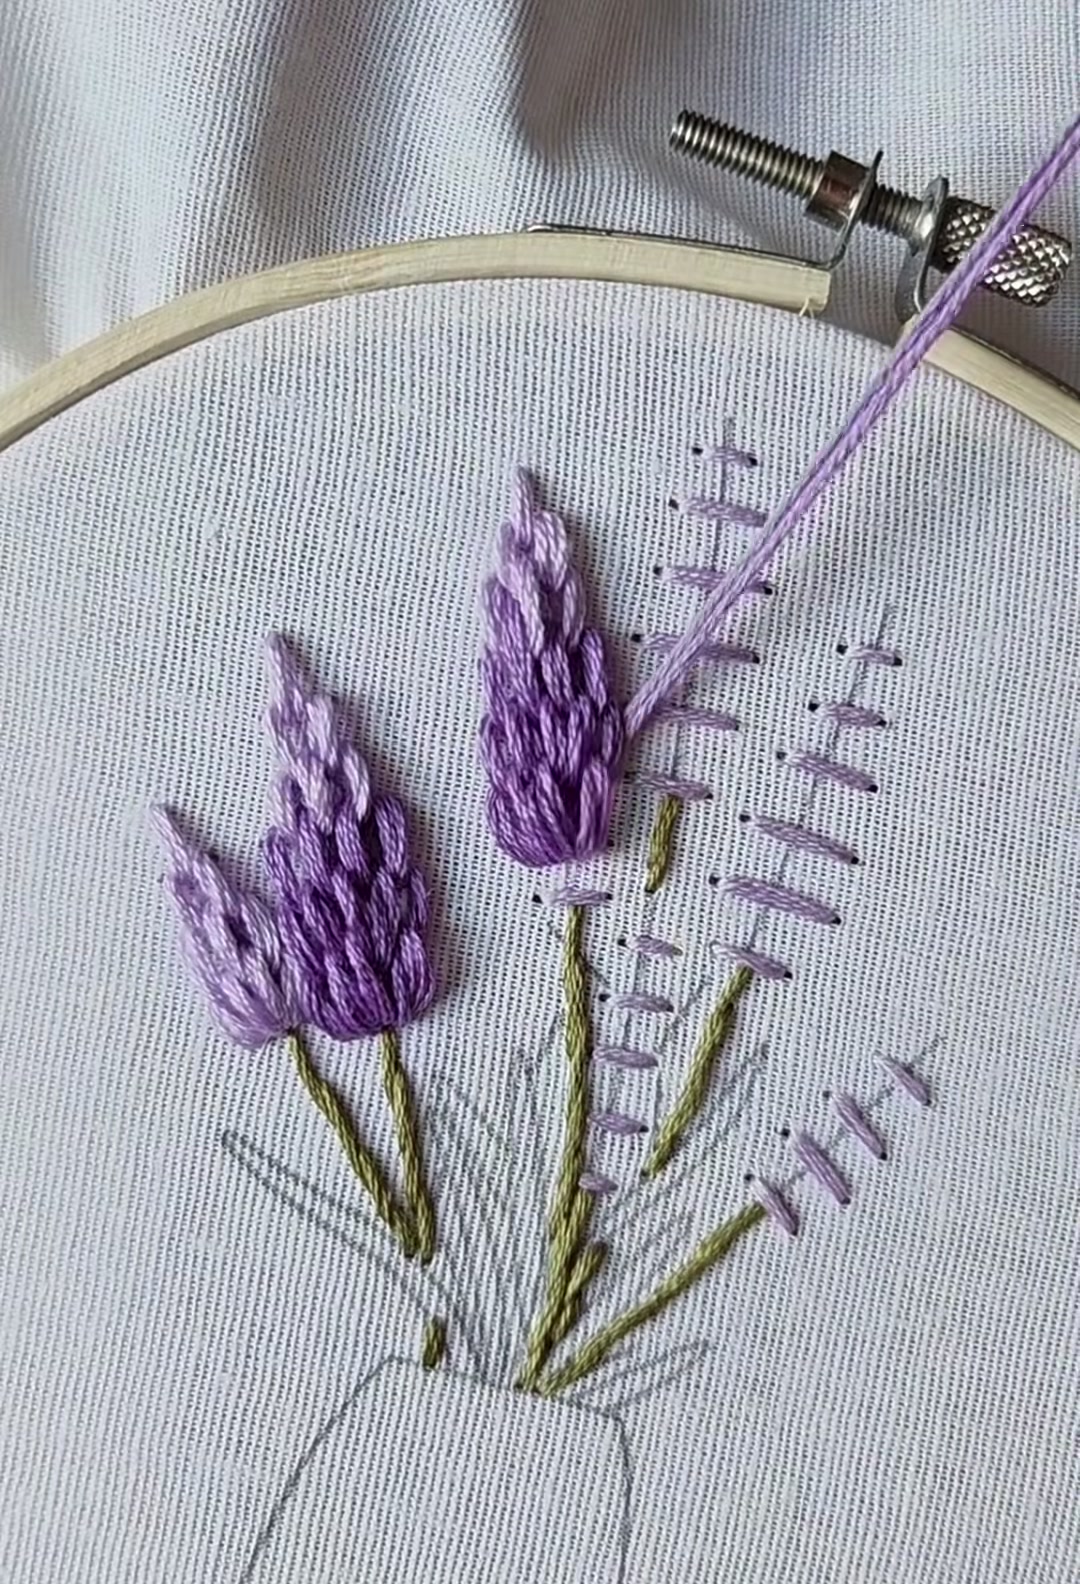
Add the fourth bloom, mixing deep and pale purples within the same flower head. This variation keeps the bouquet from looking too flat or uniform.
6 — The Cluster Fills Out
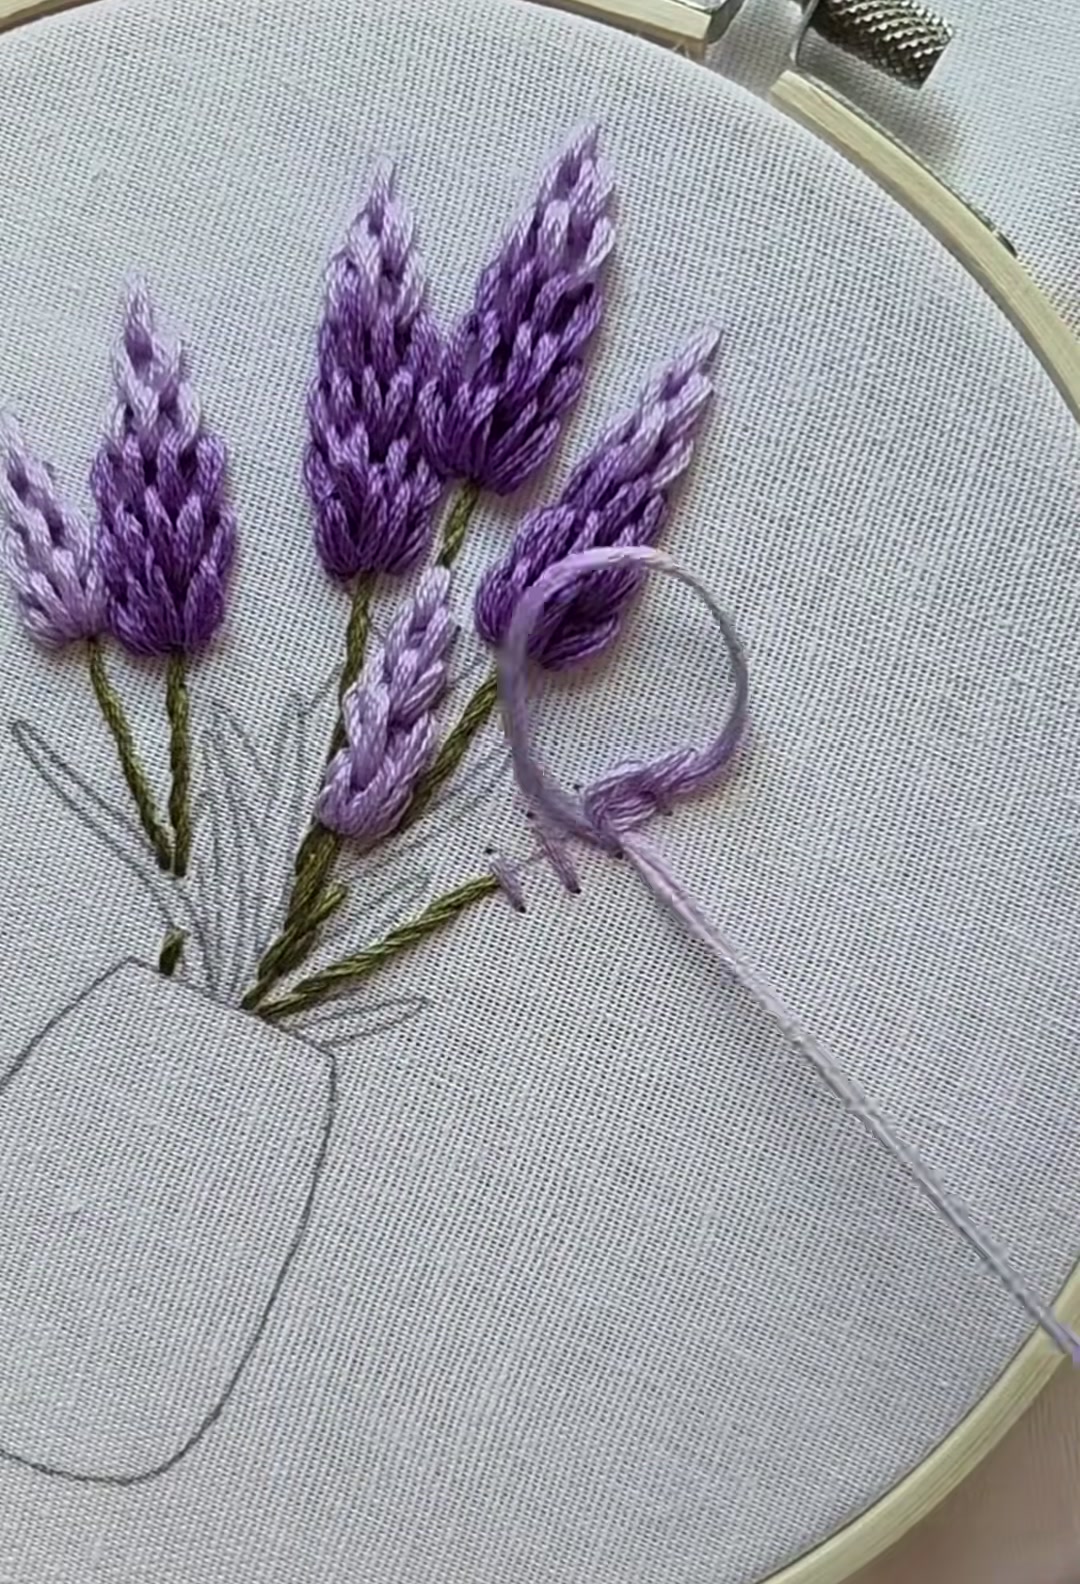
Step back and look at the whole cluster. Add small filler stitches between the flower heads where the fabric still shows through. These tiny details are what turn separate stitches into a full bouquet.
7 — Flower Texture
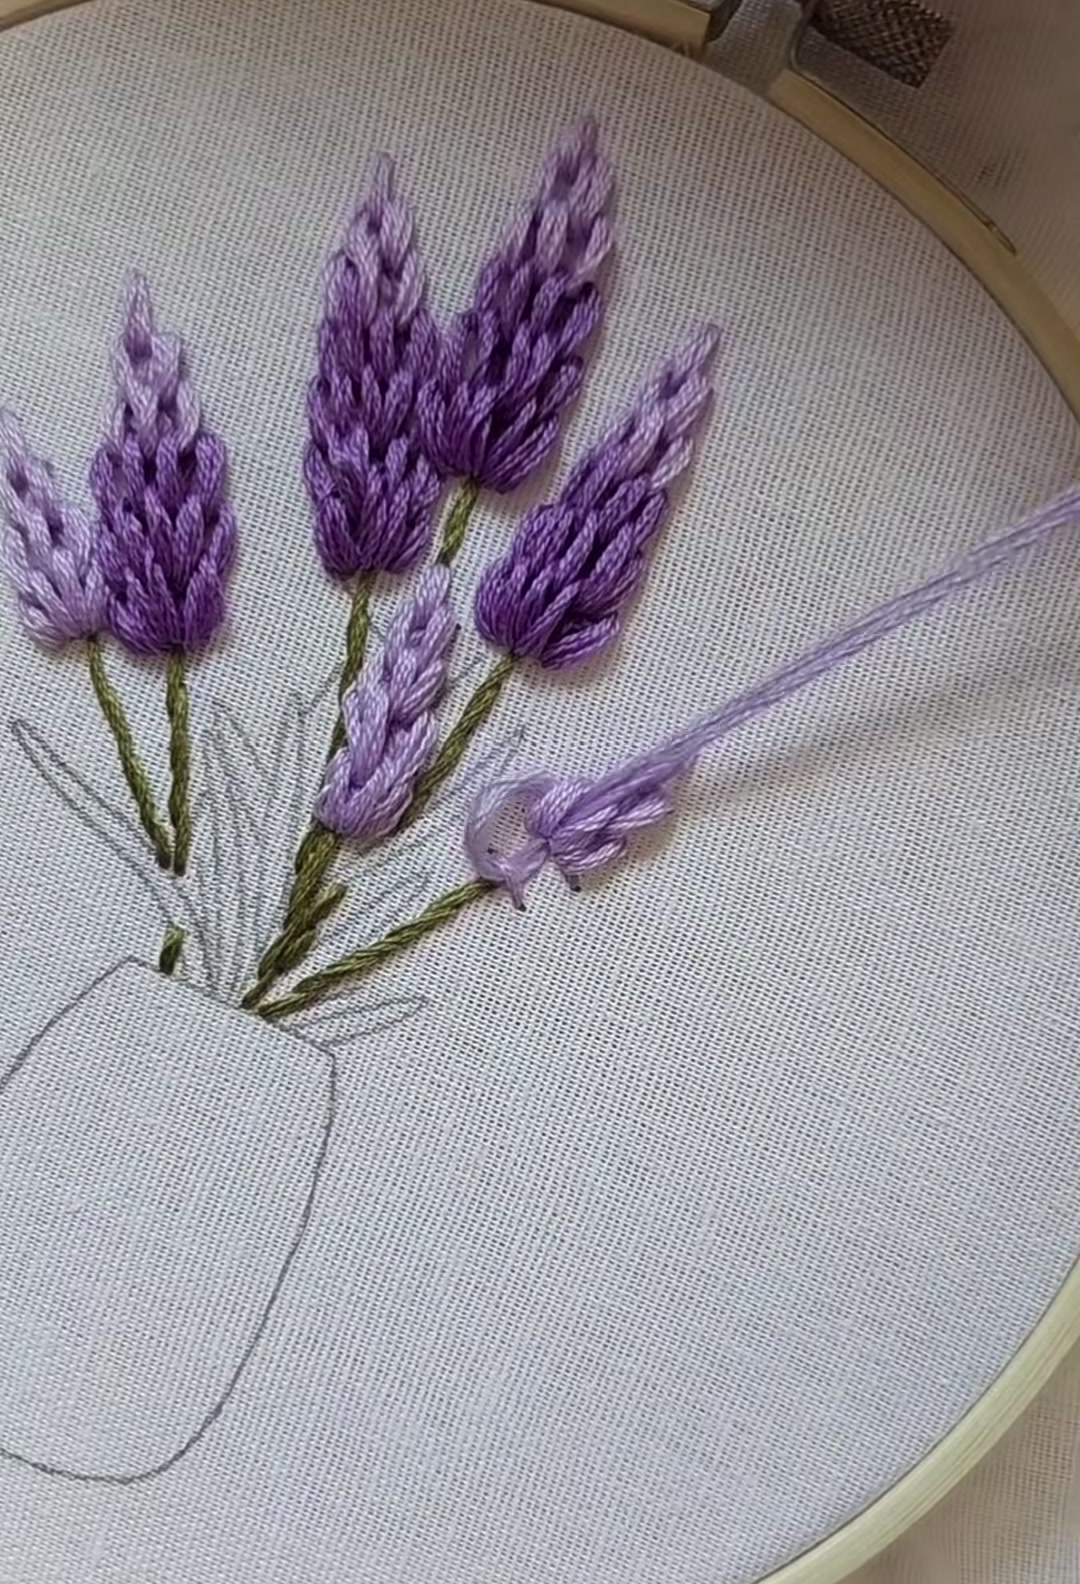
Layer a few more pale purple stitches over the top of each flower to build the characteristic fluffy texture of lavender. The surface should feel slightly raised when you run your finger over it.
8 — Flowers Complete, Stems Added
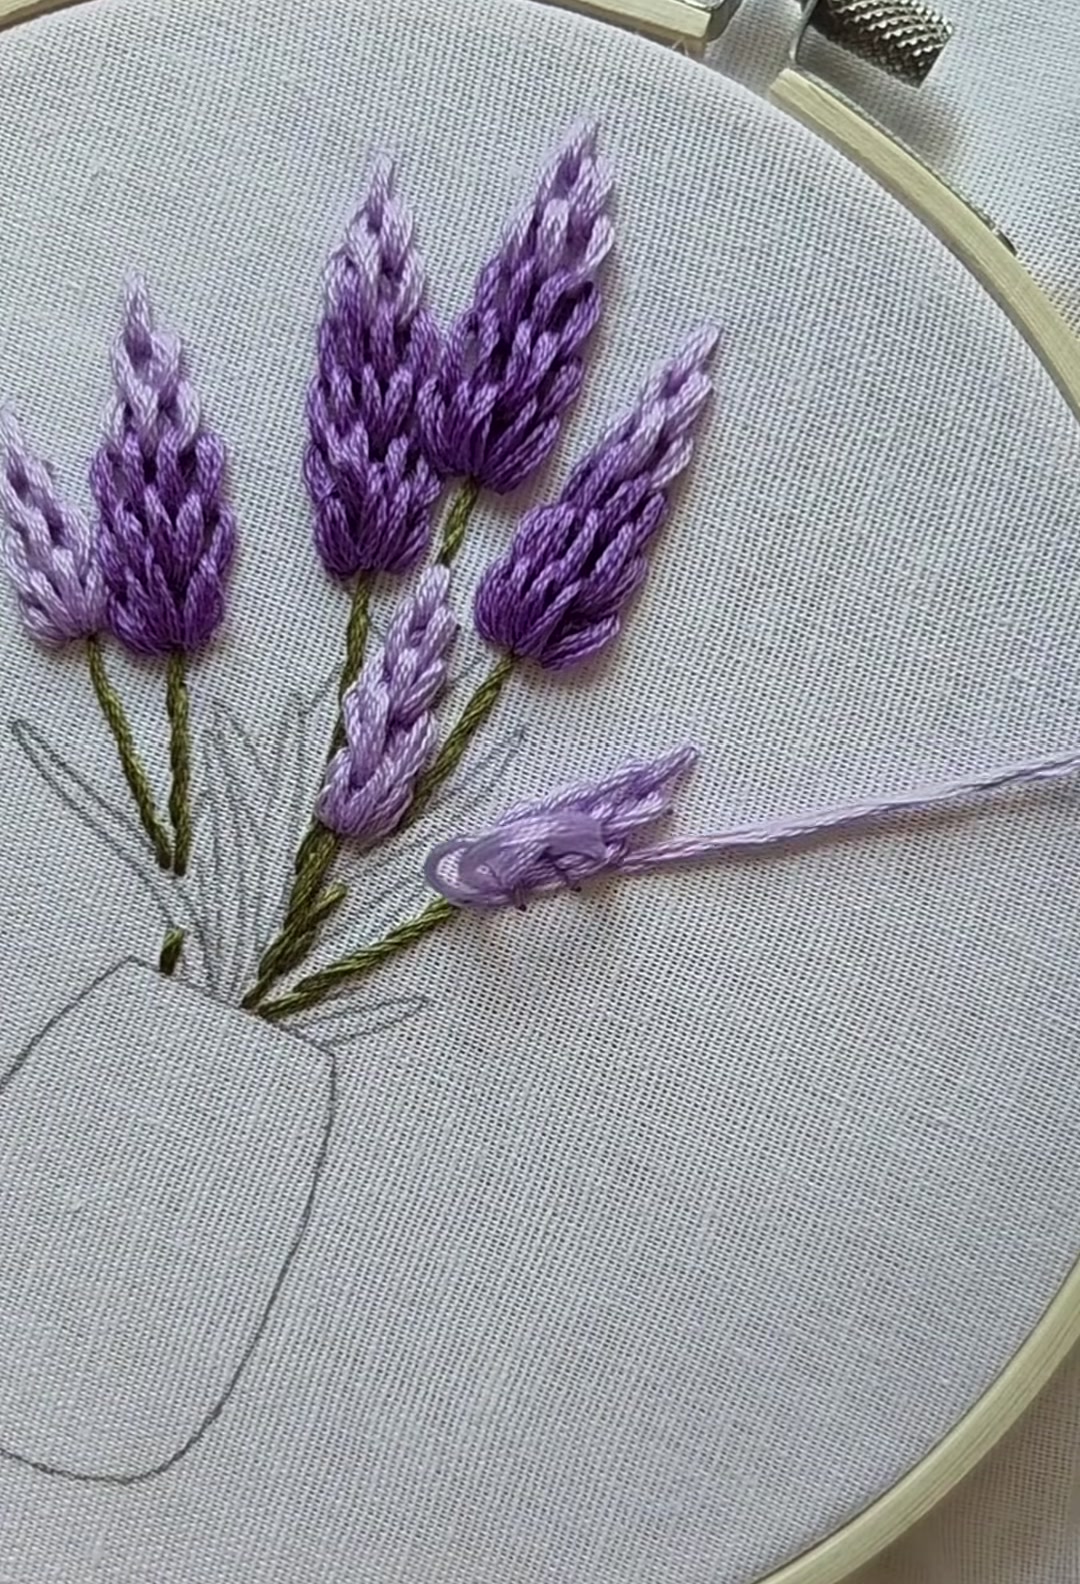
Once the flower heads are finished, stitch the stems in olive green, using two strands of floss for a slim but visible line. Add a few small leaves in moss green between the blooms.
9 — Start the Vase
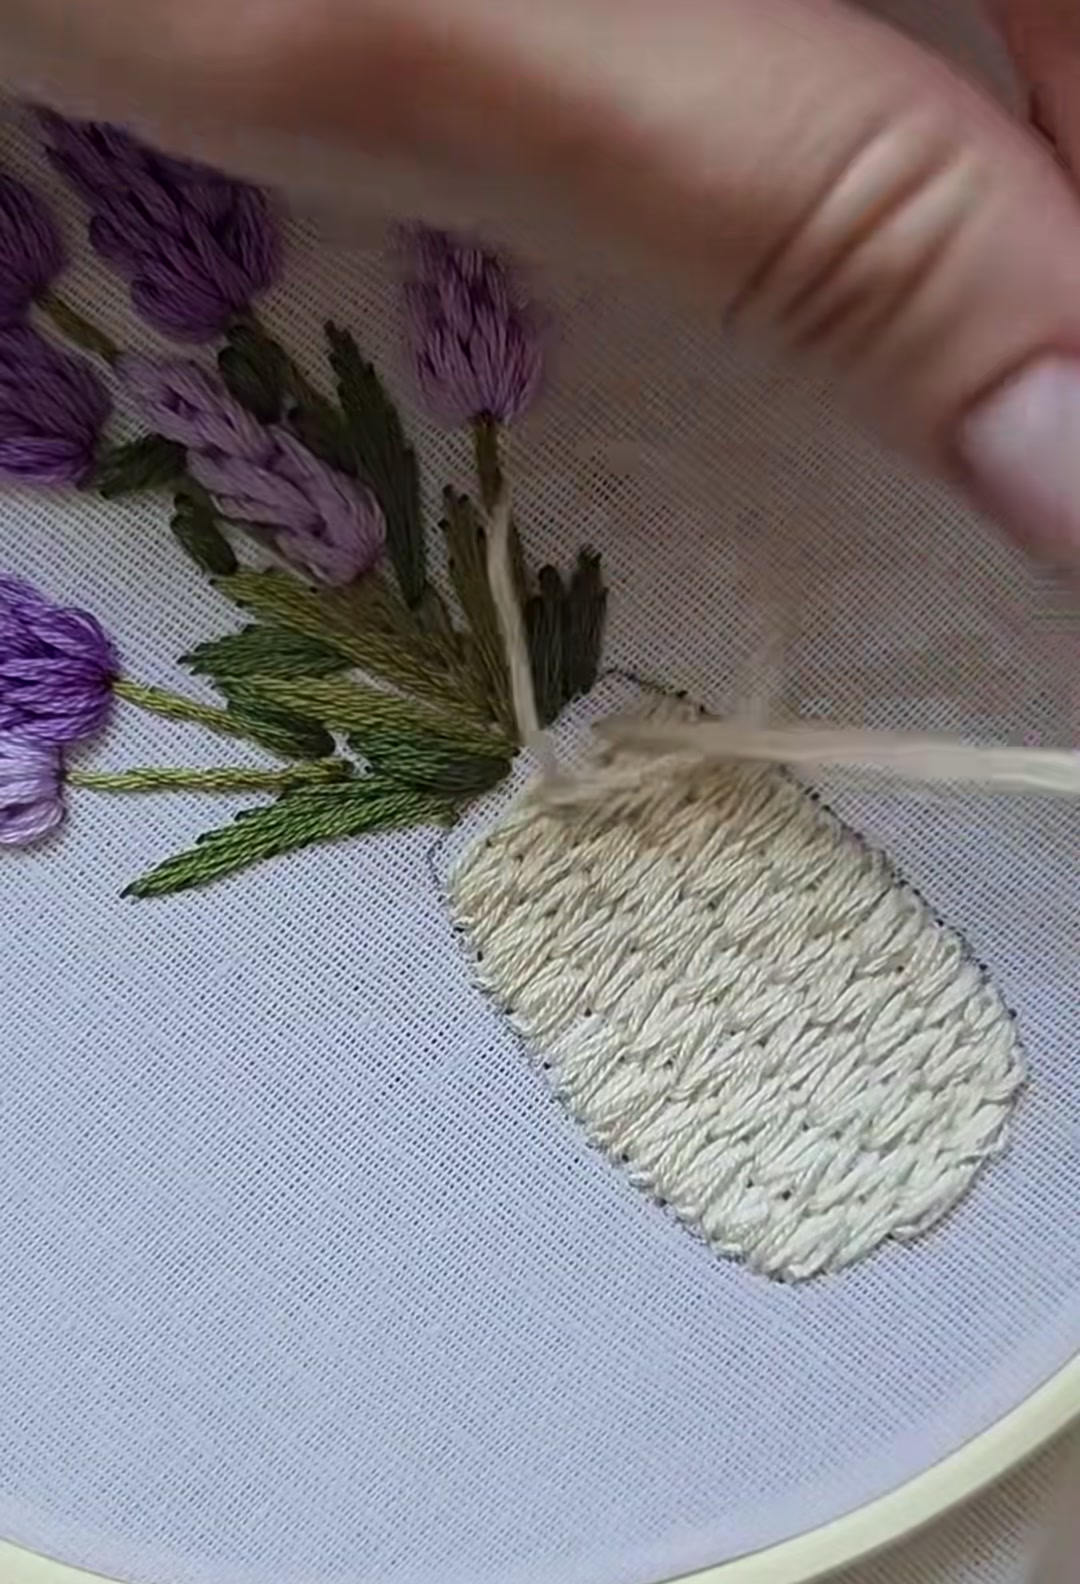
Move down to the vase and begin filling it with satin stitch in cream or off-white. Work in small sections, keeping each stitch smooth and parallel to the last.
10 — Vase Continues
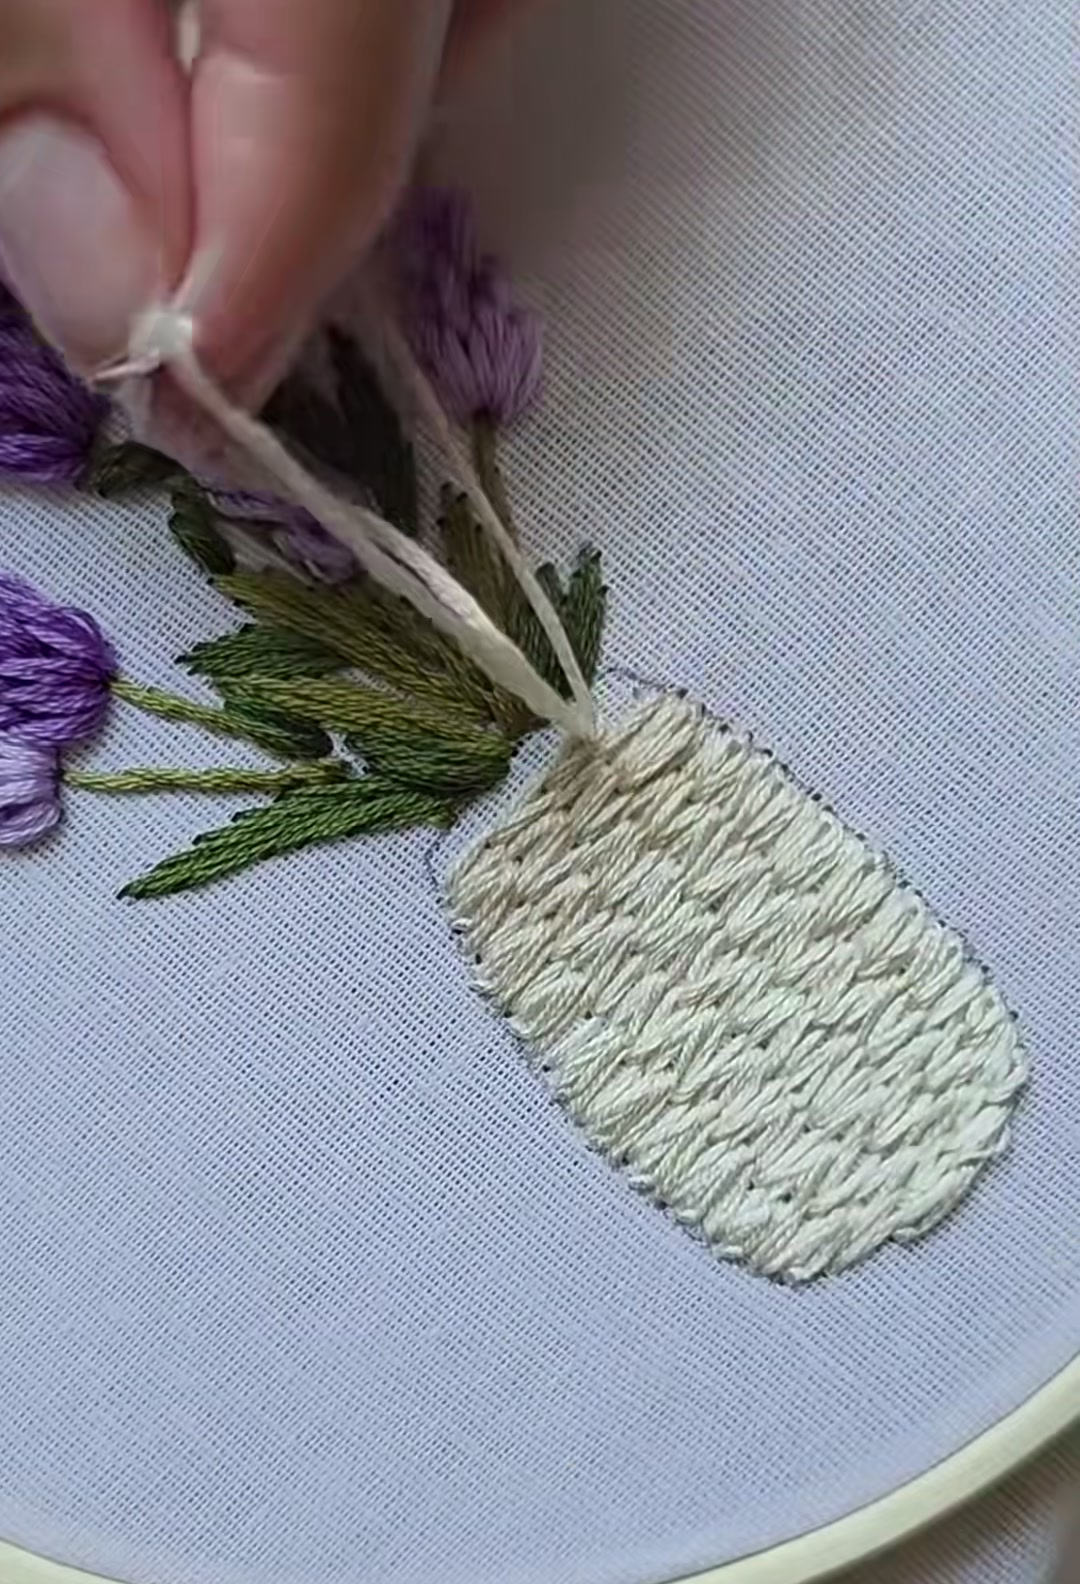
Continue satin stitching until the vase shape is almost fully covered. Pay attention to the curved edges, shortening your stitches slightly as you follow the outline.
11 — Vase Complete
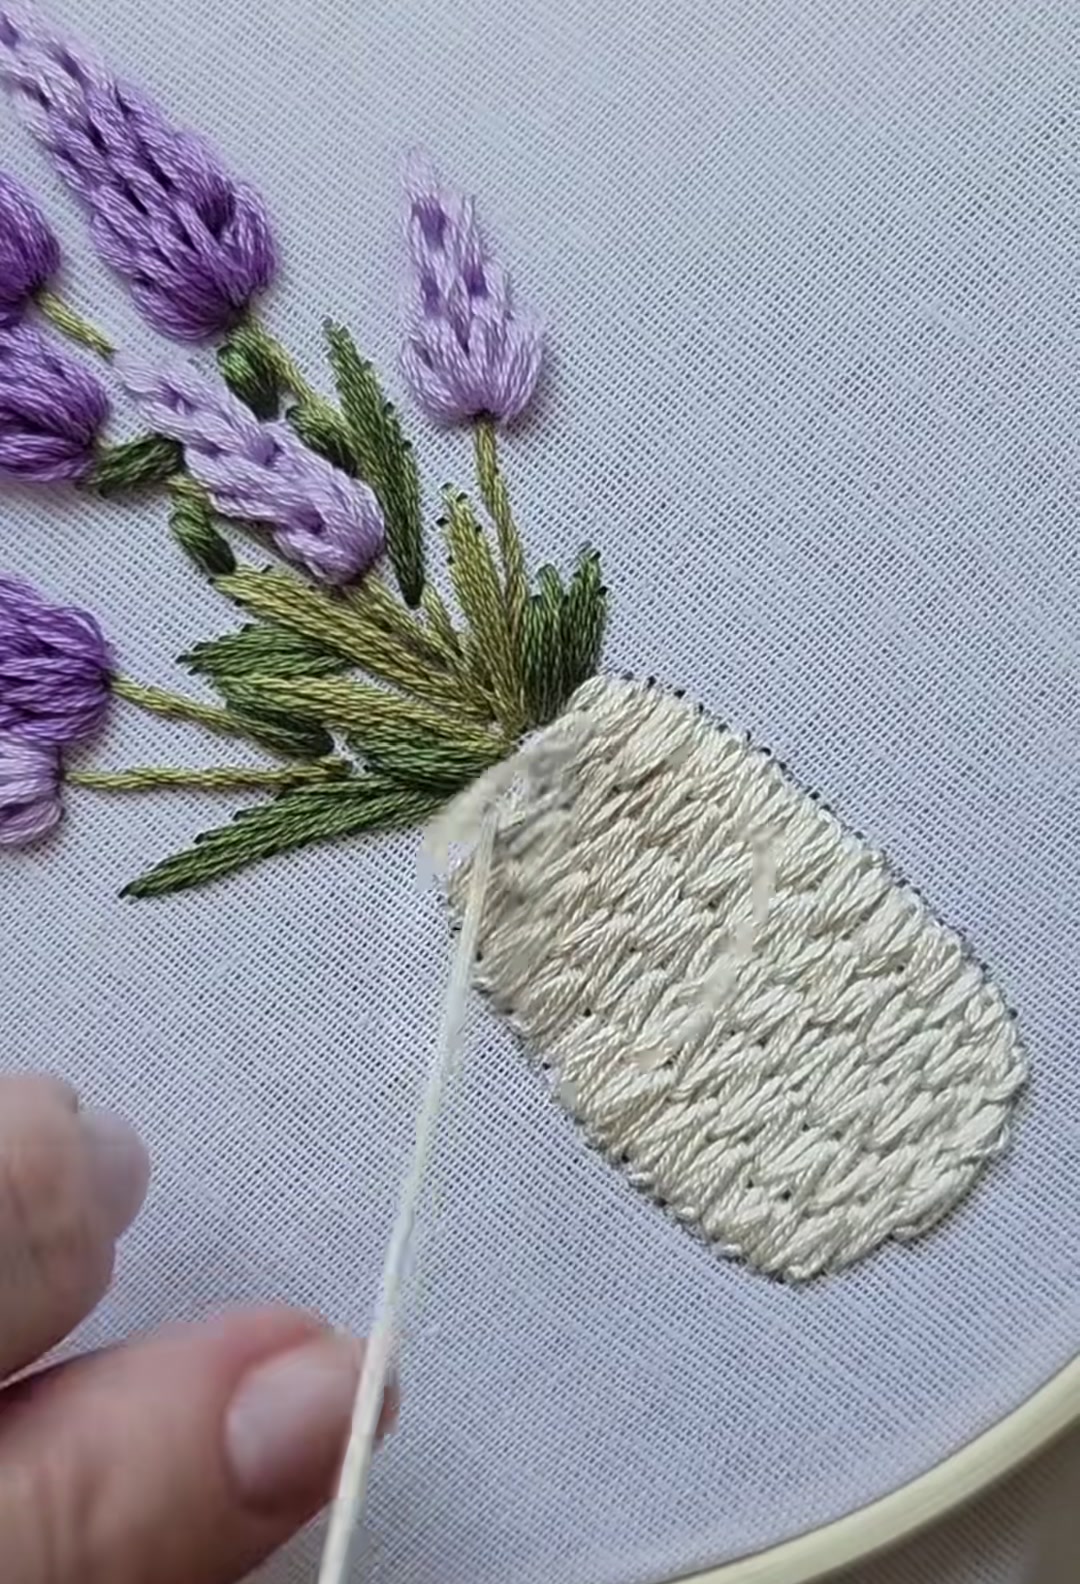
Fill in the last section of the vase. The cream thread should look like a simple ceramic surface, calm and quiet beneath the bright lavender above.
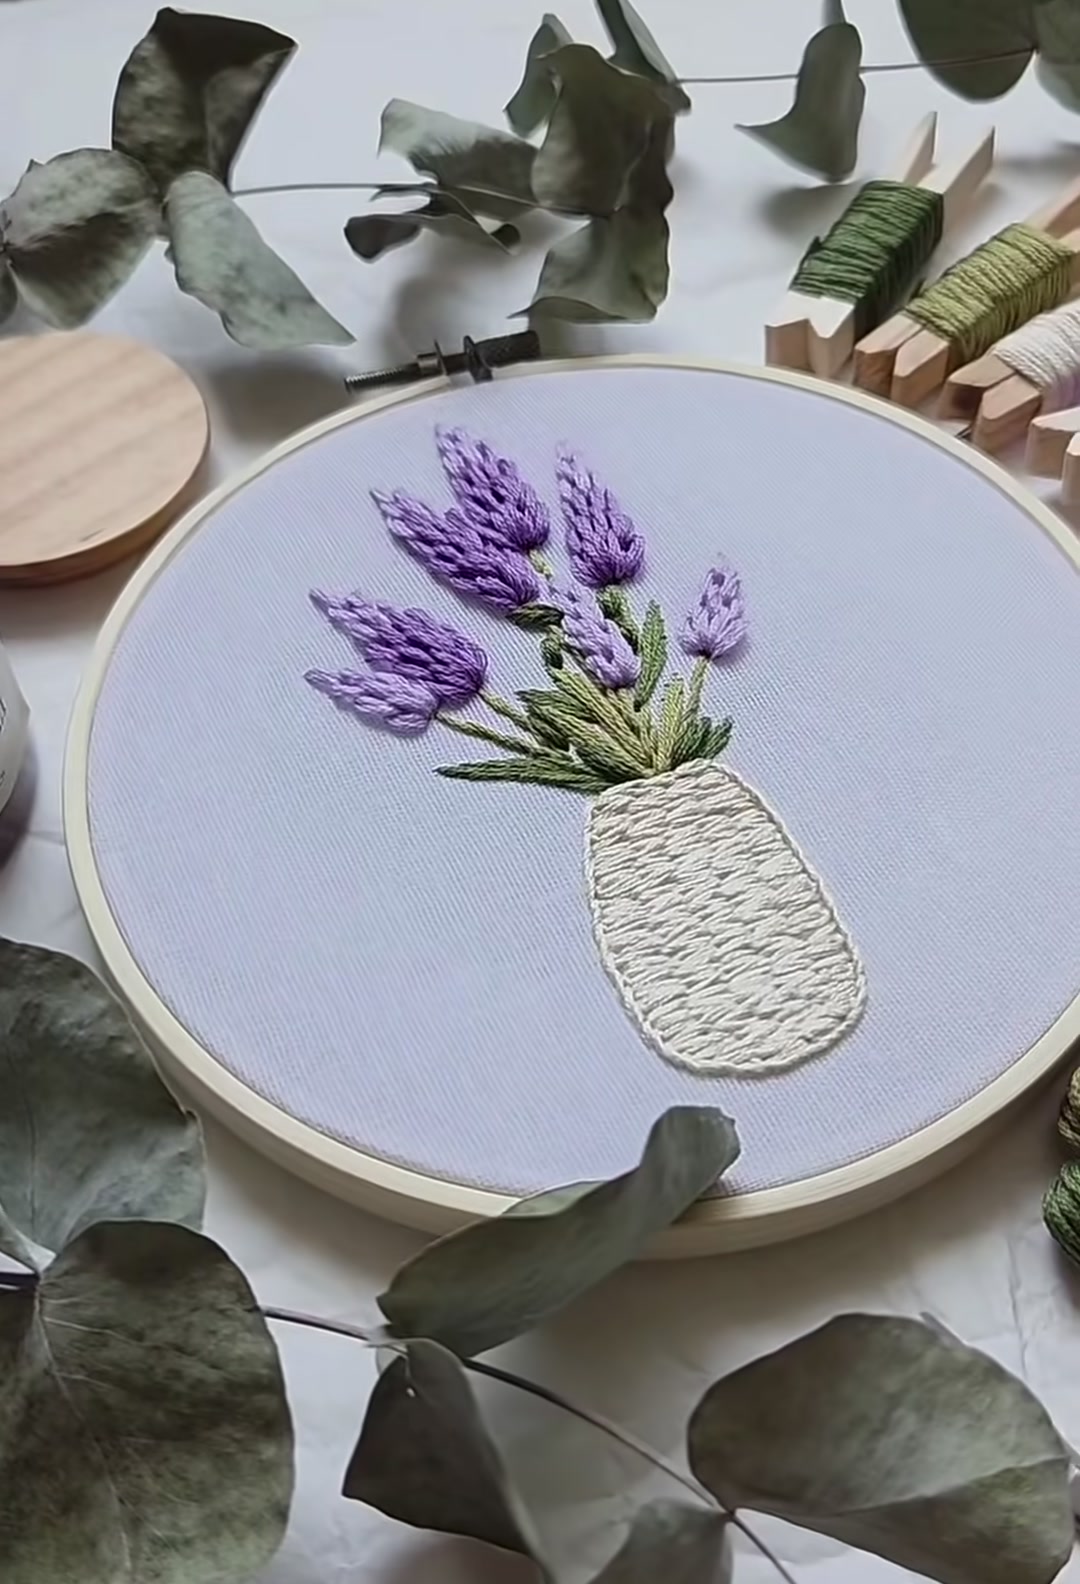
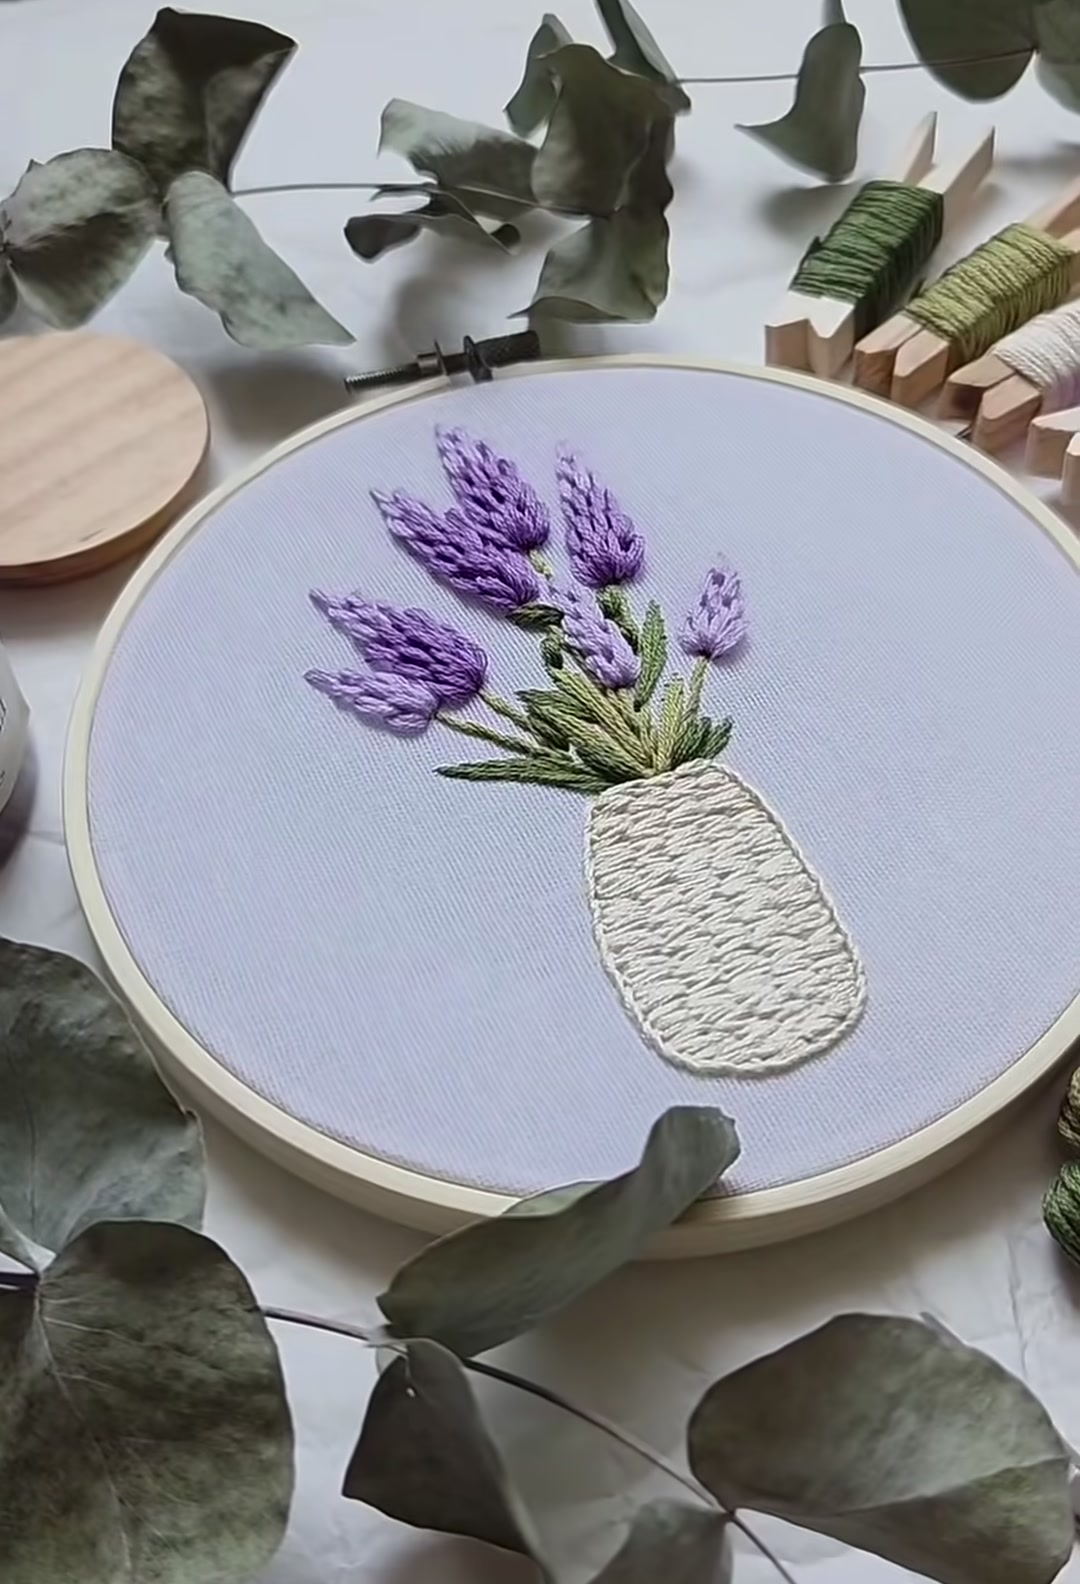
Place the finished piece in its hoop, tighten it gently, and trim the excess fabric. Style it on a clean surface with a few eucalyptus leaves around the hoop. It is the kind of small artwork that makes a quiet corner feel like summer in Provence.
Happy stitching — one lavender bloom at a time.