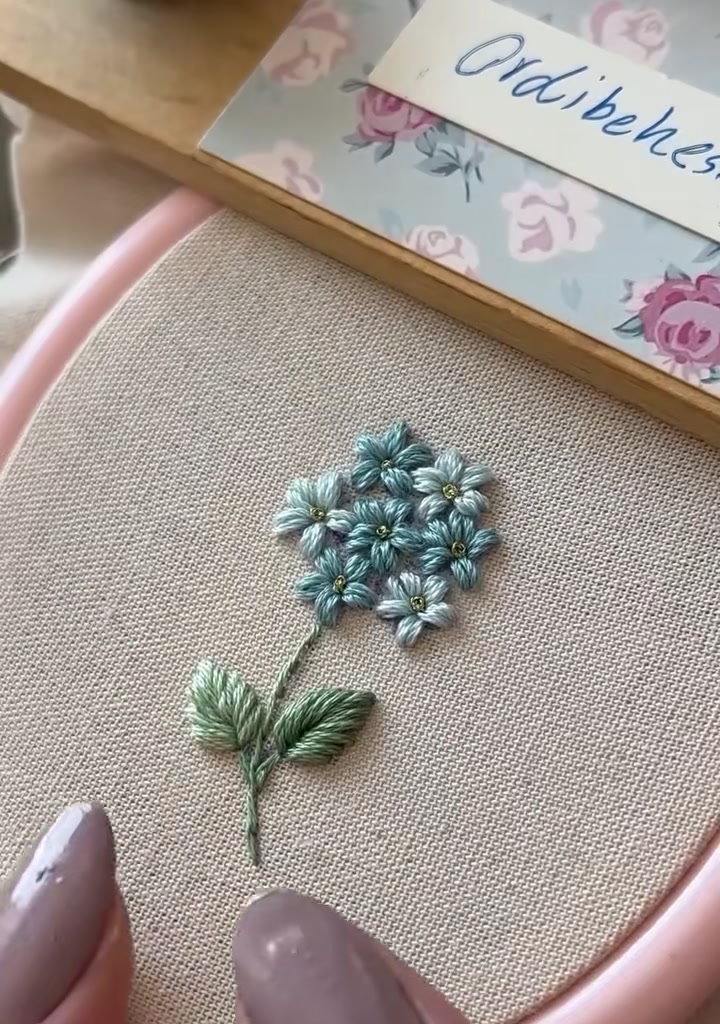
Tiny Blue Star Flowers Embroidery: A Step-by-Step Tutorial
Tiny Blue Star Flowers Embroidery: A Step-by-Step Tutorial
- Linen or cotton fabric in a neutral tone
- 6-inch embroidery hoop
- Anchor stranded cotton floss in two blue shades
- Green embroidery floss for stem and leaves
- Yellow floss or tiny beads for flower centers
- Embroidery needle
- Water-soluble fabric marker
- Scissors
Step 01: Prepare the Supplies
Choose two soft blue shades and a neutral fabric. Mount the fabric tightly in the hoop so the weave stays even while you stitch.
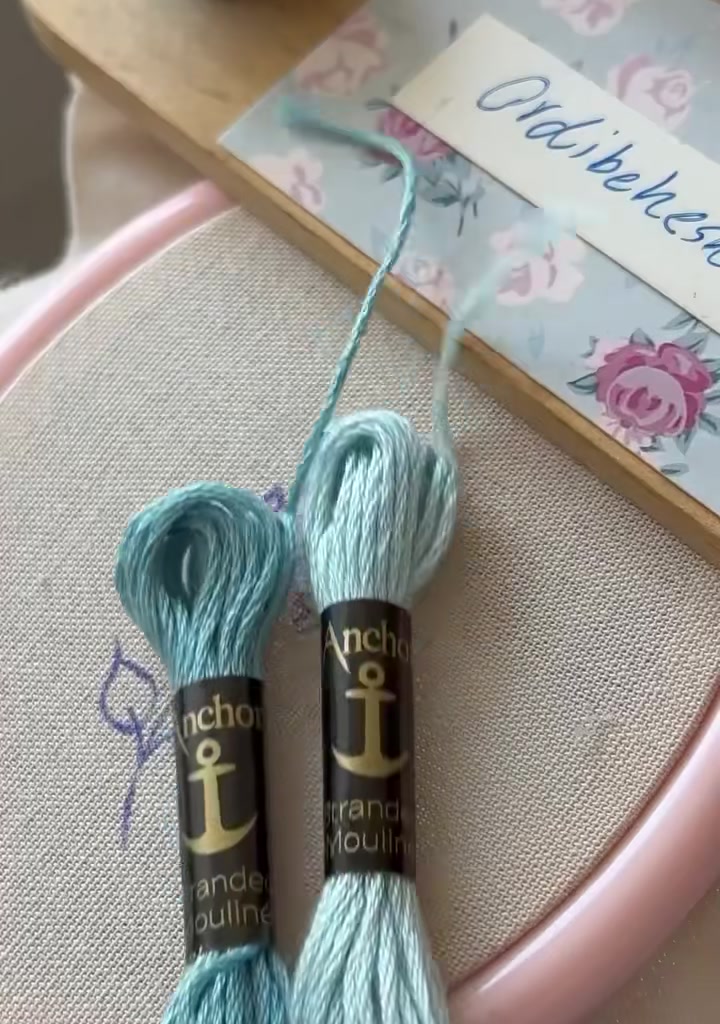
Step 02: Transfer the Pattern
Lightly draw a small flower cluster with a stem and two leaves. Keep the lines faint so they disappear easily after stitching.
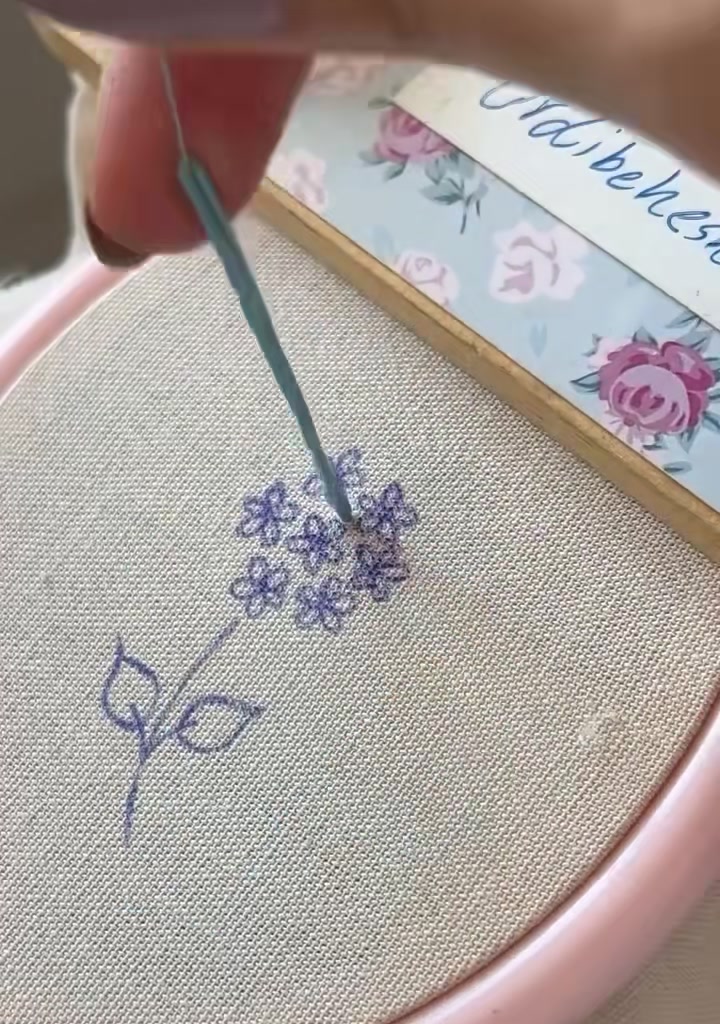
Step 03: Start the First Star Stitch
Bring the needle up from the back at the center of the first flower. Work a single straight stitch outward to form one petal.
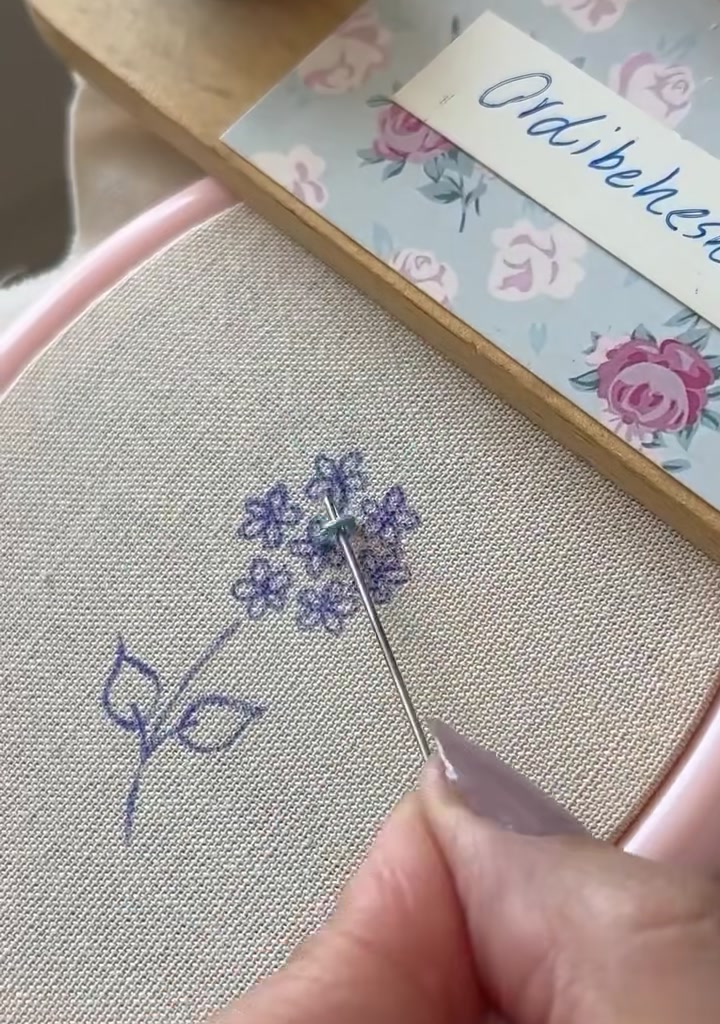
Step 04: Build the First Flower
Add more straight stitches radiating from the same center point. Each stitch should be the same length to keep the flower shape balanced.
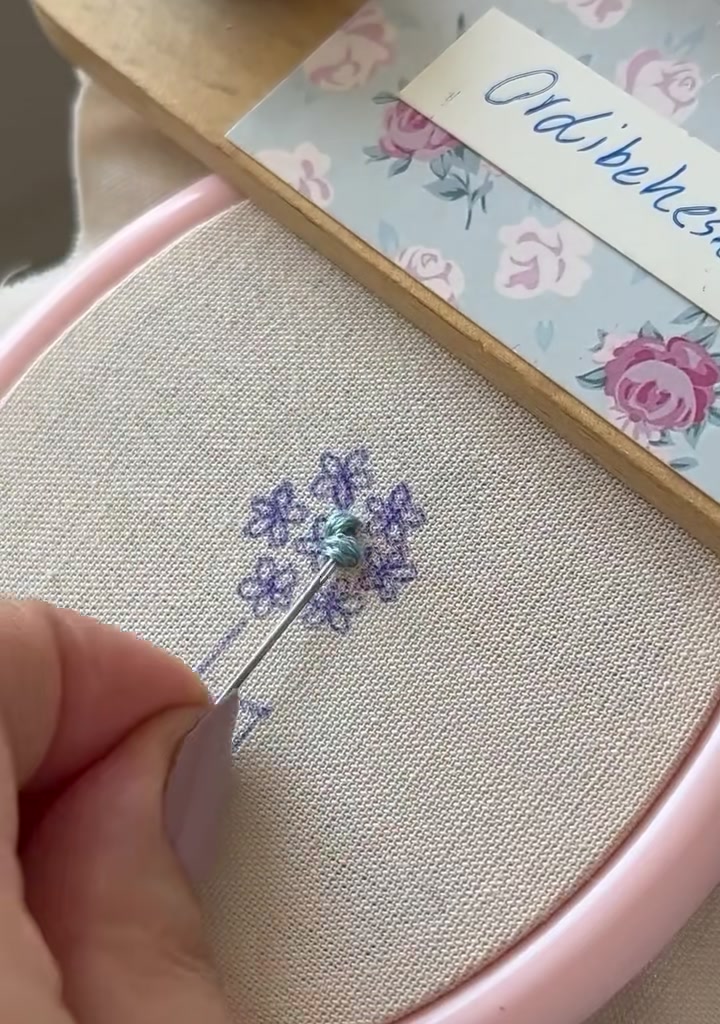
Step 05: Begin the Second Flower
Move to the next flower position and repeat the same star stitch motion. Keep the petals close but not overlapping.
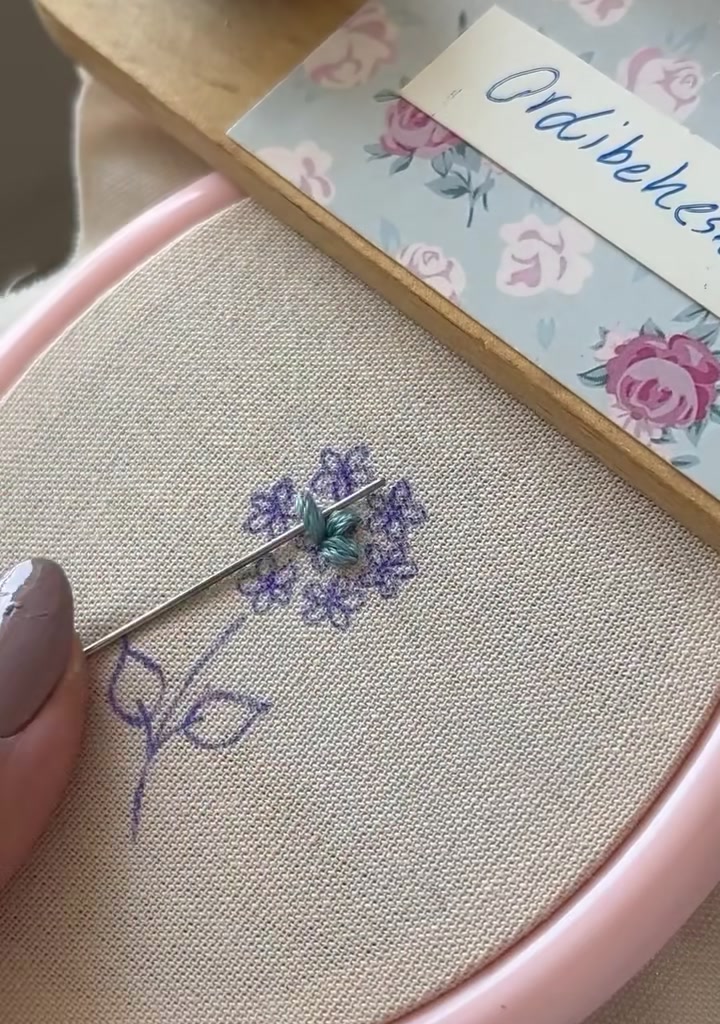
Step 06: Complete the Second Flower
Finish the second bloom with the same number of petals as the first. The two flowers should sit side by side like a natural cluster.
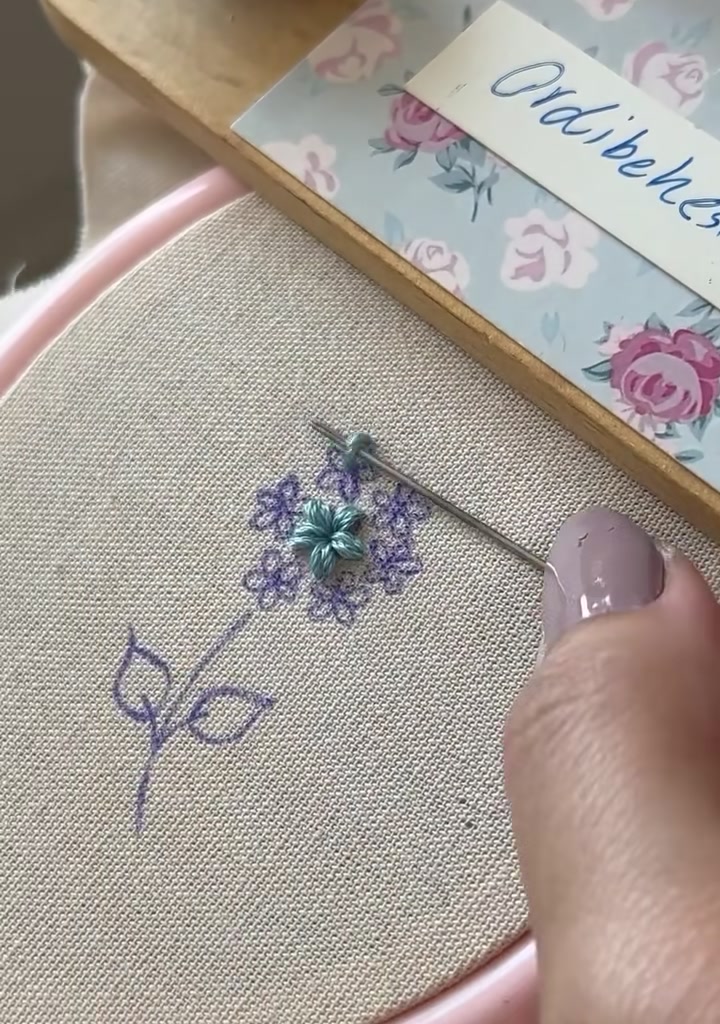
Step 07: Add the Third Flower
Continue upward and add a third flower at the top of the cluster. This sets the dome shape of the whole blossom.
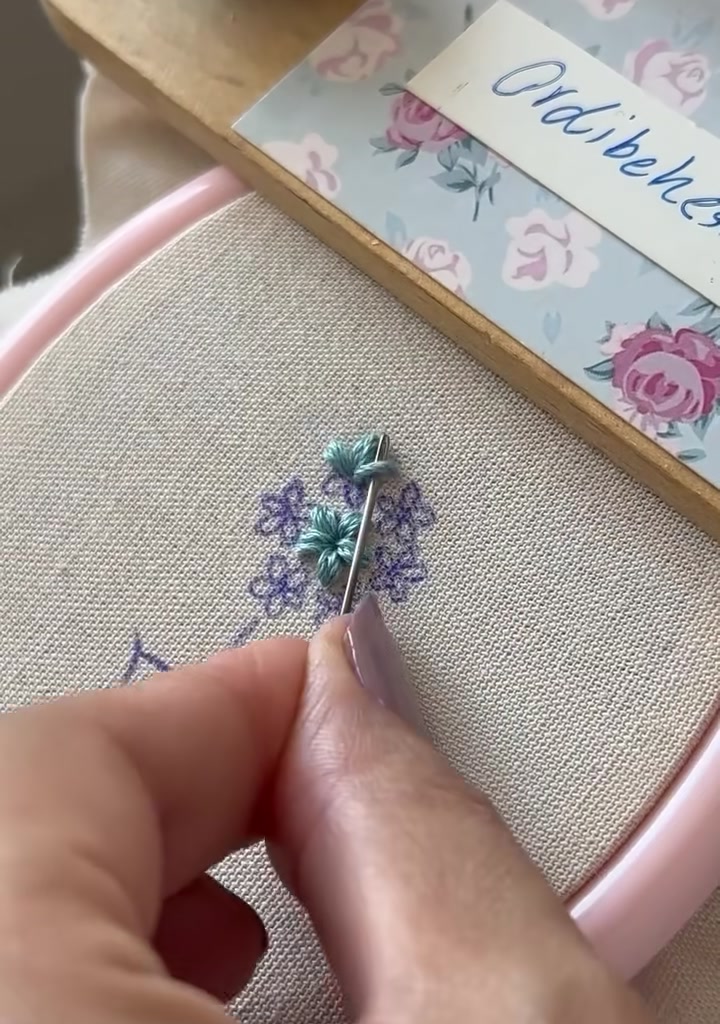
Step 08: Add the Fourth Flower
Fill in the left side with another flower. Keep the center points evenly spaced so the cluster looks full and round.
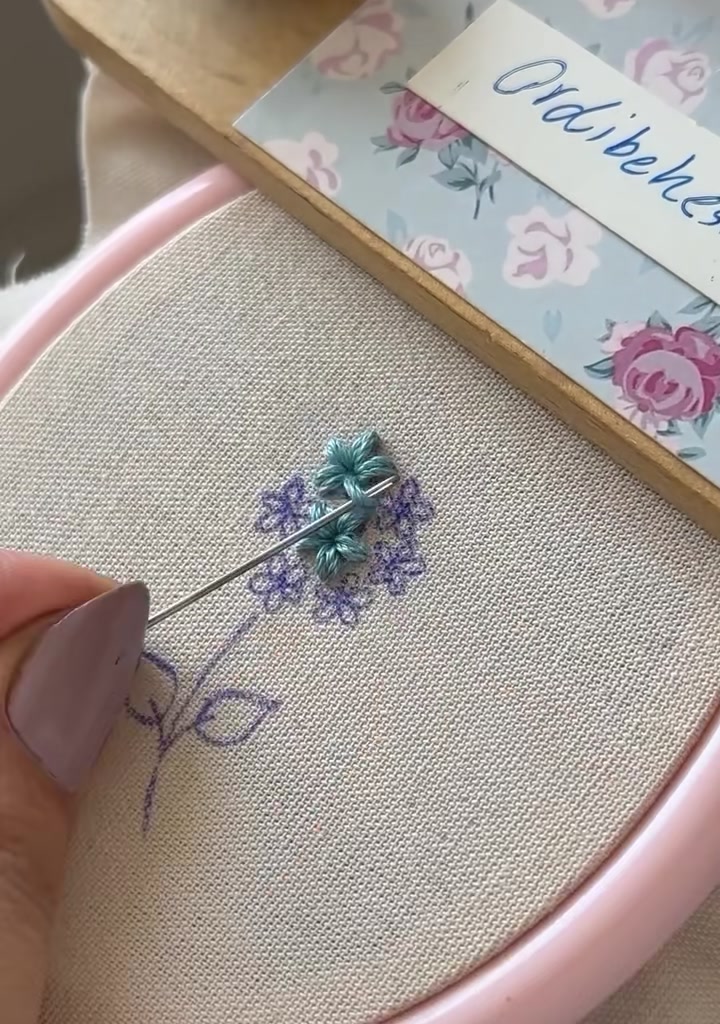
Step 09: Fill the Center Gaps
Add small stitches between the flowers if any gaps appear. This keeps the petals touching and the cluster tight.
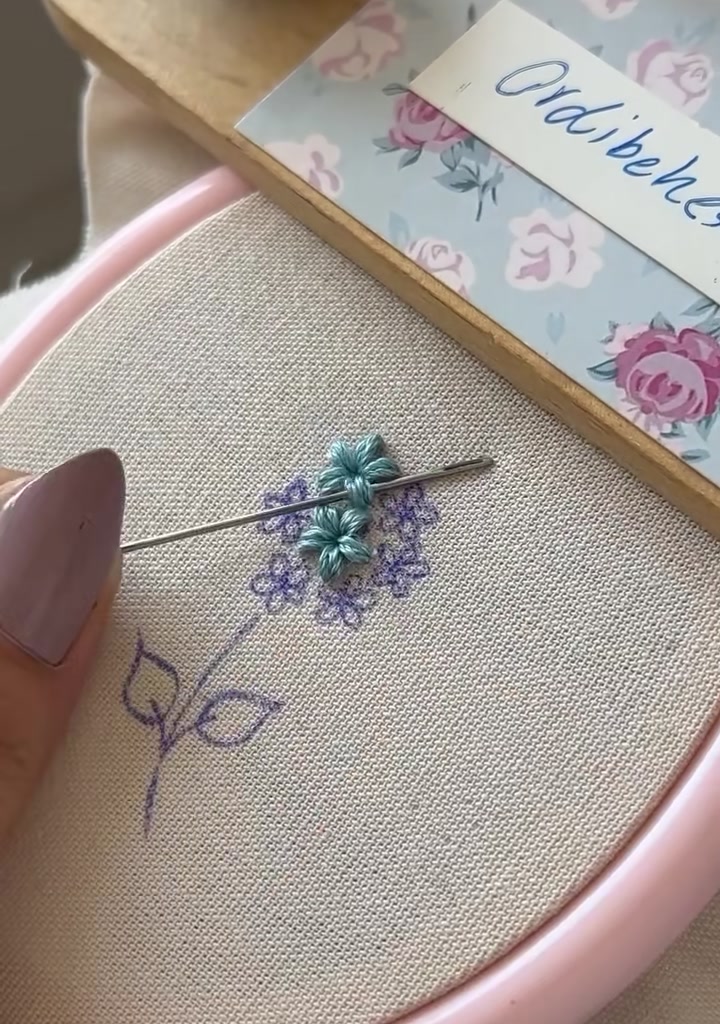
Step 10: Add the Fifth Flower
Place the fifth flower toward the lower right. It should overlap slightly with the others for a natural, layered look.
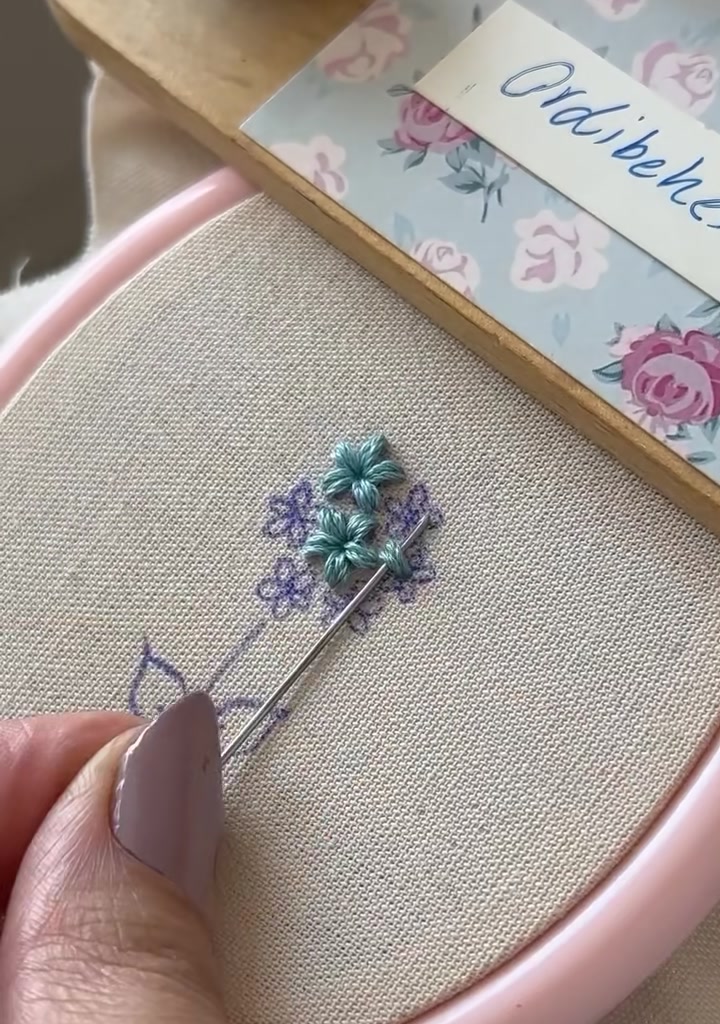
Step 11: Add the Sixth Flower
Continue filling the right side with another small bloom. The flower cluster is beginning to look like a real bouquet.
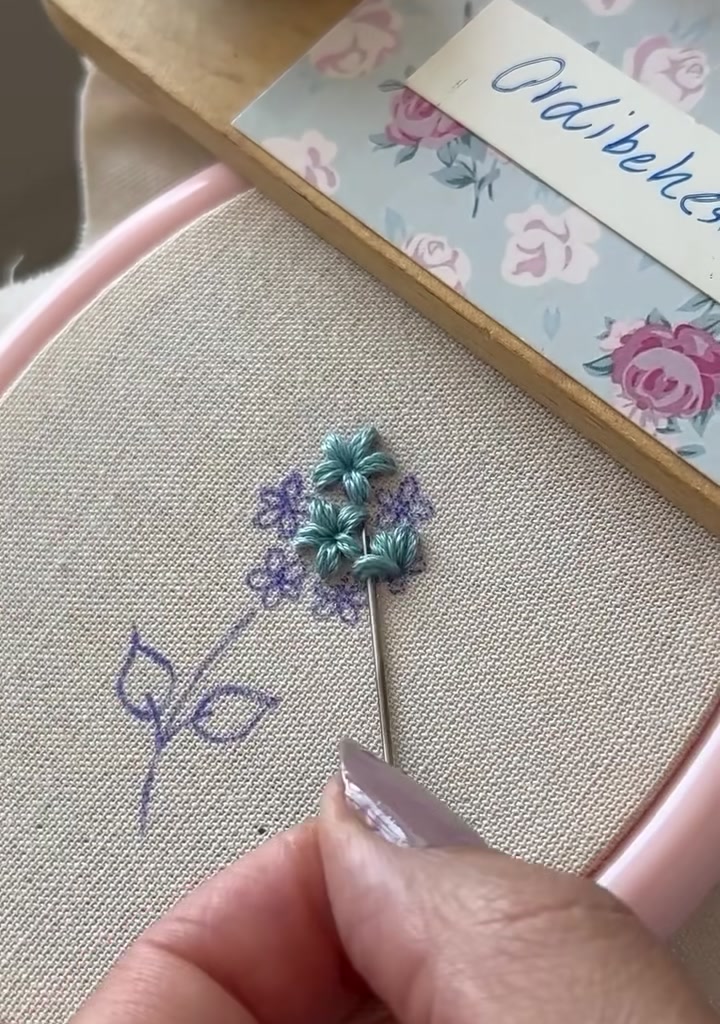
Step 12: Add the Seventh Flower
Add a seventh flower to balance the left side. Each bloom uses the same star stitch, so the texture stays consistent.
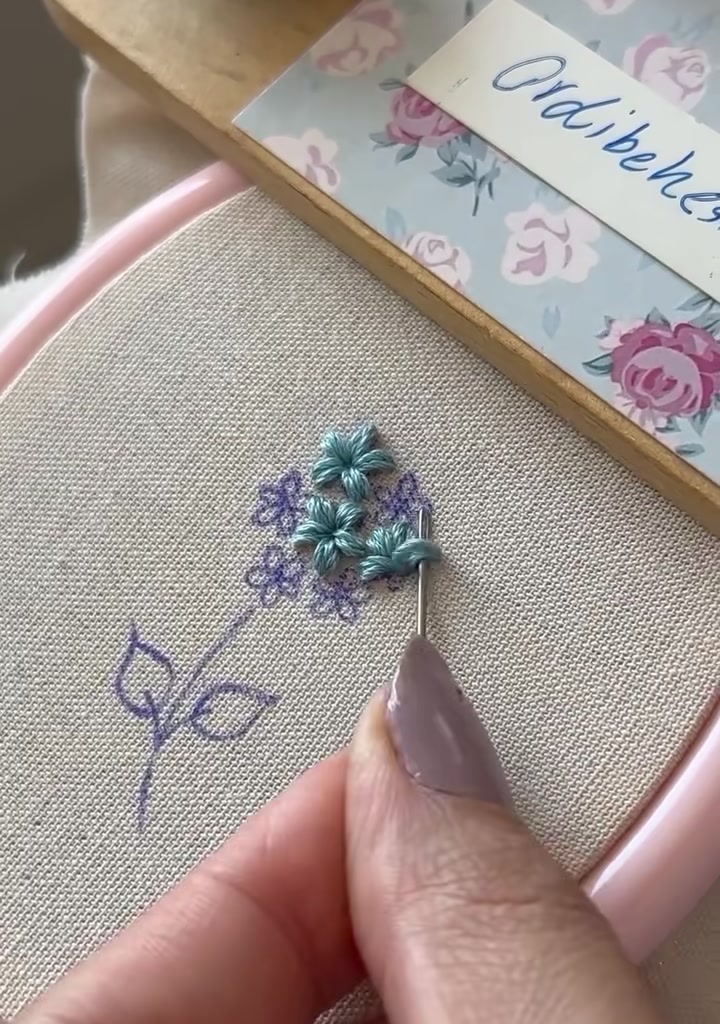
Step 13: Add the Eighth Flower
Fill in the lower left corner with one more flower. This completes the main flower head shape.
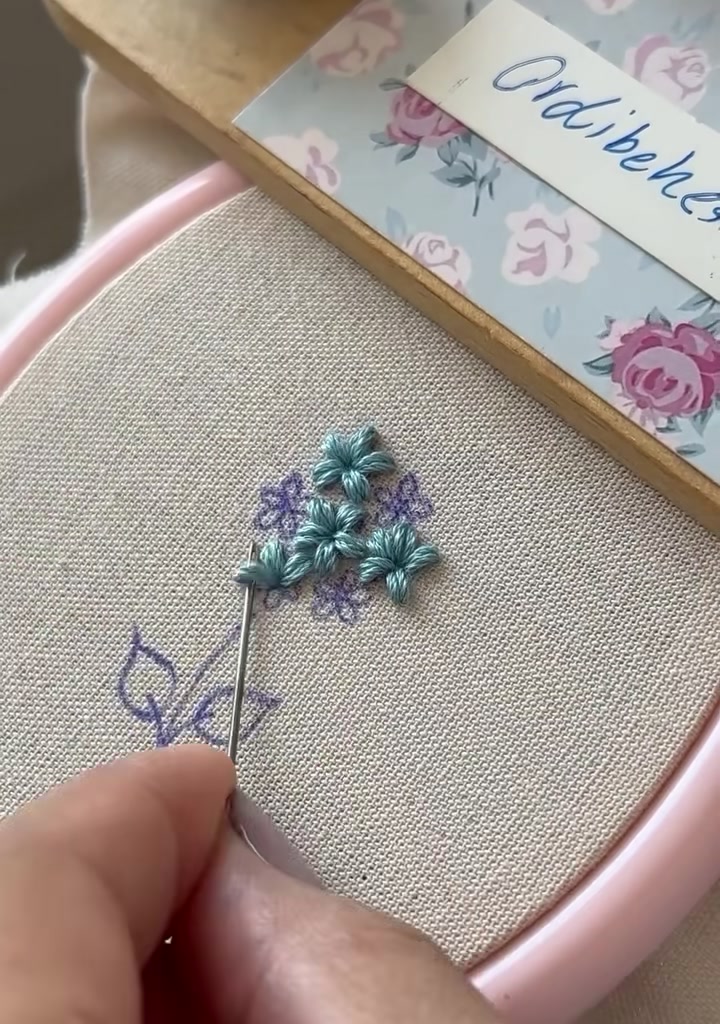
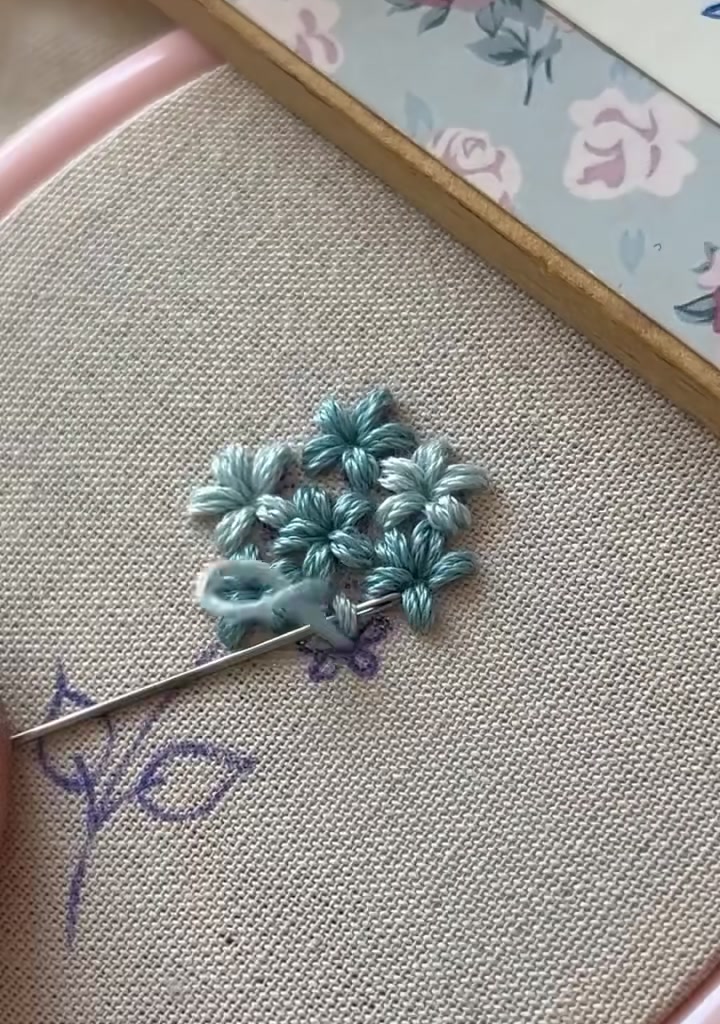
Step 14: Start a Small Bud
Use a lighter blue thread and make a small bundle of short stitches for a tiny bud. This adds a fresh, growing feeling.
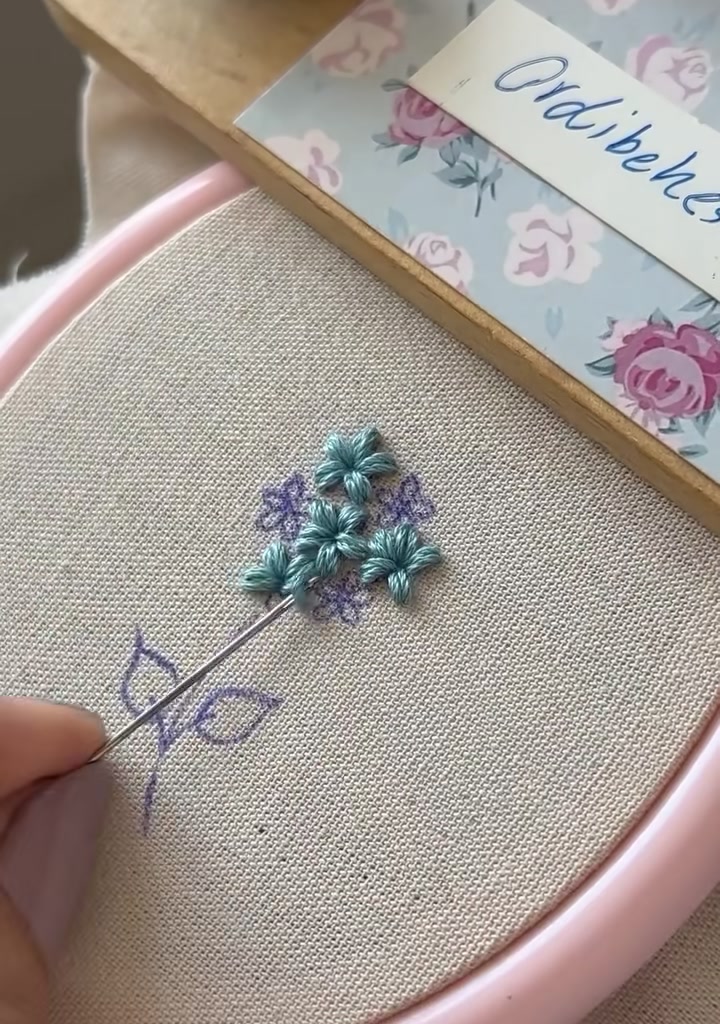
Step 15: Shape the Bud
Add more short stitches around the bud base, keeping it smaller than the open flowers. A little texture makes it look wrapped.
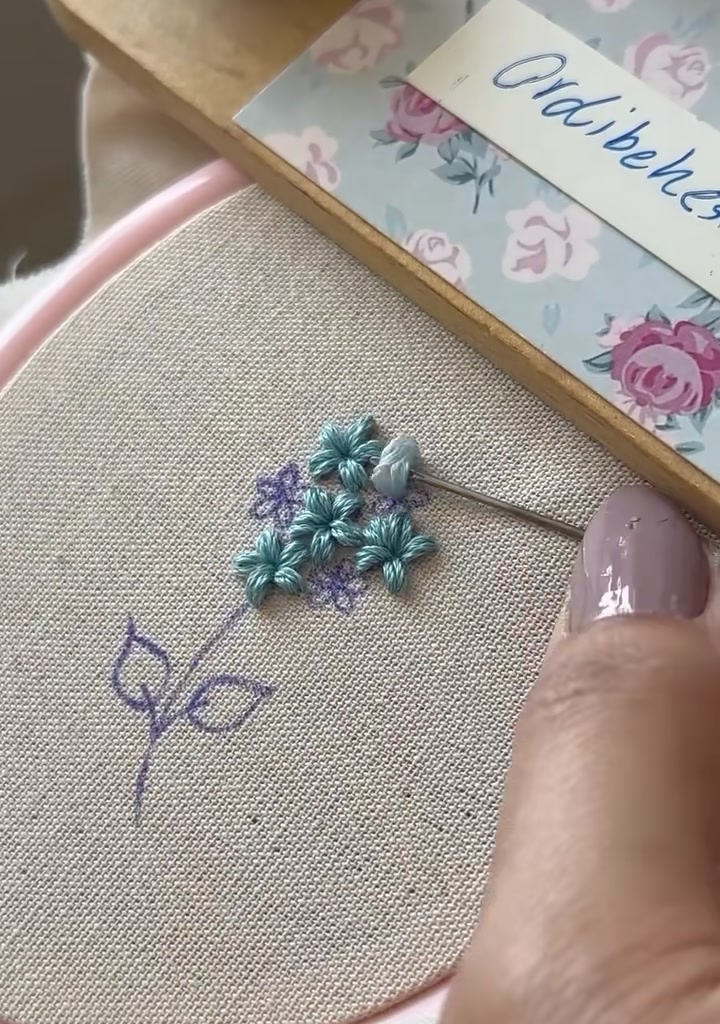
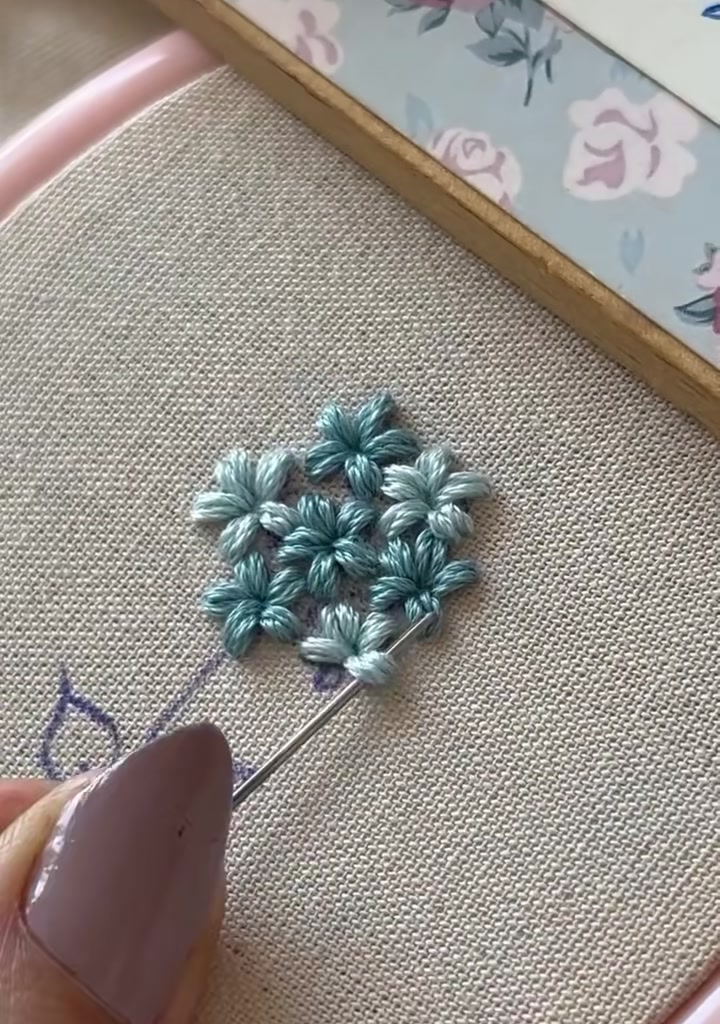
Step 16: Add the Ninth Flower
Return to the main cluster and add another bloom between the bud and the open flowers. This helps the two areas connect visually.
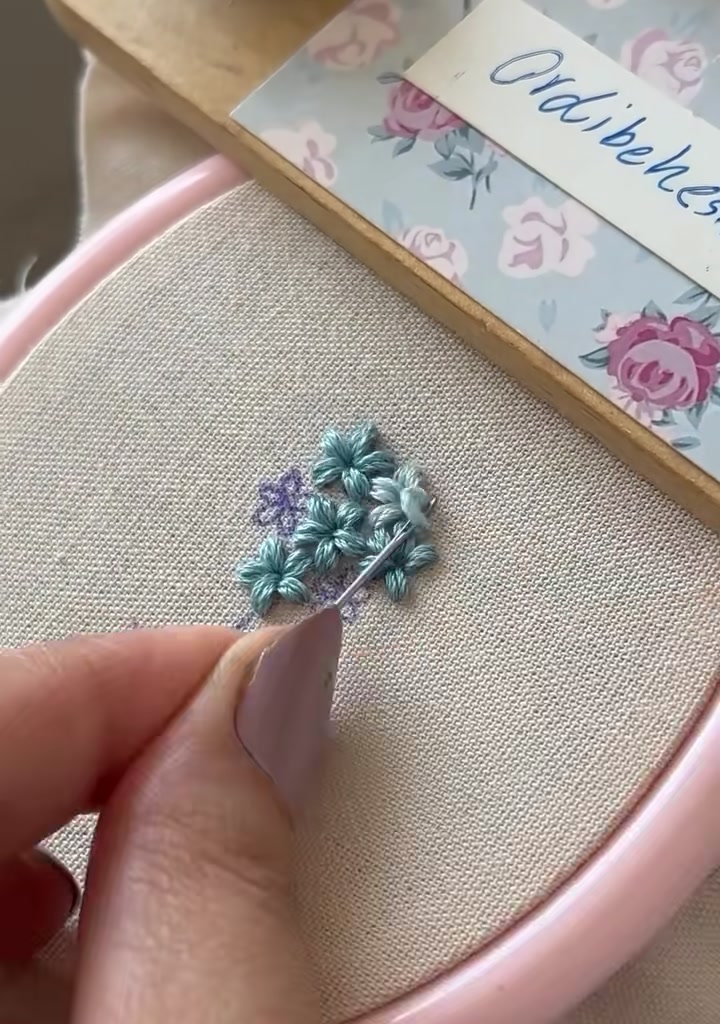
Step 17: Add the Tenth Flower
Add one more flower near the top right to complete the rounded dome. Every stitch follows the same center-out motion.
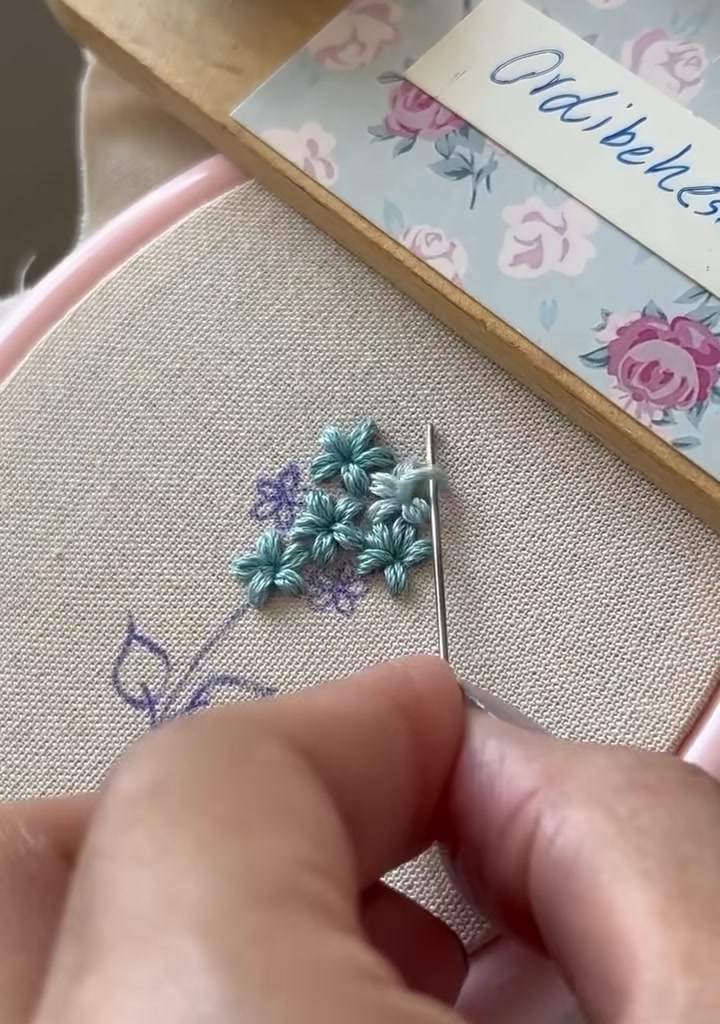
Step 18: Add the Eleventh Flower
Fill in any remaining space with another small bloom. By now the flower head should look dense and textured.
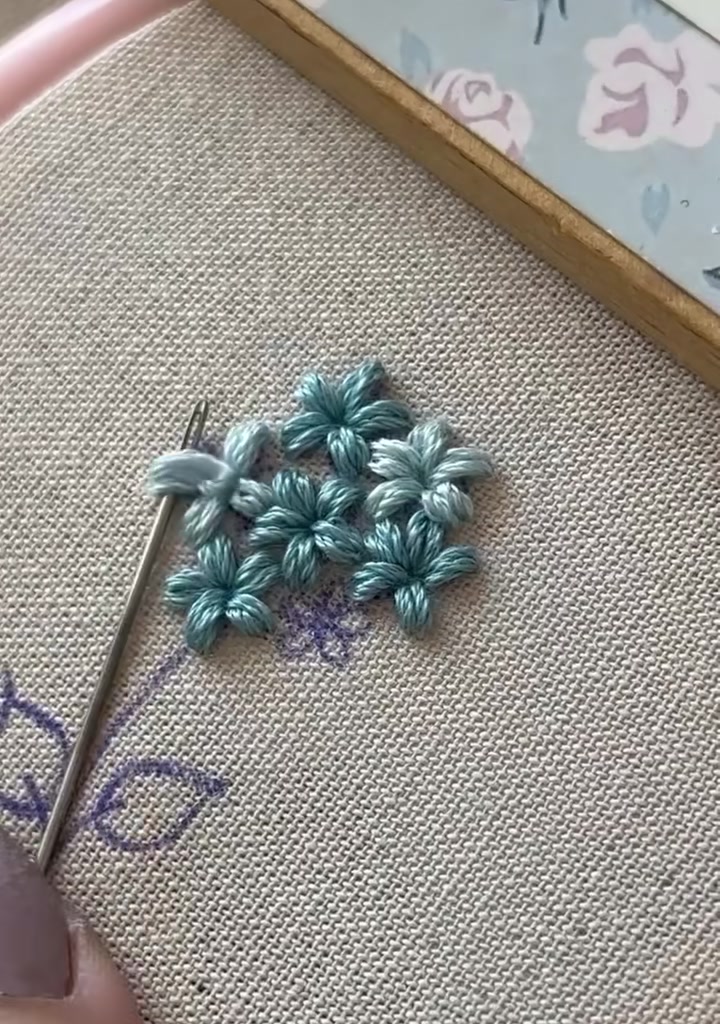
Step 19: Add the Twelfth Flower
Add the final flower to balance the bottom edge. The cluster is now a complete, domed shape.
Step 20: Embroider the Flower Centers
Using yellow thread, add a small French knot or bead at the center of each open flower. The tiny dot of color brings each bloom to life.
Step 21: Add the Stem and Leaves
Switch to green thread. Use stem stitch for the stem and satin stitch for the two leaves. Keep the leaves smooth and slightly pointed.
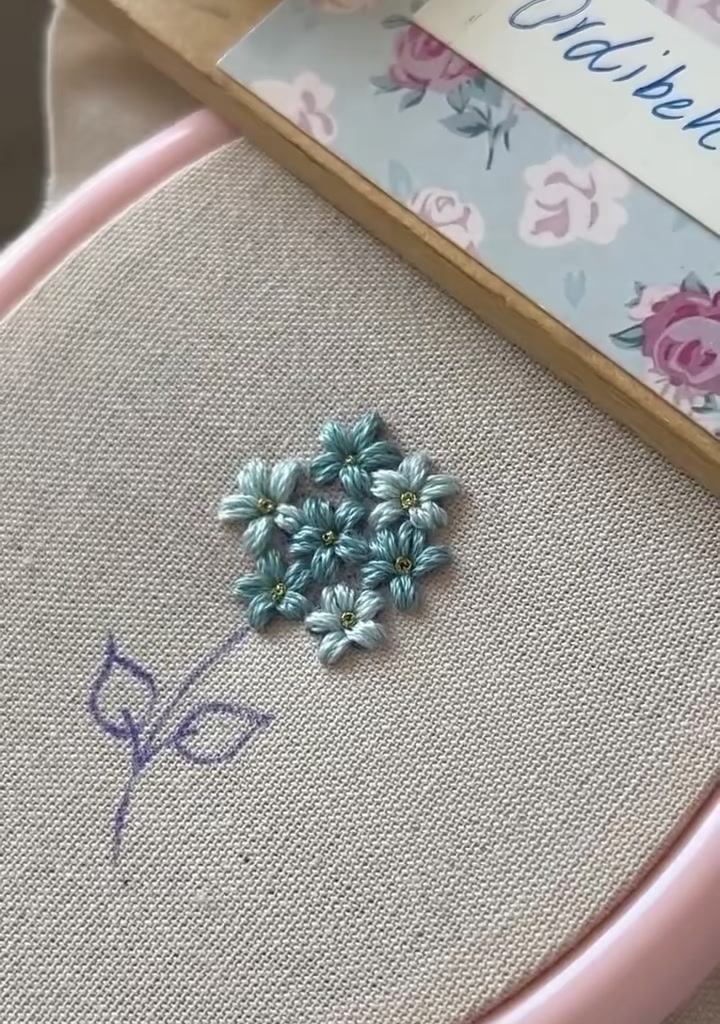
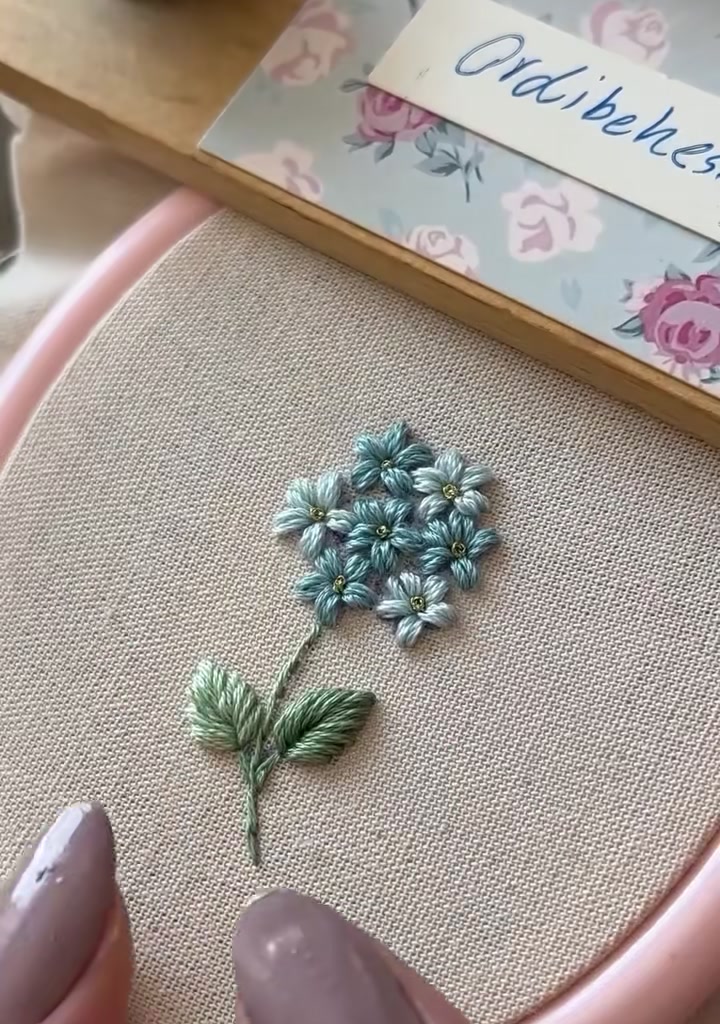
The finished piece is a delicate cluster of blue star flowers with a tiny bud, fresh green leaves, and a soft neutral background. It is perfect for a small hoop art display, a patch, or a pocket accent.