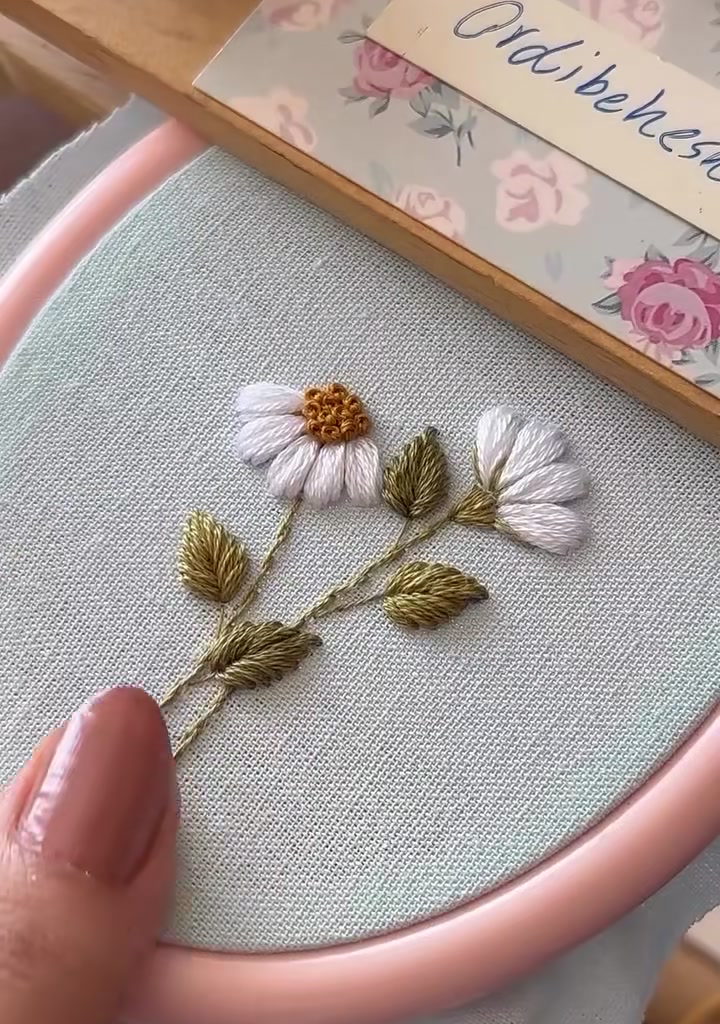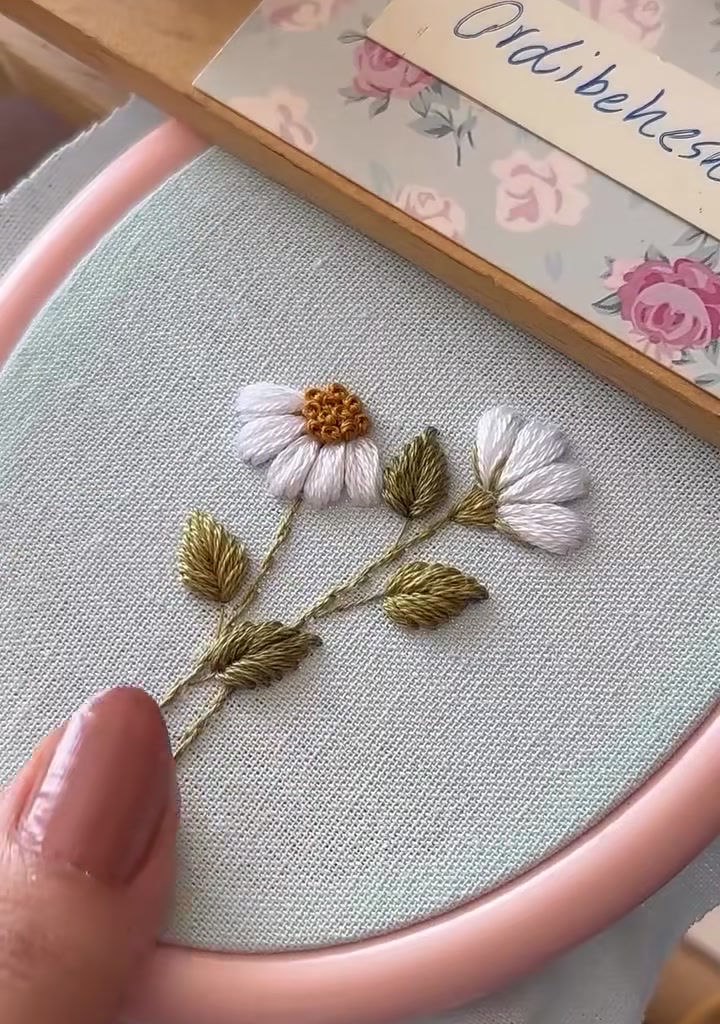
White Daisy Embroidery: A Satin Stitch Tutorial
White Daisy Embroidery: A Satin Stitch Tutorial
- Soft blue or mint linen/cotton fabric
- 6-inch embroidery hoop
- White stranded cotton floss (DMC or Anchor)
- Golden-brown floss for flower centers
- Olive-green floss for stems and leaves
- Embroidery needle
- Water-soluble fabric marker
- Scissors
Step 01: Prepare the Supplies
Choose a soft blue fabric to make the white petals stand out. Mount it tightly in the hoop and keep the weave smooth.
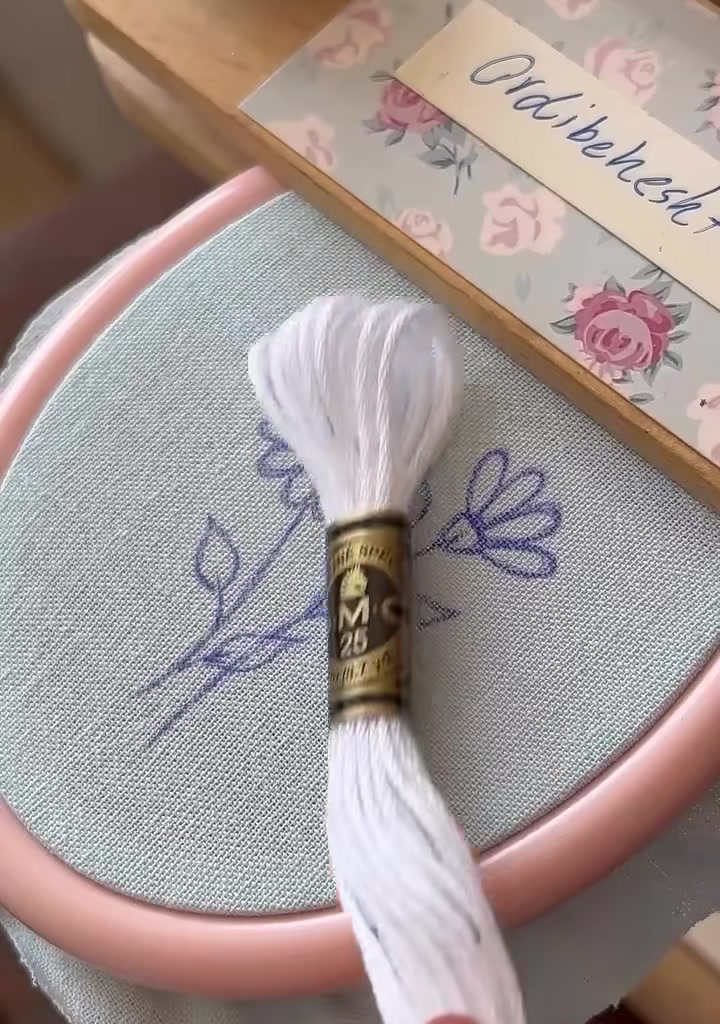
Step 02: Transfer the Pattern
Draw two small daisies with stems and leaves using a water-soluble marker. Keep the petal outlines simple and evenly spaced.
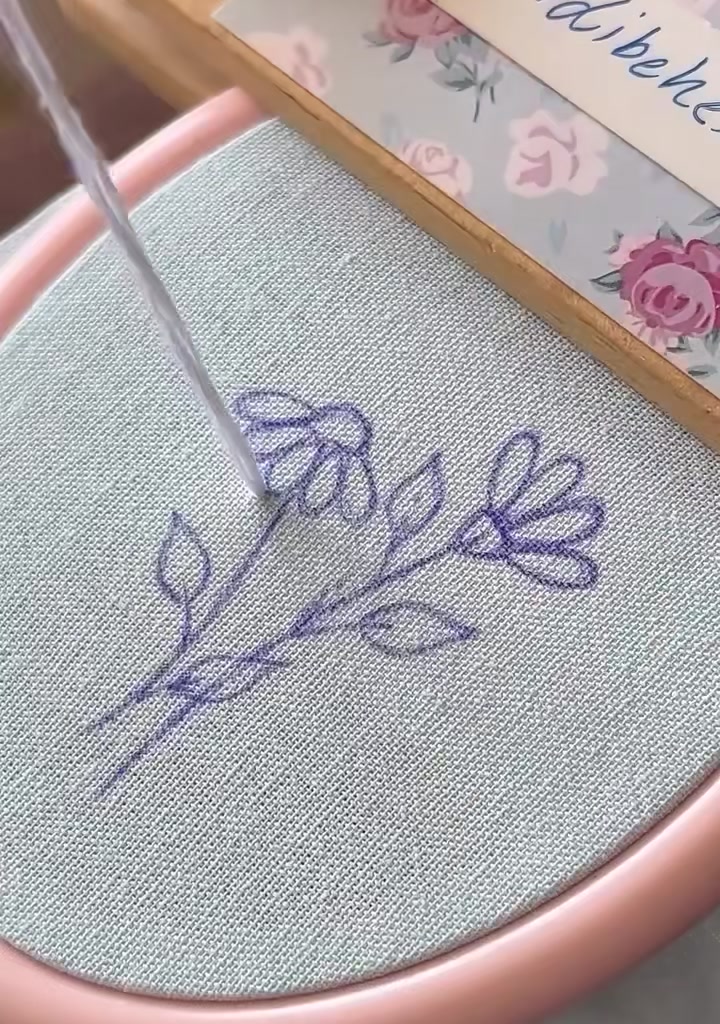
Step 03: Start the First Petal
Bring the needle up from the base of a petal and lay down a long straight stitch toward the tip. Use satin stitch to cover each petal smoothly.
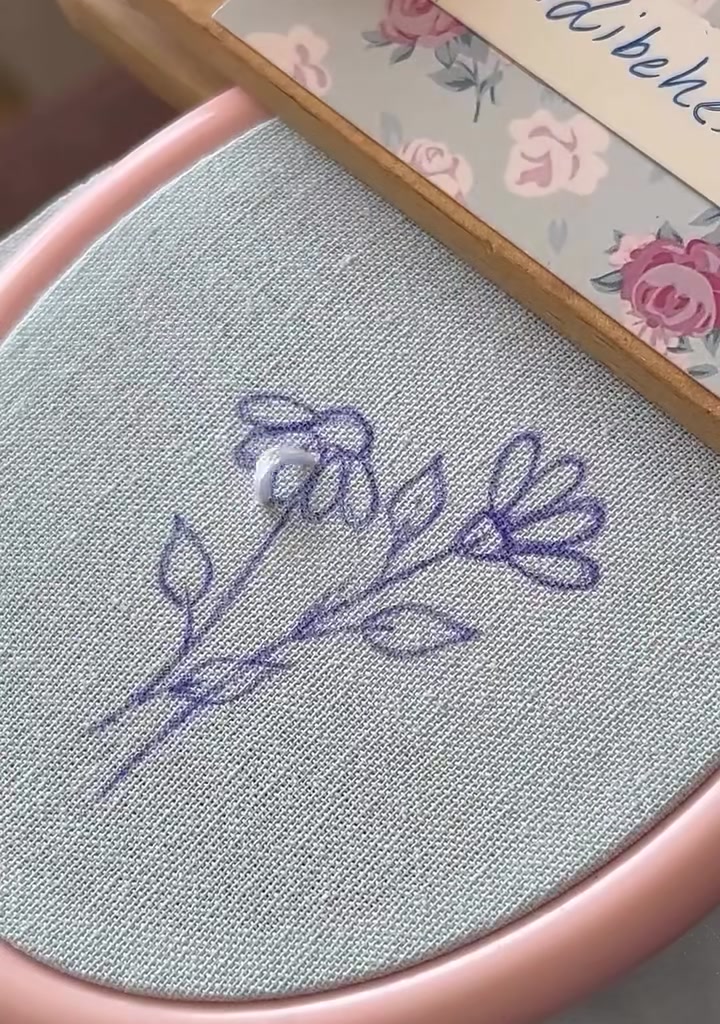
Step 04: Build the First Petals
Continue filling the petals with parallel satin stitches. Keep the stitches close together so the fabric underneath does not show through.
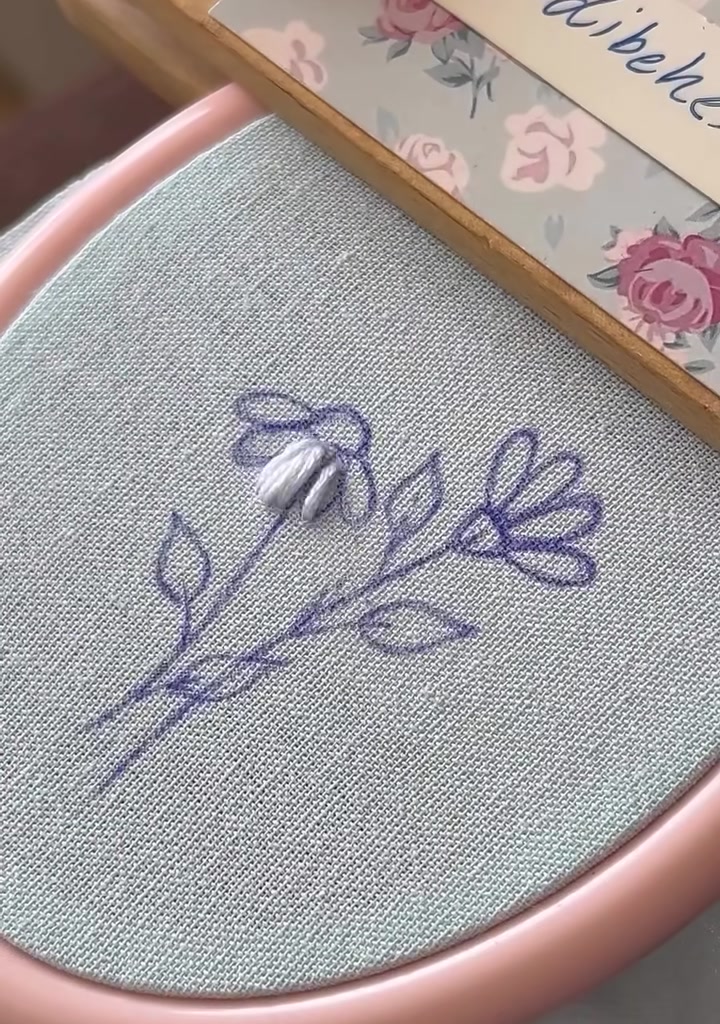
Step 05: Add More Petals
Work your way around the flower, adding one petal at a time. Keep each stitch the same length for a neat, rounded shape.
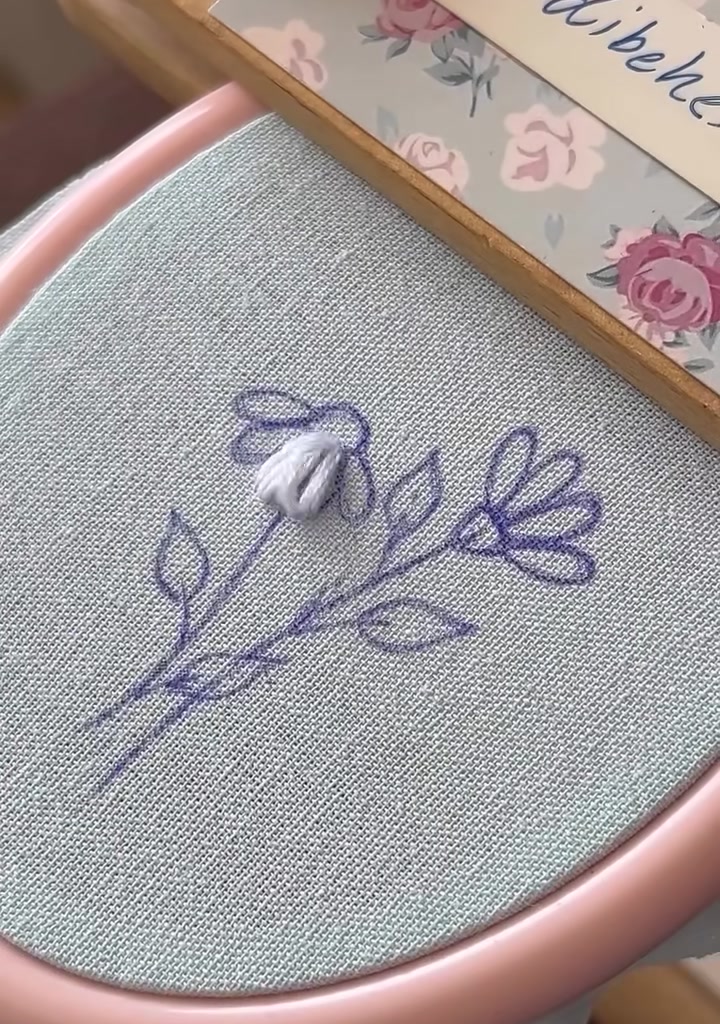
Step 06: Finish the First Flower Petals
All petals of the first daisy are now filled. The white thread gives a soft, raised texture against the blue fabric.
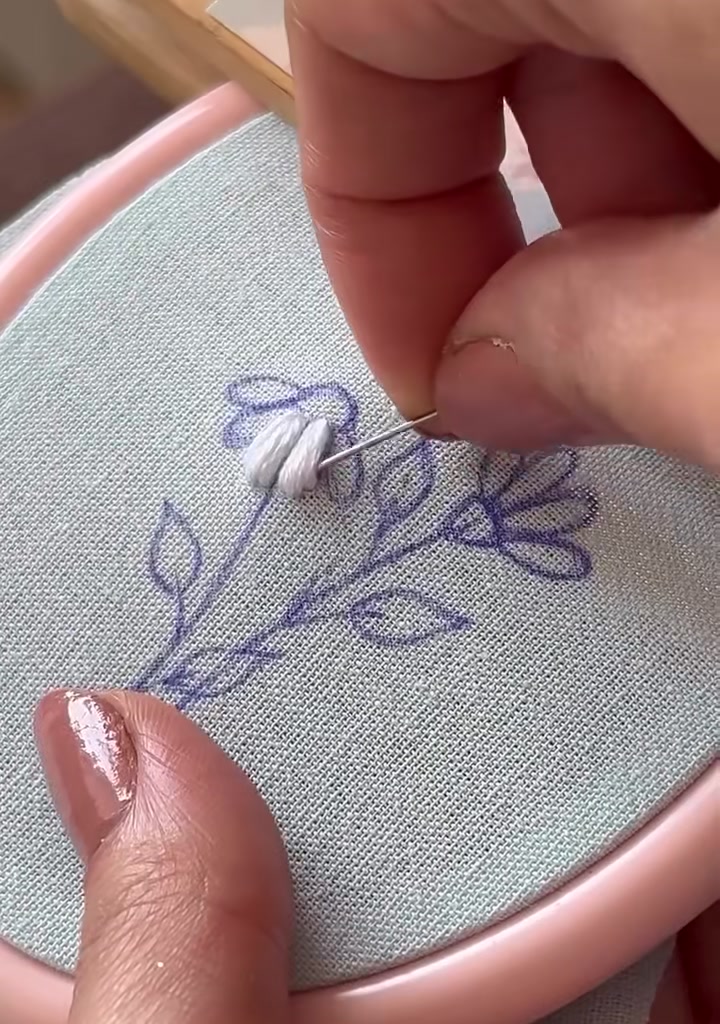
Step 07: First Flower Complete
The first daisy is ready for its center. The petals should fan out evenly from the middle.
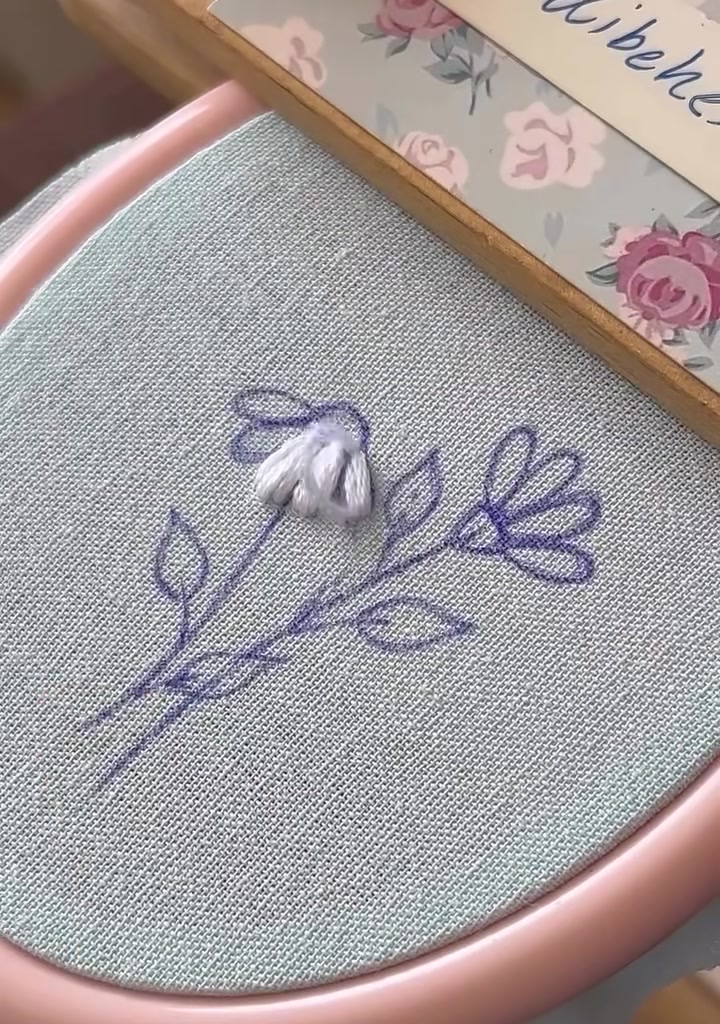
Step 08: Start the Second Flower
Move to the second daisy and begin the first petal with the same satin stitch method. Match the size to the first flower.
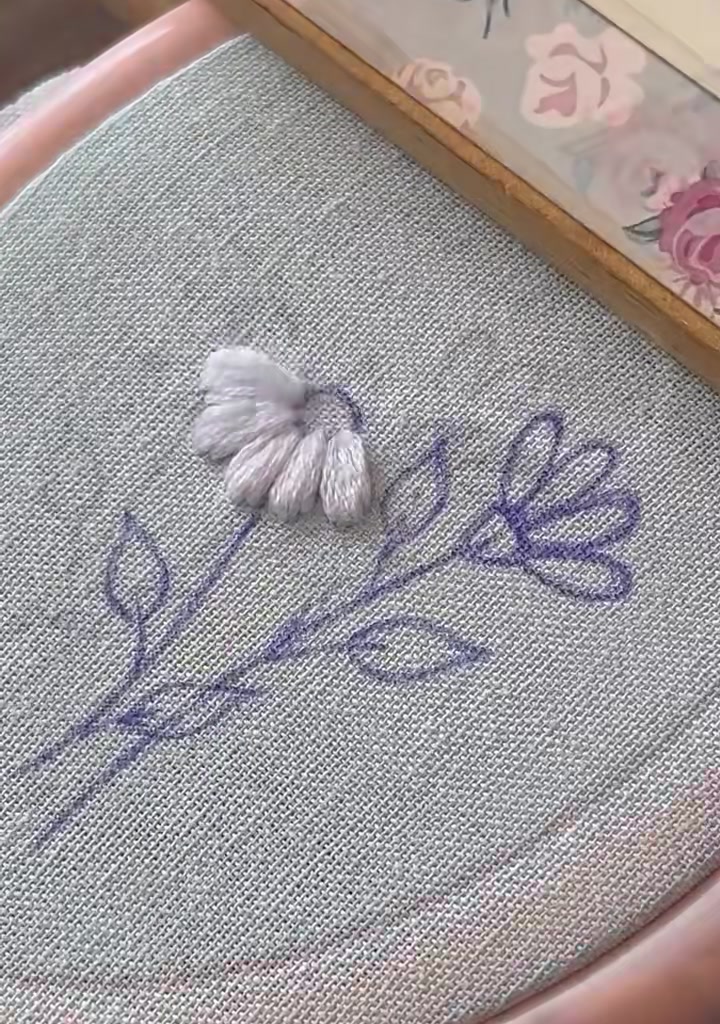
Step 09: Fill the Second Petals
Continue filling the second flower petal by petal. Work in the same direction to keep the surface sheen consistent.
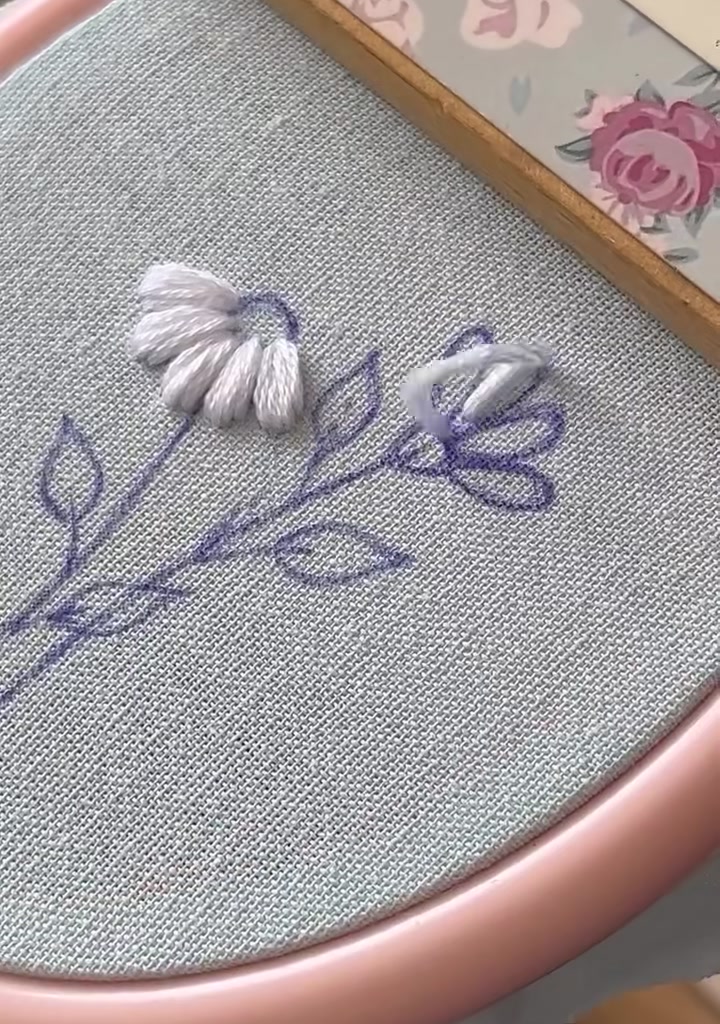
Step 10: Complete the Second Flower
Finish all petals on the second daisy. Both flowers should now have a soft, full appearance.
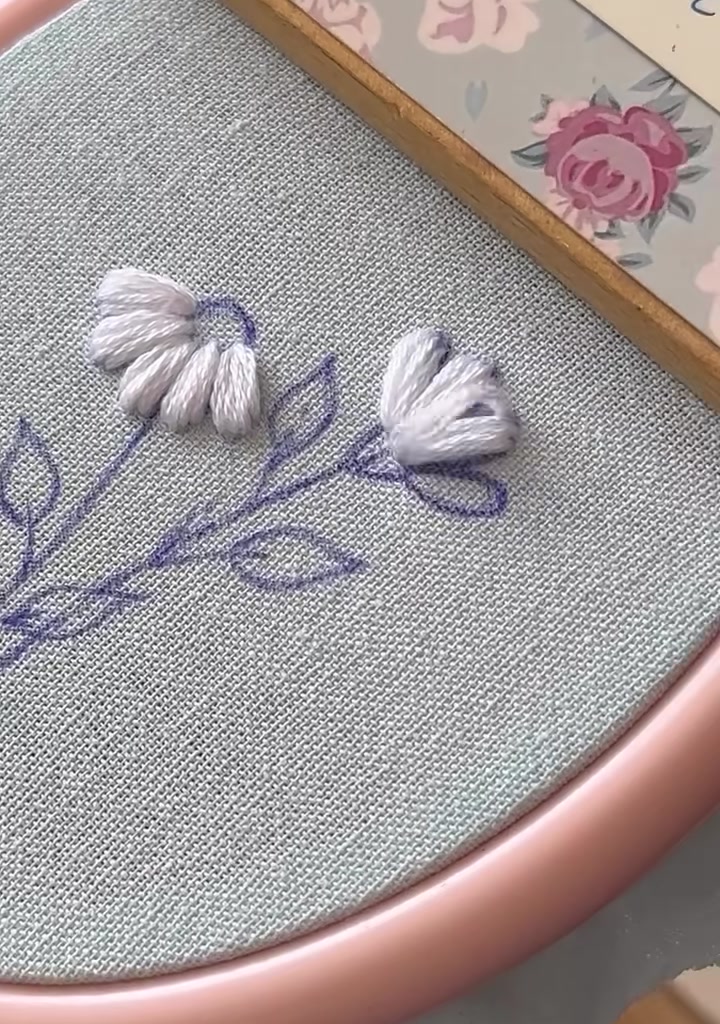
Step 11: Add the First Flower Center
Switch to golden-brown thread. Begin filling the center with small French knots or tight seed stitches to create a textured disk.
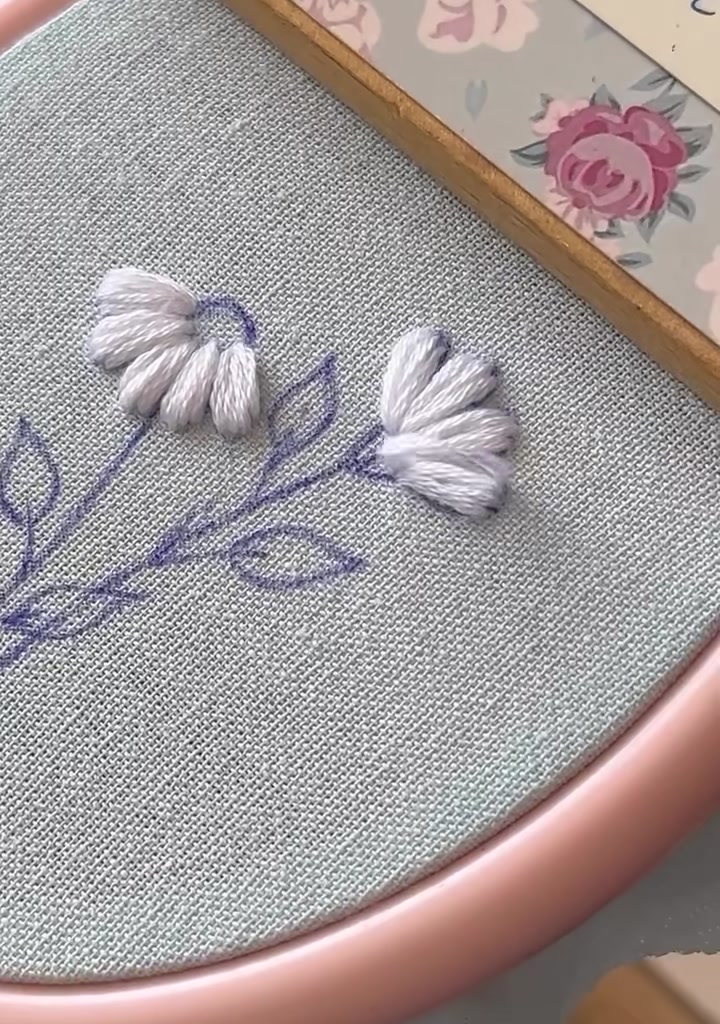
Step 12: Finish the Center
Fill the entire center with dense knots or seed stitches. The raised texture gives the daisy its natural, pollen-like look.
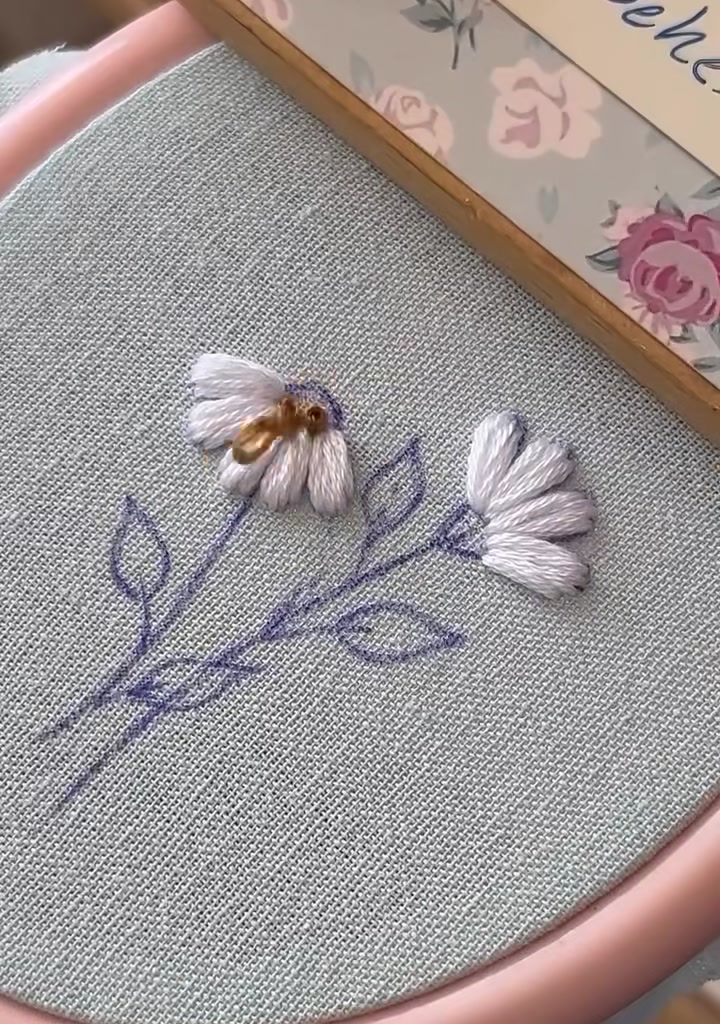
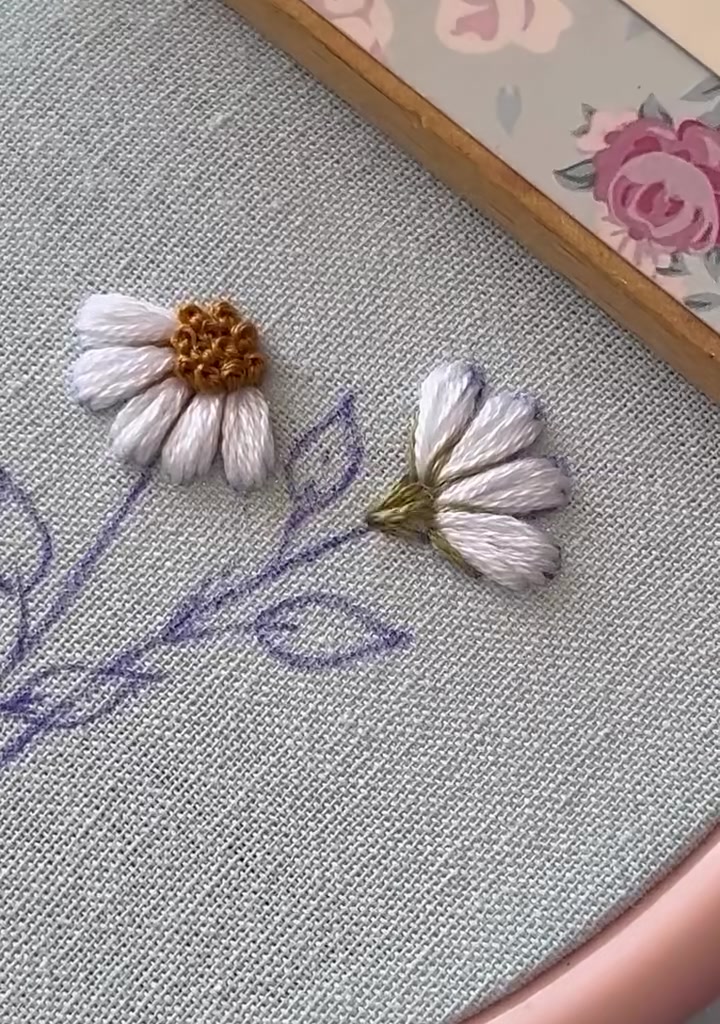
Step 13: Add Green at the Base
Switch to olive-green thread. Begin adding small stitches at the base of the second flower to form the calyx and connect it to the stem.
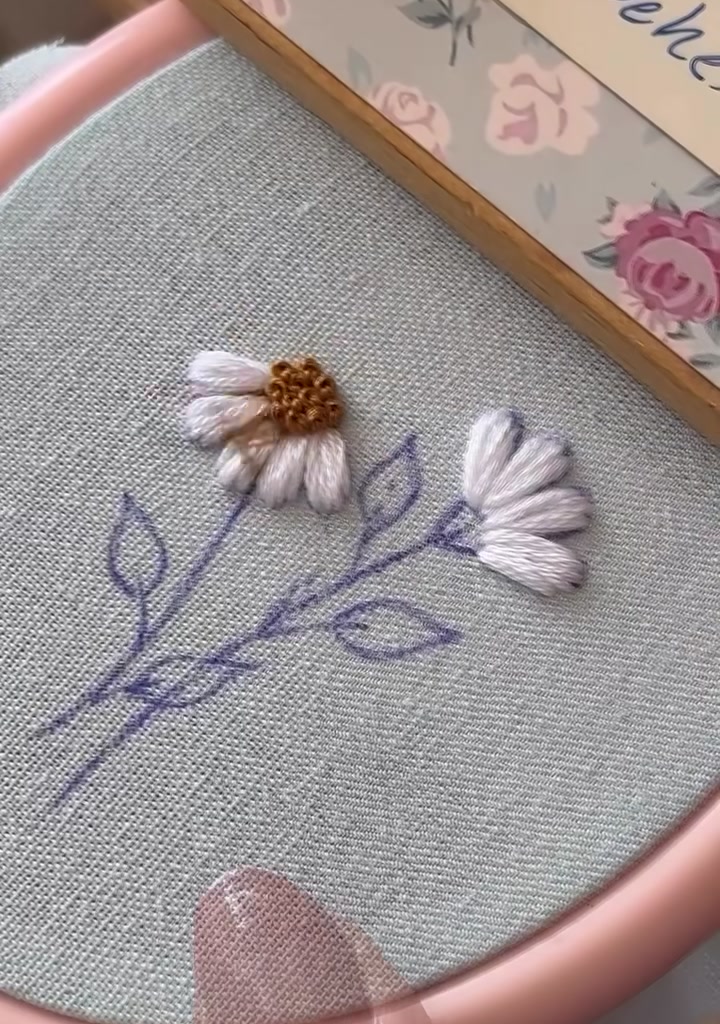
Step 14: Fill the Stem and Leaves
Use satin stitch or fishbone stitch for the leaves and stem stitch for the stems. Keep the green stitches neat and follow the drawn lines.
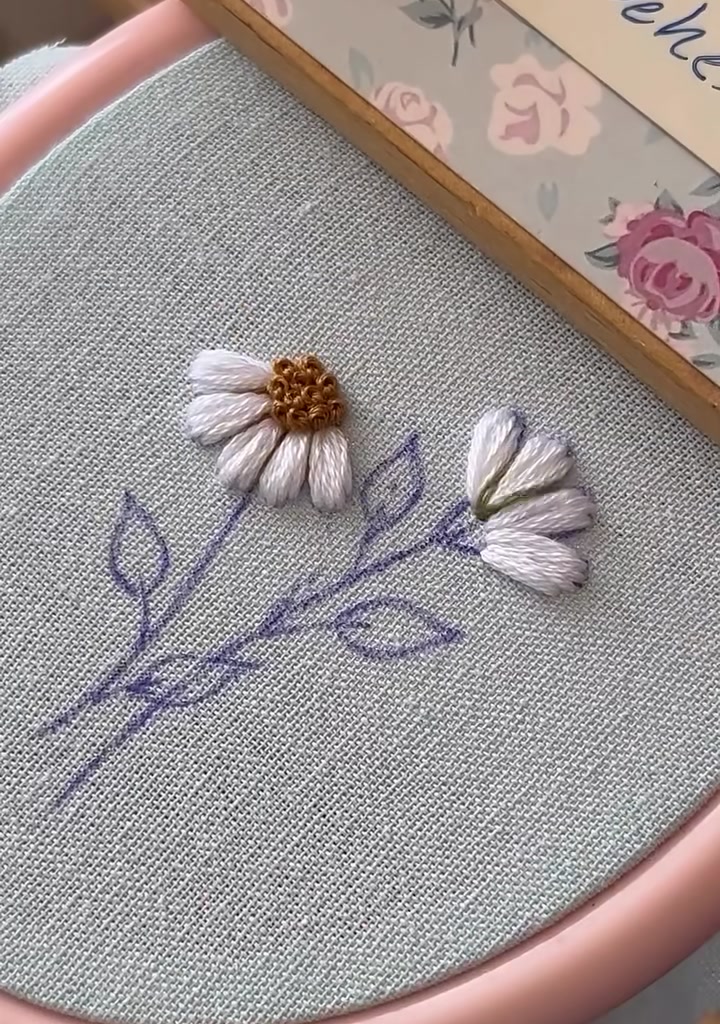
Step 15: Complete the Greenery
Finish all stems and leaves. The green calyx stitches should sit snugly beneath the white petals.
Step 16: Final Touches
Check that all fabric marker lines have faded or been removed. Gently fluff the petals with your needle if needed to give them a soft, dimensional look.
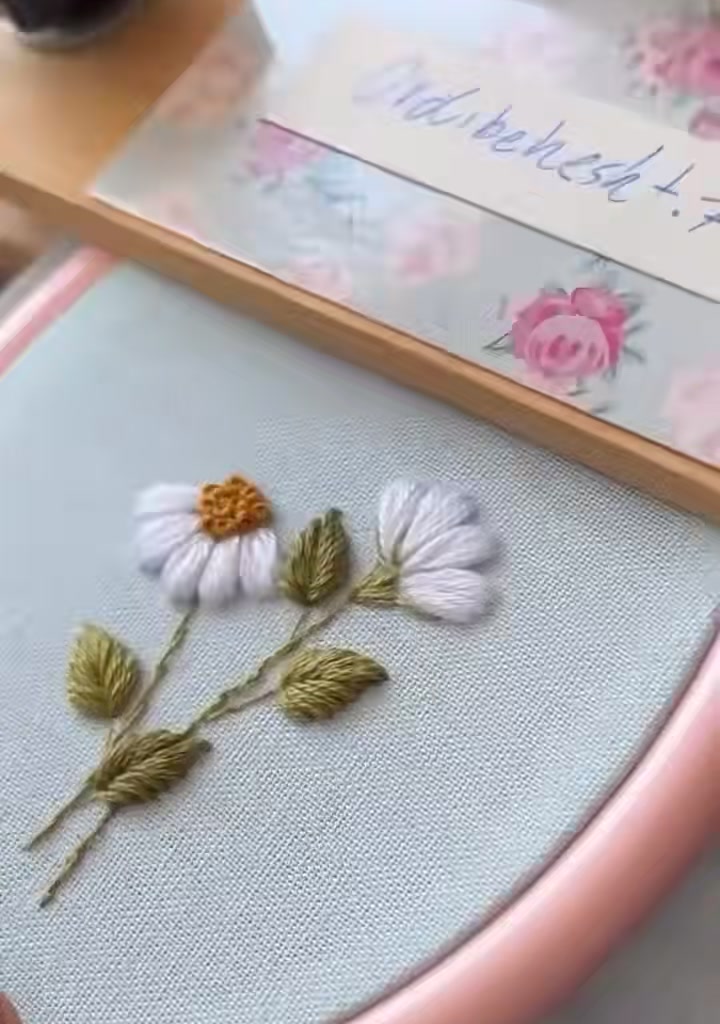
The finished piece is a pair of delicate white daisies with warm golden centers and olive-green leaves on a soft blue fabric. It is a lovely design for hoop art, a pocket detail, or a small gift.